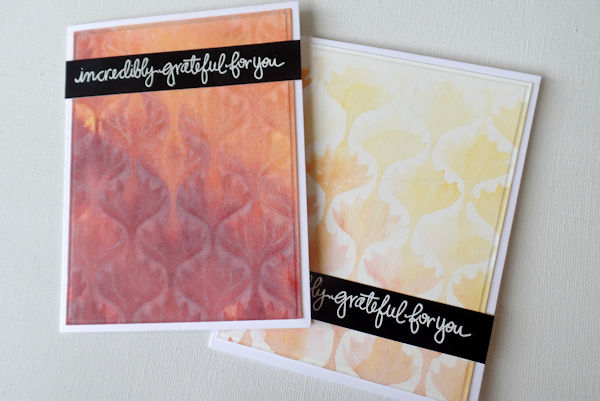
Watercolor Imprints
by Dina Kowal
Lay stencils and stamps into wet ink to create beautiful patterned backgrounds.
Supplies
- Watercolor paper (Fabriano Studio Hot Press 140# watercolor paper used here)
- Water-reactive medium (Distress Oxide inks used here – watercolor paints or markers, Distress or dye inks can also be used)
- Mister bottle
- Stencils (istencils Feathered Damask Stencil used here)
- Bold background stamps (Impression Obsession Cover-a-Card Lotus used here)
- Acrylic blocks, etc. to weight down edges of stencil
- Flat-backed objects such as buttons, small containers, sequins, cutting dies, etc.(cabochon, buttons, sequins, small container and lid, Quickutz nesting heart dies used here)
- Other supplies as needed to complete the project (Simon Says Stamp Handwritten Sentiments clear set, Art Gone Wild/Catherine Scanlon Peonies stamp, black glossy cardstock, white detail embossing powder, craft sheet, MISTI)
Step-by-Step
-
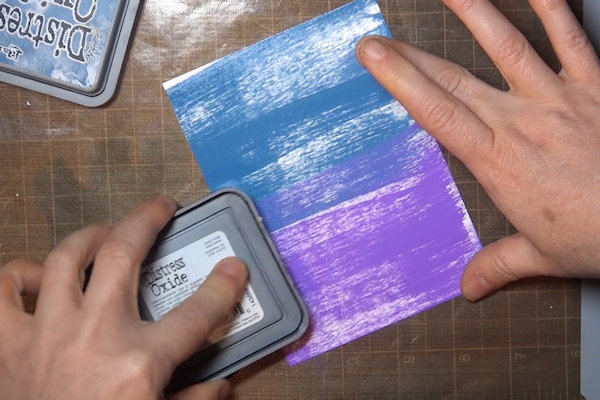
Step 1
Apply ink or watercolor directly to a watercolor panel.
-
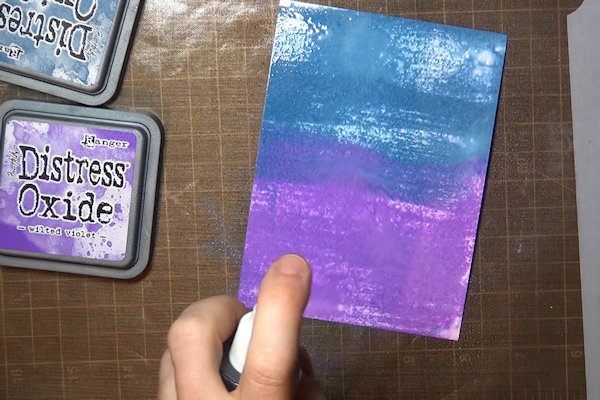
Mist with water to activate the ink.
TIP:
If the panel begins to curl, mist the back side to allow it to relax the other way. -
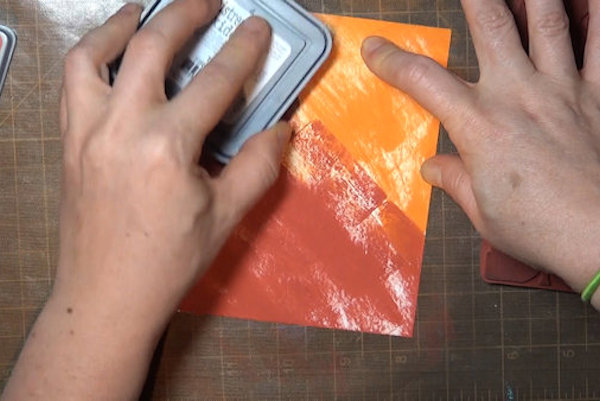
Step 2
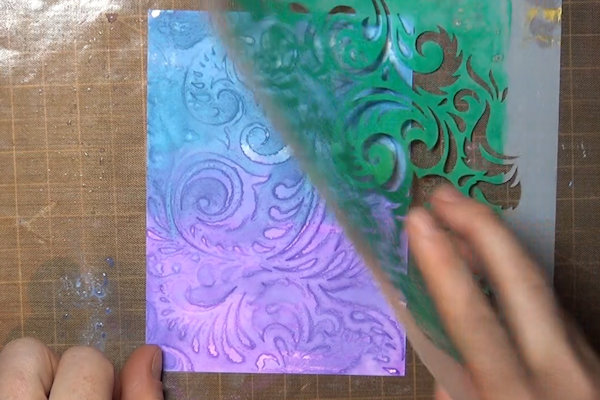
While the ink is still wet, lay a stencil over the panel.
-
Weigh down the stencil at the edges of the panel to hold it down into the wet ink. (If there is not much excess moisture in the open areas of the stencil, you can place a large block directly onto the stencil to weigh it down, but don't allow the block to lay into ink that is raised above the stencil.)
Allow the ink to dry completely before removing the stencil. -
Step 3
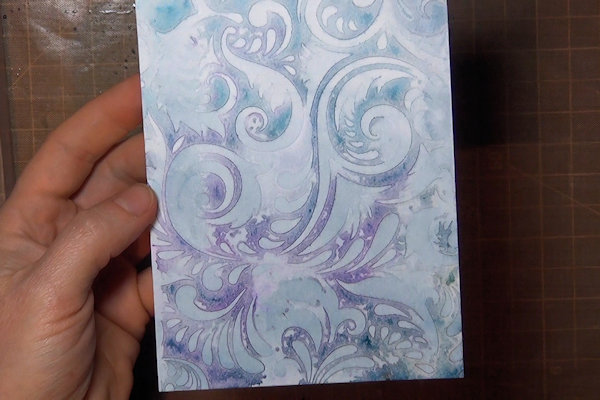
Remove the stencil carefully. Heat set any areas that are not completely dry.
-
TIP:
You can use the ink left on the stencil to create a print as well. Mist and lay onto another watercolor panel to create a print (See the Stencil Monoprints tutorial for more complete instructions). The sample here was actually created by repeating the process above on a new panel. -
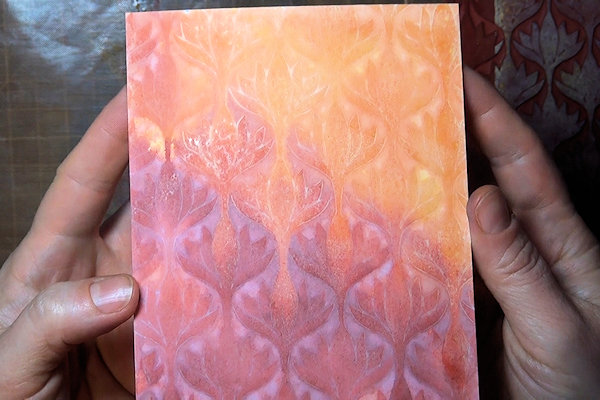
Step 4
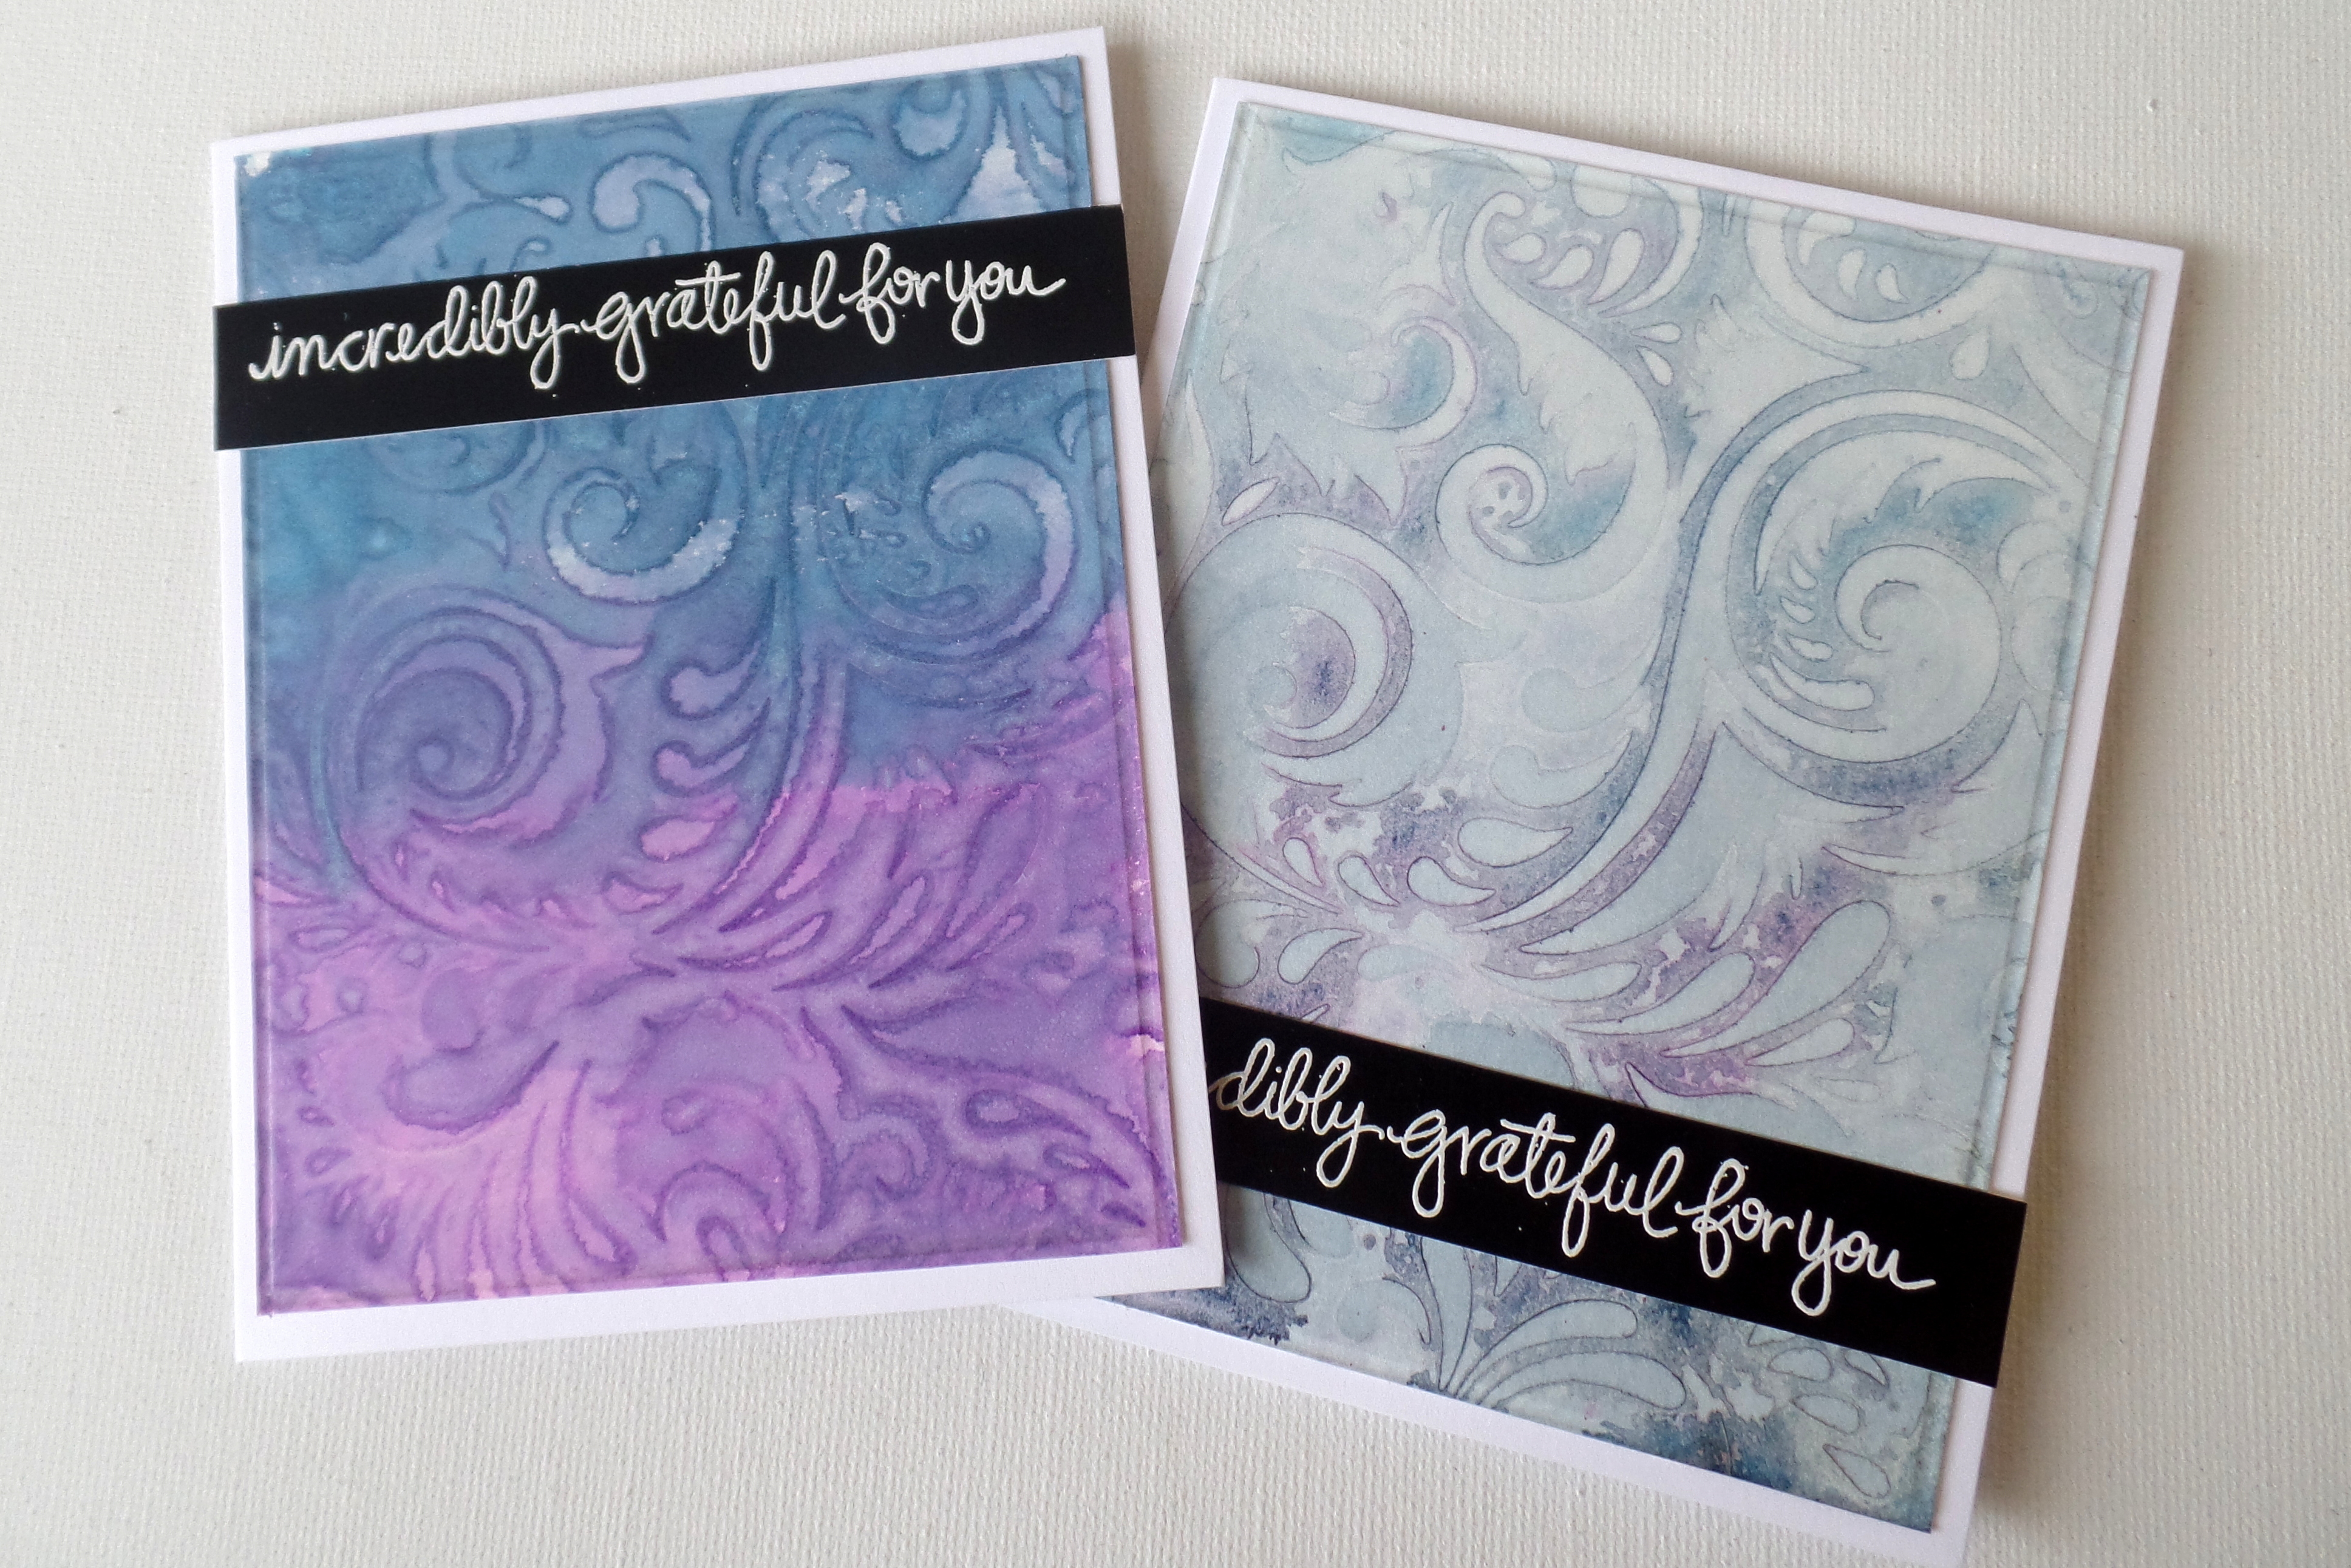
Use the panel(s) to complete a card or other project.
-
Step 5
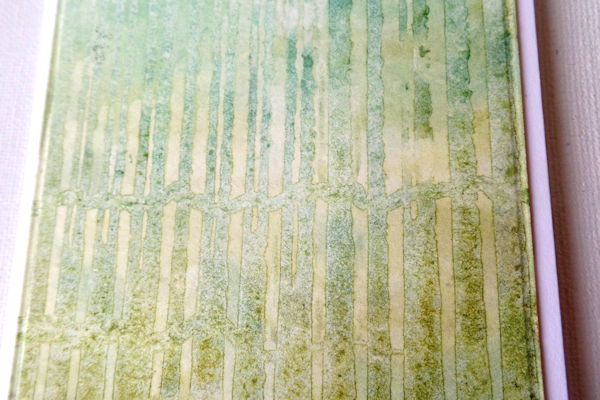
Experiment with other mediums to discover different effects. Watercolor paints can create an interesting granulated background.
-
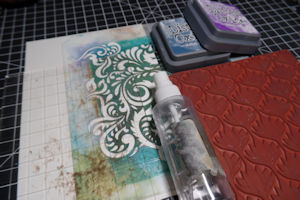
Step 6
You can also use a background stamp to create a similar effect. Apply ink directly to a watercolor panel and mist to activate.
-
Step 7
While the ink is still wet, lay a background stamp over the panel.
TIP:
This works best with bolder or more solid patterns.
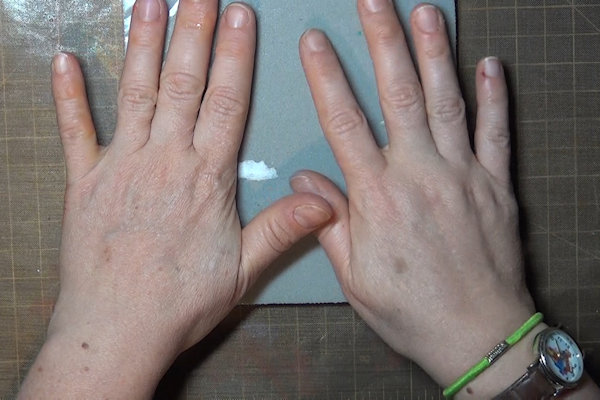
Weigh the stamp down with a book until the ink has dried. -
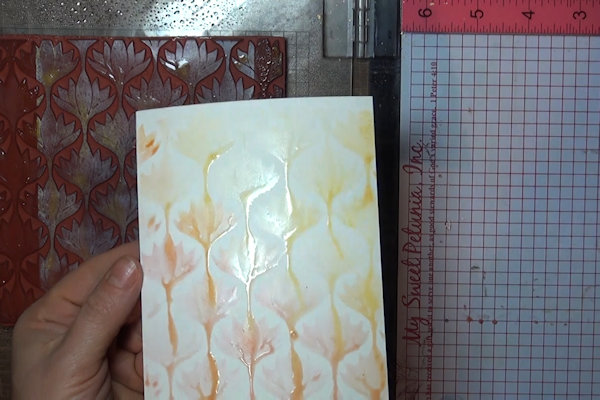
Step 8
Remove the stamp carefully. Heat set any areas that are not completely dry.
-
Step 9
For a bonus background, mist the stamp.
-
Use the residual ink to create a print.
-
Step 10
Use the panel(s) to complete a card or other project.
-
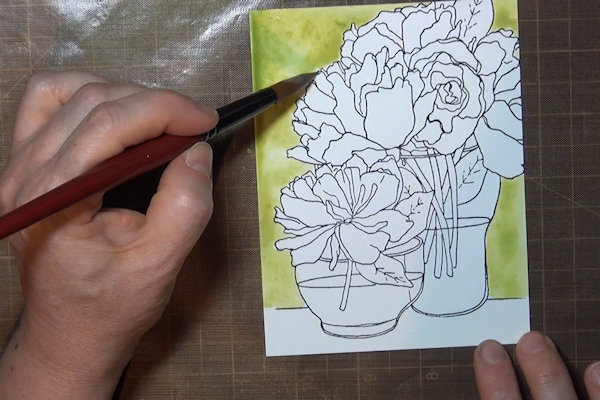
Step 11
Use the technique to add texture to a single area of a watercolored image. First, paint the area with a color wash.
-
Lay a stamp or stencil over the painted area, and allow the panel to dry as above.
-
Step 12
Remove the stamp or stencil carefully. Heat set any areas that are not completely dry. Continue painting in other areas.
-
Step 13
Use the panel to complete a card or other project.


Video!
Variations
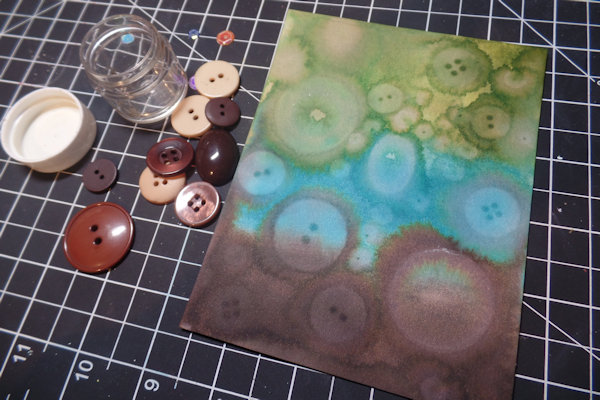
-
Try the same concept with other flat-backed or flat-bottomed objects. Ink and mist a panel, and lay the pieces into the activated ink.
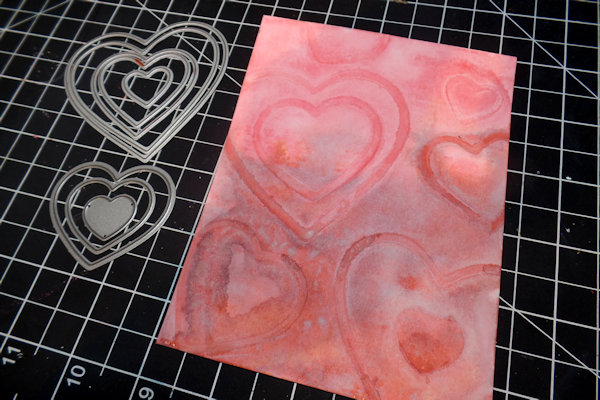
-
Steel cutting dies create wonderful results as well!
Your Turn
You've seen the tutorial, now you try it! We've got a section of the gallery set aside for Watercolor Imprints. Try this technique, then upload your artwork to the gallery. Show us your creations!
***Please note - Internet Explorer/Edge is not a supported browser, and will not allow you to see the videos. Please use Chrome, Firefox or Safari to view our tutorial videos.

Questions and Comments
We'd love to get your feedback or questions. Leave your comment below.
thanks in advance
Barb B. CZT
I'd try the brass stencils - the worst that can happen is they don't work... they would be thinner than the plastic stencils, so that would be one variable that I'd be curious about. I don't think they'd rust - they're just about 1/2 an hour in the water, and then dry them well.
I'll bet our little Teddy would love to do this with me as well.
Thank you so much.
~Bev
Page 2 of 3 pages < 1 2 3 >