Watercolor Embossing Resist
by Erin Schreiner
Add marker watercoloring over embossed images for a unique look.
Supplies
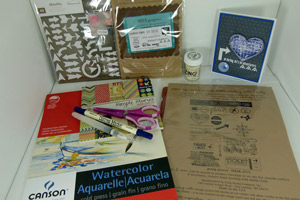
- Watercolor Paper
- Embossing Ink
- Heat Gun
- Stamps
- Distress Marker
- Water Brush
Step-by-Step
-
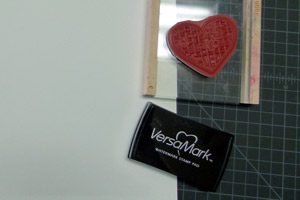
Step 1
Stamp image onto watercolor paper with Embossing Ink.
-
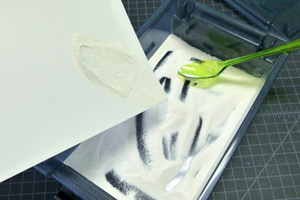
Step 2
Apply white embossing powder to stamped image. Tap off excess powder.
-
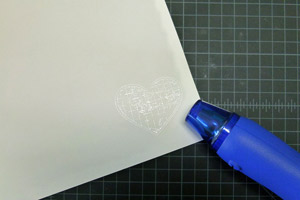
Step 3
Heat powder until it is melted.
-
Step 4
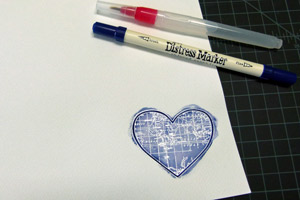
Color outside edges with Tim Holtz Distress marker.

-
Step 5
Blend inward with water pen brush.
-
Step 6
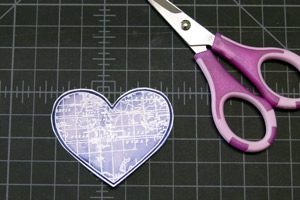
Fussy cut map heart.
-
Step 7
Use image on your card.


Video!
Your Turn
You've seen the tutorial, now you try it! We've got a section of the gallery set aside for Watercolor Embossing Resist. Try this technique, then upload your artwork to the gallery. Show us your creations!
***Please note - Internet Explorer/Edge is not a supported browser, and will not allow you to see the videos. Please use Chrome, Firefox or Safari to view our tutorial videos.

 *
*
Questions and Comments
We'd love to get your feedback or questions. Leave your comment below.
I cant wait to try this!
Page 1 of 1 pages