Watercolor Bokeh
by Diane Dimich
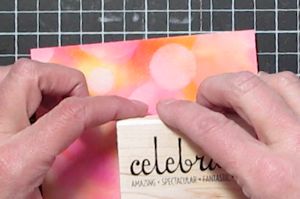
Recreate a fun photo effect using reinkers and stenciled circles.
Supplies
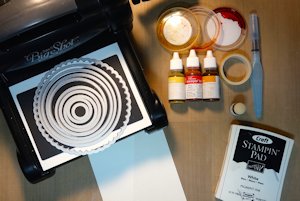
- Watercolor paper
- Dye re-inkers (Stampin’ Up! Melon Mambo, Daffodil Delight, Pumpkin Pie used here)
- Painter’s tape
- Containers for water
- Aqua Painter or watercolor brush
- Heat gun (optional)
- Circle dies (Stampin’ Up! Circle Framelits used here)
- Acetate
- Die cutting machine
- sponge dauber
- White pigment ink pad (Stampin’ Up! White Craft pad used here)
- Other supplies as needed to complete the project (Stazon Jet Black ink, stamp, rhinestones, and adhesive used here)
Step-by-Step
-
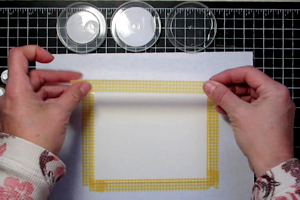
Step 1
Secure a watercolor paper panel to a piece of scratch paper or to your work surface with removable tape.
-
Step 2
Add 3 drops of dye reinker into 10 drops of water in a small container.
-
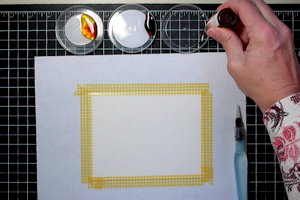
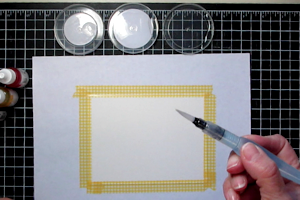
Step 3
Brush clear water across the watercolor paper to wet the surface evenly.
-
Step 4
Dab various colors of ink onto the wet watercolor paper, making sure to cover the paper so there is no white showing. Let the watercolor paper dry completely.
NOTE:
To hurry up the process, use a heat gun..png)
-
Step 5
Cut acetate with various sizes of circle dies to create a stencil.
.png)
-
Step 6
Using a sponge dauber, white craft ink, and the stencil, color in circles all over the watercolor paper, overlapping some. Use the sponge dauber to fill in any blank spaces.
.png)
-
Let the inked panel dry completely.
.png)
-
Step 7
Embellish the panel as desired.
-
Step 8
Assemble and complete the card.

Video!
Your Turn
You've seen the tutorial, now you try it! We've got a section of the gallery set aside for Watercolor Bokeh. Try this technique, then upload your artwork to the gallery. Show us your creations!
***Please note - Internet Explorer/Edge is not a supported browser, and will not allow you to see the videos. Please use Chrome, Firefox or Safari to view our tutorial videos.

Questions and Comments
We'd love to get your feedback or questions. Leave your comment below.
Laurie
Thanks for sharing.
Harrriettb
Jocelyn x
Page 1 of 2 pages 1 2 >