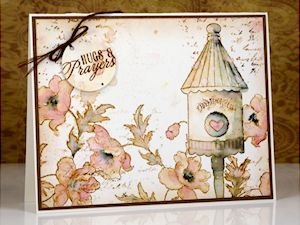
Vintage Watercolor
by Heather Telford
Use inks and watercolors to create a vintage look.
Supplies
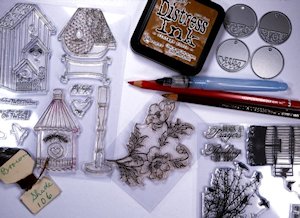
- Rubber stamps to create a scene (Penny Black stamps used here - Playful, Soar, Fly High)
- Water soluble ink (Vintage Photo Distress ink used here)
- Watercolor paper (hot press paper used here)
- Script or other background stamp (Penny Black Letter Background used here)
- Watercolor medium (Faber-Castell Albrecht Durer watercolor pencils used here)
- Waterbrush, or brushes and clean water
- Painter’s tape
- Paper or tape for masking
- Elegant Writer pen by Speedball
- Mister bottle
- Other supplies as needed to complete the project (Penny Black circle dies, brown embroidery thread used here)
Step-by-Step
-
Step 1
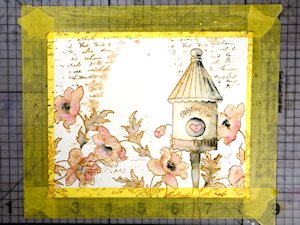
Tape watercolor paper panel to a firm surface.
Stamp images onto adhesive backed paper or masking film. Cut out whole or partial images to be used as masks.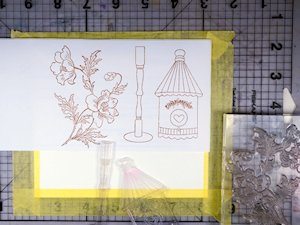
-
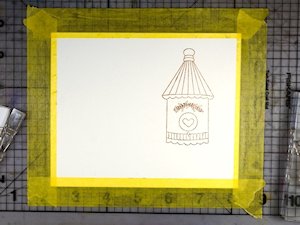
Step 2
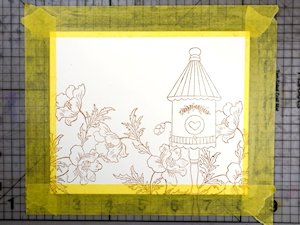
Stamp a focal image in a dark brown water soluble ink .
-
Step 3
Cover the image with the prepared mask. Stamp surrounding images. Continue to stamp and mask to build the scene.
-
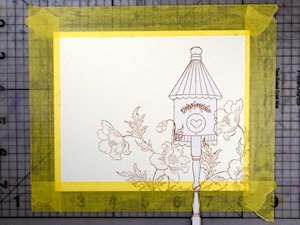
Step 4
Remove masks to reveal the focal image in the foreground with other stamped images behind it.
-
Step 5
Draw over some lines of the focal image with an Elegant Writer pen. (This pen’s ink is water soluble and separates beautifully when brushed with water. A Distress or other watercolor marker could be used, but the results will be slightly different.)
Using a waterbrush or wet paint brush, blend out the ink from the stamped image to fill the outline. As water touches the Elegant Writer lines they will blend with the brown ink. Use watercolor pencils or another watercolor medium to fill in other details of the image, using a very limited color palette (here only red was used in addition to the brown and black).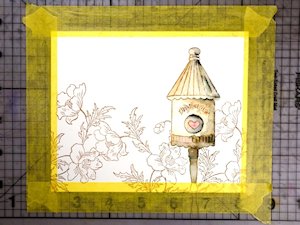
-
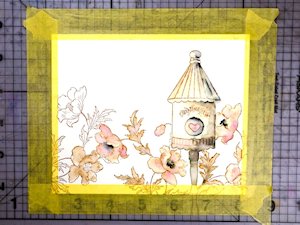
Step 6
Continue painting by adding in color and blending the watercolor medium with the ink from the stamped image using a wet brush. Where the stamped image is not dark enough, add color with a brown watercolor pencil.
-
Step 7
Add some black accents to shaded areas with the Elegant Writer pen. Blend.
-
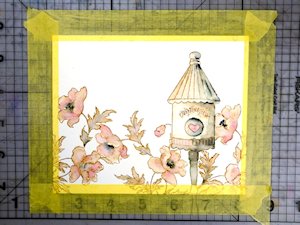
Step 8
Reposition the masks over the focal image and some of the background images. Ink parts of a script or textured background stamp with the brown ink used previously along with dabs of Elegant Writer black ink. Spritz the stamp with water and stamp around the perimeter of the panel.
-
Step 9
Splatter water droplets and diluted ink droplets over the panel, in the colors already used.
HINT:
Swipe ink pads onto a craft sheet and mist with water to dilute the ink for splattering.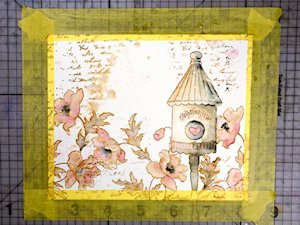
-
Step 10
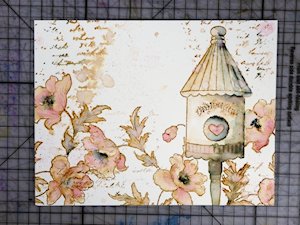
Remove the tape and trim the panel to the desired size.
-
Step 11
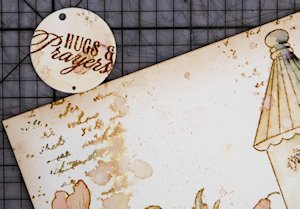
Embellish the card as desired. If desired, use the same inks as on the card panel to coordinate color elements.
-
Step 12
Complete the project.
Video!
Your Turn
You've seen the tutorial, now you try it! We've got a section of the gallery set aside for Vintage Watercolor. Try this technique, then upload your artwork to the gallery. Show us your creations!
***Please note - Internet Explorer/Edge is not a supported browser, and will not allow you to see the videos. Please use Chrome, Firefox or Safari to view our tutorial videos.

Questions and Comments
We'd love to get your feedback or questions. Leave your comment below.
learn and read the question.
appreciate your hard work on each newsletter
thank you
have to try this right away!
also, like the set up. pic instructions and video.
Joan
I also have the Elegant Designer pen, but my favorite is the Marvy 1122 LePlume ll #45 sepia that does exactly the same thing only it leaves a softer brown color instead of black after it bleeds out green then pink. I though I would share that for those who may not know. 😊
Page 1 of 2 pages 1 2 >