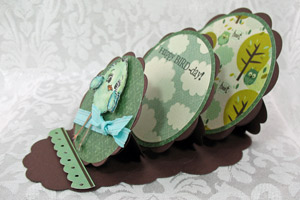
Triple Easel Card
by Kim Score
Create a triple Easel card.
Supplies
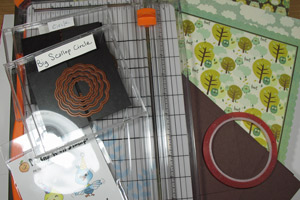
- Card stock
- Patterned paper
- Spellbinders Big Scallop Circle, Circle, Petite Circle die sets, or other similar dies
- Big Shot or other die cutting system
- Stamps for decorating (Peachy Keen Stamps used)
- Scoring Board
- Strong Adhesive
- Embellishments
Step-by-Step
-
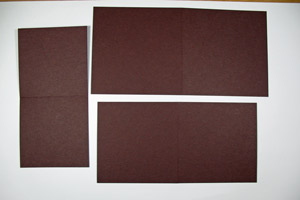
Step 1
Cut cardstock into one 4 1/2" x 9", one 4" x 8" and one 3 1/2" x 7" piece. Fold each piece in half.
-
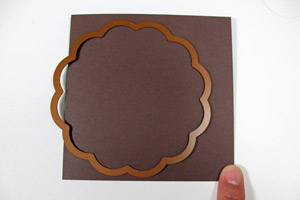
Step 2
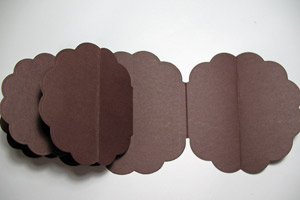
Using the three largest dies from the Big Scallop Circle die set, place the largest die on the largest piece of card stock with part of the die off the folded edge. Run through die cutter. Repeat for other two pieces of card stock.
-
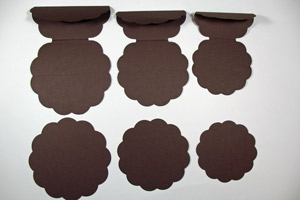
Step 3
Open up the cut piece. Fold the left side on the die cut in half towards the center. Repeat for other two cut pieces.

-
Step 4
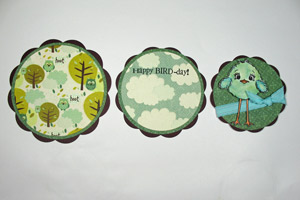
Die cut one each of the three Big Scallop Circles from card stock. Set aside.
-
Step 5
Join the three folded pieces end to end. With each unfolded half attached at the bottom half of the larger one under it.
-
Step 6
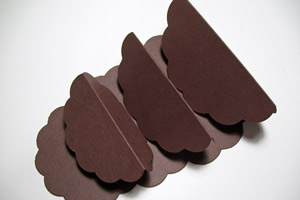
Mountain fold the top halves of the scallop circles.
-
Step 7
Decorate the three big scallop circles.
-
Step 8
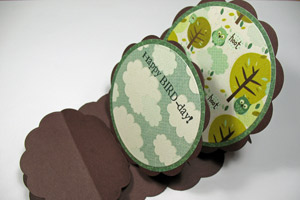
Attach the largest scallop circle to the rear mountain fold.

-
Step 9
Attach the middle scallop circle to the middle mountain fold.
-
Step 10
Attach a decorative strip or other decoration at the center of the front scallop with dimensionals to hold the front circle upright.

-
Video!
Your Turn
You've seen the tutorial, now you try it! We've got a section of the gallery set aside for Triple Easel Card. Try this technique, then upload your artwork to the gallery. Show us your creations!
***Please note - Internet Explorer/Edge is not a supported browser, and will not allow you to see the videos. Please use Chrome, Firefox or Safari to view our tutorial videos.

Questions and Comments
We'd love to get your feedback or questions. Leave your comment below.
Page 1 of 2 pages 1 2 >