Tilt Card
by Charmaine Ikach
Use a penny to make part of your image move.
Supplies
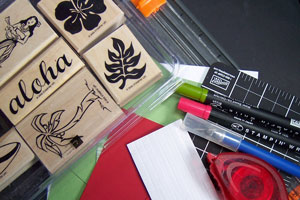
- Stamps (choose an image that would make sense if just a piece of it moved)
- 2 Pennies
- Stampin' Dimensionals
- Craft Knife
- Scissors
- Adhesive
- Markers and Embellishments of your choice
- Paper Trimmer
Step-by-Step
-
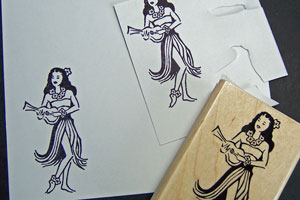
Step 1
Stamp the image twice: once for the card and once on a scrap piece of card stock to trim for the moving piece.
-
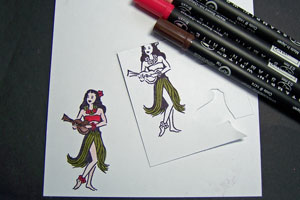
Step 2
Color images.
-
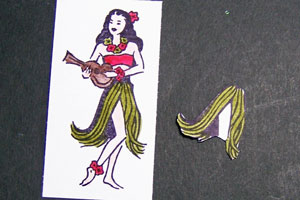
Step 3
Cut colored moving part from scrap card stock.
-
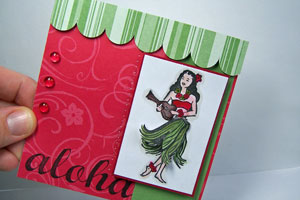
If the image is smaller than a penny, think of ways to alter the image so that it will be larger than the penny sandwich. Here, the image was stamped three times to get another piece of the skirt to cover the middle and hide the penny sandwich.

-
Step 4
With a craft knife, cut a square out of the focal image where the moving part will be placed.
Note:
This differs from a Spinner Card because there is no track for the penny sandwich to roll or spin. It just has enough space to tilt back and forth.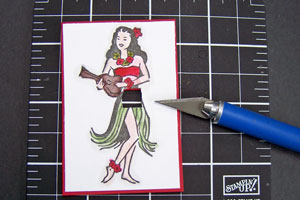
-
Step 5
Center one penny behind the cut out square. Adhere a Stampin’ Dimensional to the penny through the square.
Hint:
Depending on the size of the image, the dimensional adhesive may need to be trimmed.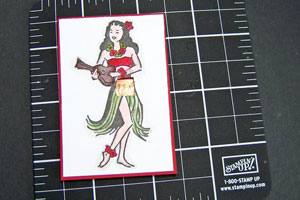
-
Place second penny on top of Stampin’ Dimensional to form a penny sandwich.
Note:
If the image is small and the penny would show, try improvising! Here, a heavy snowflake charm was used.
-
Step 6
Attach the cut out moving part to the penny sandwich with strong adhesive.

-
Step 7
Flip the focal piece over and apply Stampin’ Dimensionals to the back.
Hints:
If the penny touches the card base, the tilting action won’t happen.
Try doubling or stacking Stampin’ Dimensionals to give more space for the penny sandwich to roll.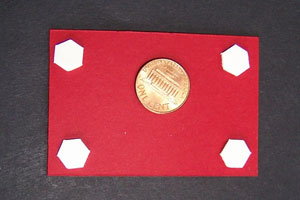
-
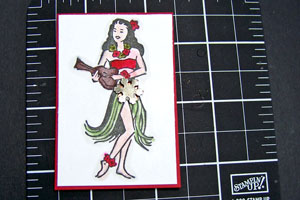
Step 8
Attach focal piece to card base and finish card.

-
Tilt back and forth and watch your image move!
Video!
Your Turn
You've seen the tutorial, now you try it! We've got a section of the gallery set aside for Tilt Card. Try this technique, then upload your artwork to the gallery. Show us your creations!
***Please note - Internet Explorer/Edge is not a supported browser, and will not allow you to see the videos. Please use Chrome, Firefox or Safari to view our tutorial videos.

Questions and Comments
We'd love to get your feedback or questions. Leave your comment below.
Page 1 of 3 pages 1 2 3 >