Thumping
by Lydia Fiedler
Add more color to your image before stamping by tapping a darker colored marker over an inked image.

Supplies

- Stamp Hero Arts Heroscapes used here
- Dye Ink Pad Gina K Color Companions used here
- Marker Karin BrushmarkerPRO used here
- Stamp Positioner MISTI used here
- Cardstock
Step-by-Step
-
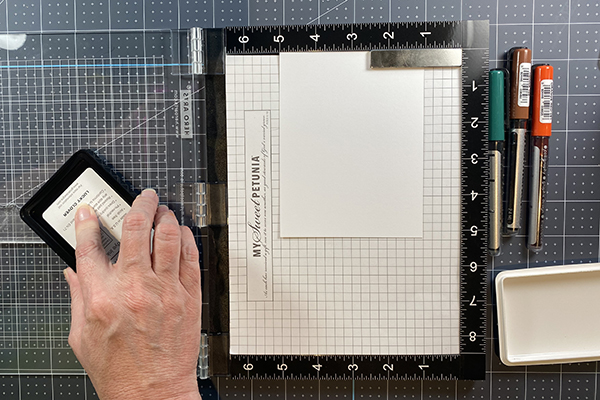
Step 1
Ink stamp with an ink pad. Stamp image using a MISTI or acrylic block. Stamp the image on cardstock.
-
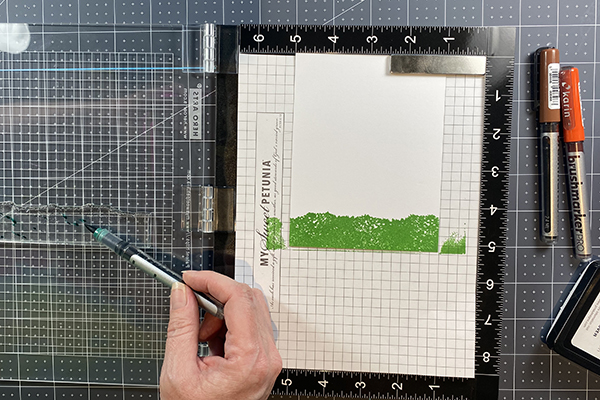
Step 2
Clean the stamp, then tap a marker against the stamp randomly to create a pattern. Water based markers work well.
-
Step 3
Continue to "thump" the marker on the image and stamp on the original image until you added enough spots to create a marbled look.
-
Step 5
Finish the card.

Video!
Variations
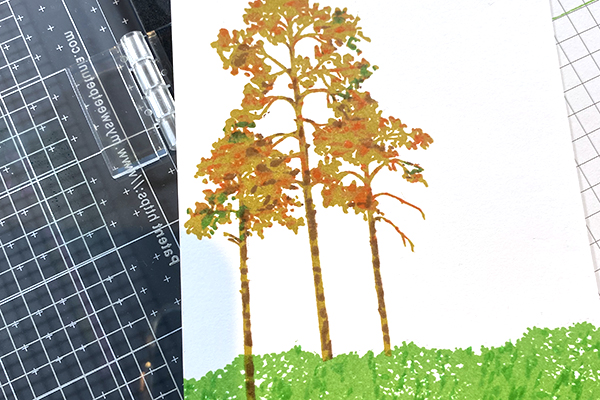
Rainbow colors
Use different colored markers on your image. Start with the lightest color marker and work your way to the darkest color.
Your Turn
You've seen the tutorial, now you try it! We've got a section of the gallery set aside for Thumping. Try this technique, then upload your artwork to the gallery. Show us your creations!
***Please note - Internet Explorer/Edge is not a supported browser, and will not allow you to see the videos. Please use Chrome, Firefox or Safari to view our tutorial videos.

Questions and Comments
We'd love to get your feedback or questions. Leave your comment below.
It is not shown in the catalog, but you can still order it for $17.95 plus shipping and taxes.
Order #111008.
You continue to amaze me with new techiniques after all these years! TFS!!!!
Page 3 of 4 pages < 1 2 3 4 >