Tailored Envelope

by Cindy Lawrence

Dress up envelopes to match your cards.

Supplies
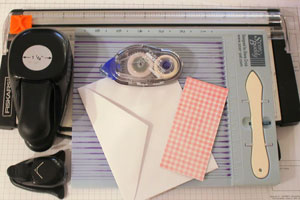
  • Paper trimmer
  • Scor-Buddy™, or other scoring tool
  • Circle punch or oval punch
  • Corner punch
  • Invitation size Envelope
  • One 2" x 4 5/16" piece of patterned paper
  • Adhesive

Step-by-Step

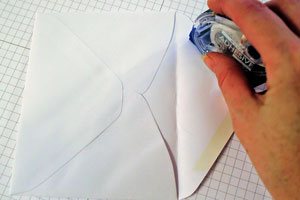
  1. Step 1

    Apply Adhesive to the flap of your envelope and seal shut.
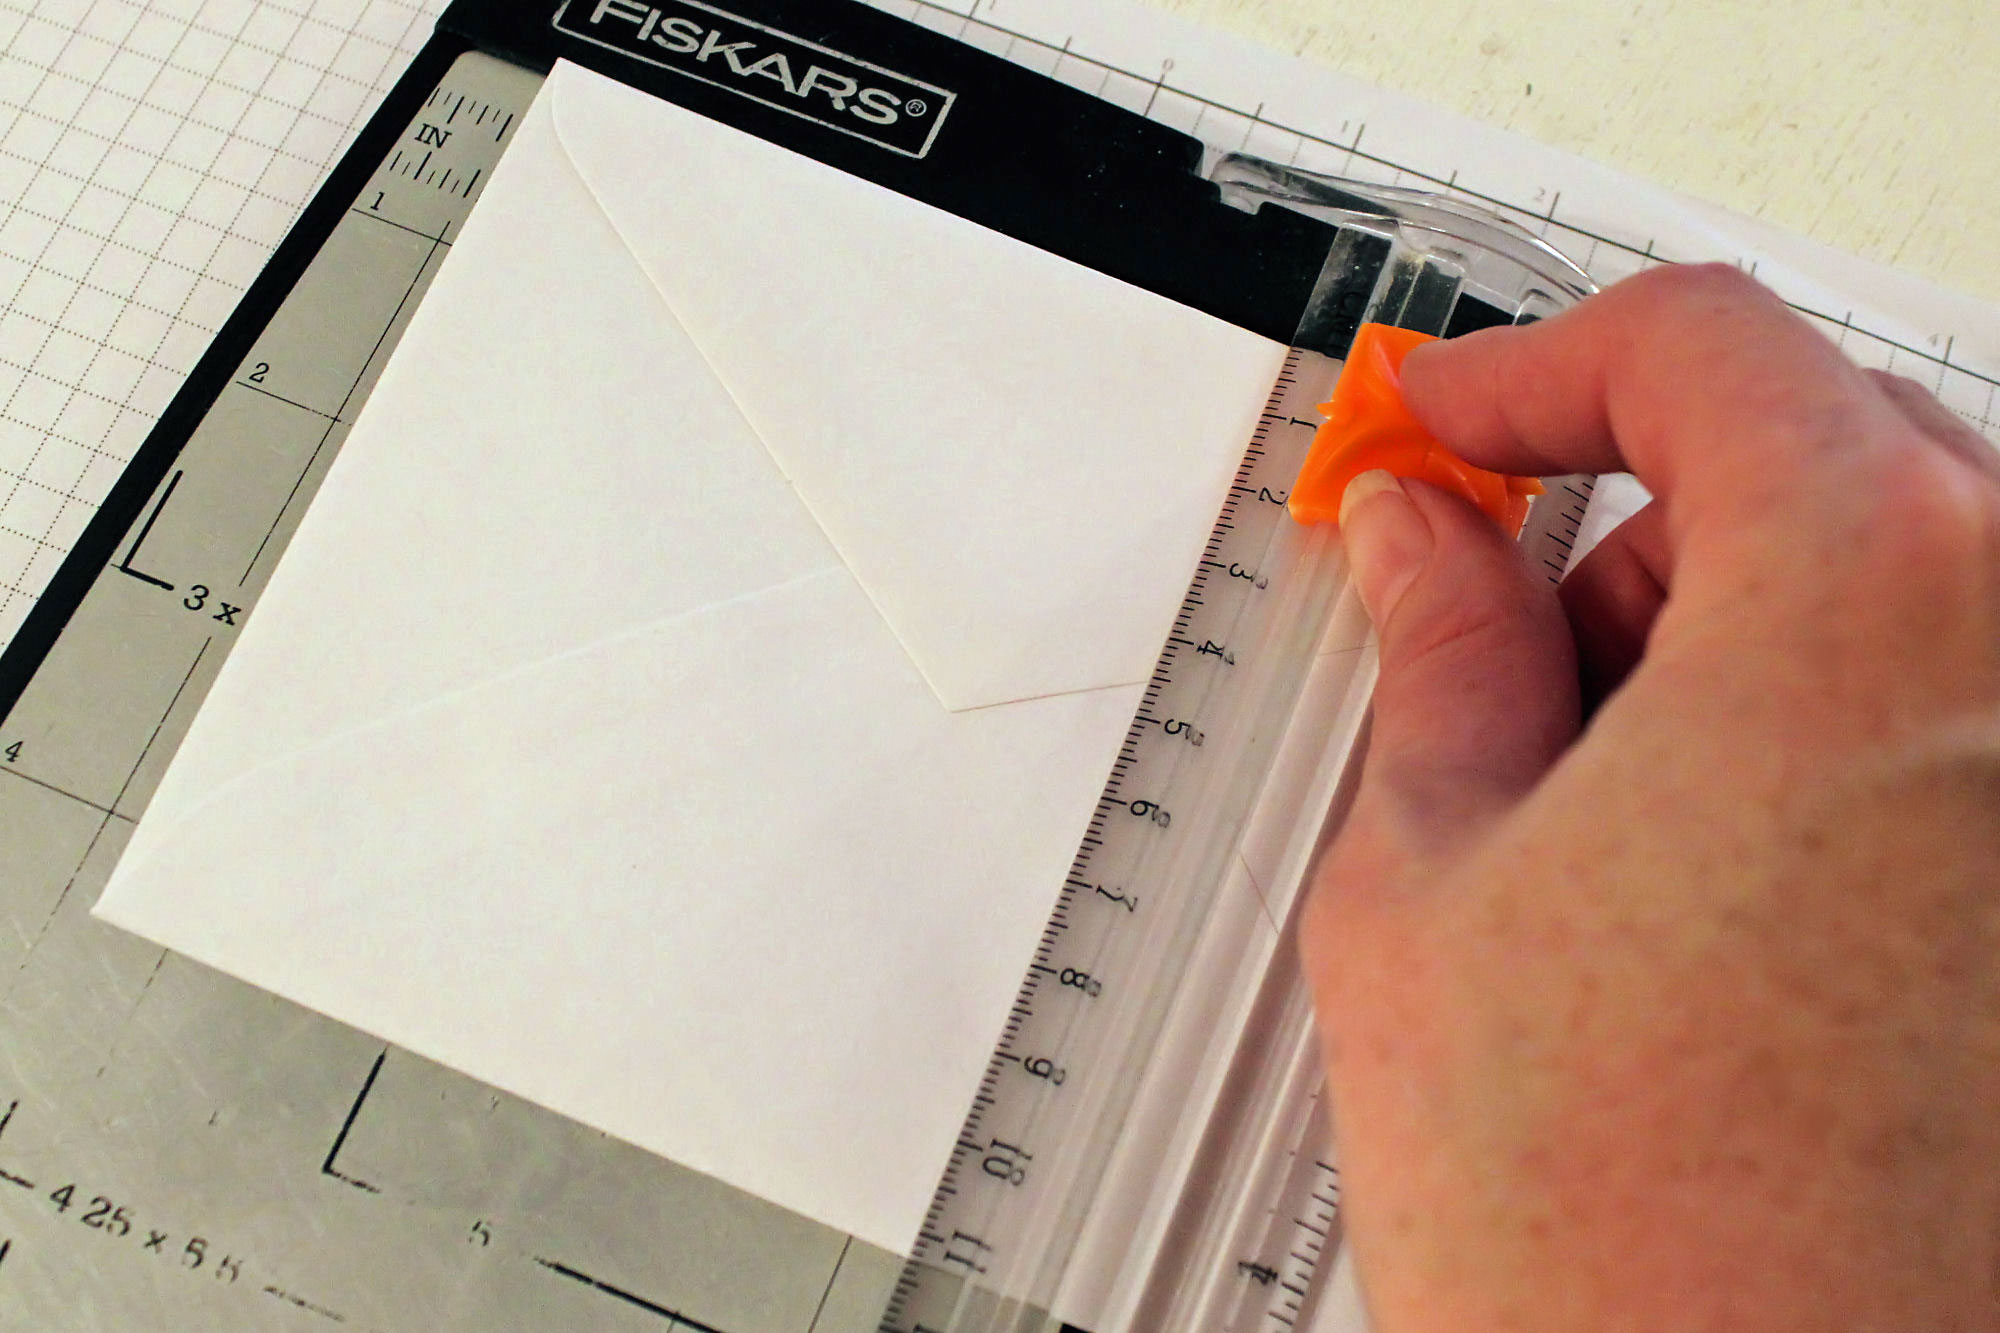
  2. Step 2

    Trim the long side of envelope at 4 5/16", making a square.
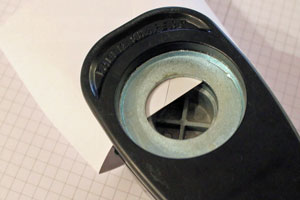
  3. Step 3

    Turn envelope over, and punch half-way in on top edge.
  4. Step 4

    Score patterned paper piece at 1/2" on short side.
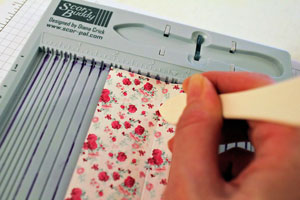
  5. Step 5

    Adhere flap to envelope, and round corners.
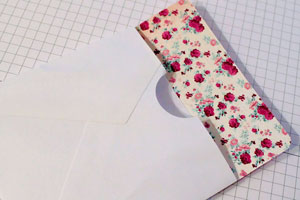
  6. Step 6

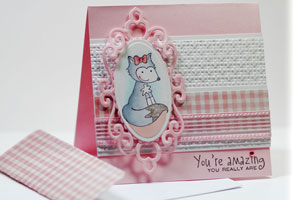
    Finish your card, and slide it into your beautifully coordinating envie.
Video!

Your Turn

You've seen the tutorial, now you try it! We've got a section of the gallery set aside for Tailored Envelope. Try this technique, then upload your artwork to the gallery. Show us your creations!

***Please note - Internet Explorer/Edge is not a supported browser, and will not allow you to see the videos. Please use Chrome, Firefox or Safari to view our tutorial videos.

Questions and Comments

We'd love to get your feedback or questions. Leave your comment below.

LOVE this tutorial video. Concise, informative and illustrative. PERFECT! Quick question: if indeed you are going to mail it, how do you seal it so the recipient doesn't have to rip it apart to open???
Thanks so much!
suzy  |  Fri Oct 28, 2011 at 7:10 AM
Love this. I am new to SCS and loving everything I see. This is a really great idea for my cards to our preschool kids. They love fancy envelopes on their notes.
tgmamoo  |  Fri Oct 28, 2011 at 8:00 AM
Suzy, I know there is a product out there called Envelope Glue; but you might have to rip it open anyway, just like a regular envelope. Perhaps try a temporary adhesive or a seal (sticker)?
Cindy Lawrence  |  Fri Oct 28, 2011 at 10:54 AM
Absolutely great, great! I've been doing various things (like gluing one side of an envelope closed and decorating this portion on the outside it so as to make a large envelope fit my smaller card) but this is MUCH better. Thanks very much for sharing.
Tula  |  Fri Oct 28, 2011 at 4:37 PM
This is only my sencond time visiting this website and was so pleasently surprised to see your tutorial! It solves a problem I've had for some time with square cards. Thanks so much!
Nancy  |  Fri Oct 28, 2011 at 6:05 PM
Wonderful tutorial, I echo others in saying this is a great alternative to putting a cute square card in a regular envelope. Unfortunately for all of us card makers that like lots of layers, we have to pay more to send them, even if we have a regular A2 size envie. At my local PO, they have a device to measure how thick my card is, and that determines how much postage I pay, as my cards are generally not more than one ounce, but they normally have layers. So, I usually end up paying additional postage for most cards I mail, but I figure it is part of the deal with sending hand made cards!

Thanks Cindy for a great tutorial with a clever and pretty solution for square card envelopes!
Stef Perry  |  Sat Oct 29, 2011 at 1:13 AM
Wow! I love making square cards (5" and now 4.25 -yes!) and talk about an easy way to do envelopes to match.
Thank you for making my envelope budget go way down and my supply budget go up!
And I absolutely love the card!
Lisa  |  Sat Oct 29, 2011 at 10:33 AM
Great tutorial, I hate putting little cards into very big envelopes! This is so useful, thanks!
Jenni B  |  Sat Oct 29, 2011 at 12:18 PM
What is the "frame" you used on the card? I LOVE it and want to get the die you used. Thanks!
Connie  |  Sun Oct 30, 2011 at 4:39 PM
I love all of the tutorials! You are acomplete joy to me. I am 92 years old adn feel i am at a party all the time!
Alta Brown  |  Tue Nov 1, 2011 at 1:00 PM
Alta - your comment made our day on the Splitcoast team!! Thank you for visiting!!
Lydia Fiedler  |  Tue Nov 1, 2011 at 1:05 PM
Love it! I think I'll be using this idea for sealing homemade envelopes, using ordinary printer paper is certainly a cheaper alternative to invitation envelopes but I can never get the flap right.

Thanks so much for sharing!
Leeann  |  Sun Nov 6, 2011 at 5:33 AM
Love it - How clever! Thank you!
Souize  |  Wed Nov 9, 2011 at 11:47 AM
Great card and tutorial, Cindy. I also have a request for the die you used for the card. It is absolutely so cute! Could you please share this info with us? Thanx.
Shirley
Shirley  |  Fri Nov 11, 2011 at 9:17 AM
The die used in the finished sample is from Spellbinders Fancy Tag 2 die pack! I love those dies.
beate  |  Fri Nov 11, 2011 at 9:23 AM
Yes, that's the die! Thanks, Beate! grin
Cindy Lawrence  |  Sun Nov 13, 2011 at 12:50 PM
Cindy, you are awesome! This looks so easy, and makes such a difference to the recipient! I am thrilled to know how to do this. I was afraid it was going to be a bunch of math and angles! You are a dear for sharing your process with us. Thank you for the video especially. It is easier for me to make things that way!

He IS Able!
Traci S.
Traci S.  |  Tue Nov 15, 2011 at 4:59 PM
Love this product. Do you know if it is available in Australia??
Anthea Hill  |  Wed Jan 30, 2013 at 5:41 AM
What a fabulous idea! Thanks
Susan Algate  |  Wed Jan 30, 2013 at 10:05 AM
Can you put a 4 1/4" card in the mail? I know that you can send 5" square but because of its odd size you have to use 65 cents postage. Such a quick and easy way and so coordinated!
Trish Bennett  |  Wed Jan 30, 2013 at 5:37 PM

Page 3 of 4 pages  <  1 2 3 4 >

You need to be logged in to comment

GET OUR NEWSLETTER


Splitcoaststampers's privacy policy