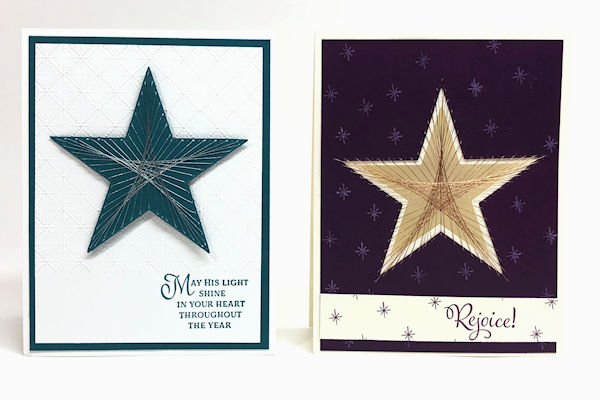
Stitched Die String Art
by France Martin
Use die cuts for some geometric stitchery.
Supplies
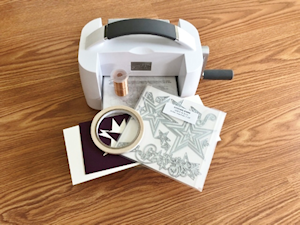
- Stitched or pierced die ( Stampin’ Up!® Stitched Stars used here)
- Cardstock (SU Very Vanilla and Blackberry Bliss used here)
- Metallic thread
- Fine gauge needle
- Die cut machine
- Other supplies as needed to complete the project (SU supplies used here: Peaceful Nativity Stamp Set,Tear and Tape or other adhesive of your choice)
Step-by-Step
-
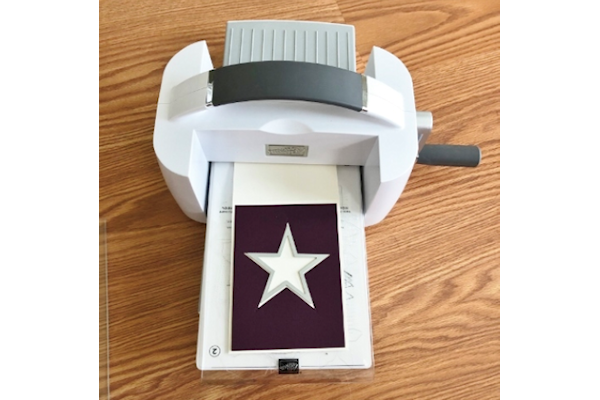
Step 1
Place the stitched die on to the card stock layer and run through the die cut machine.
-
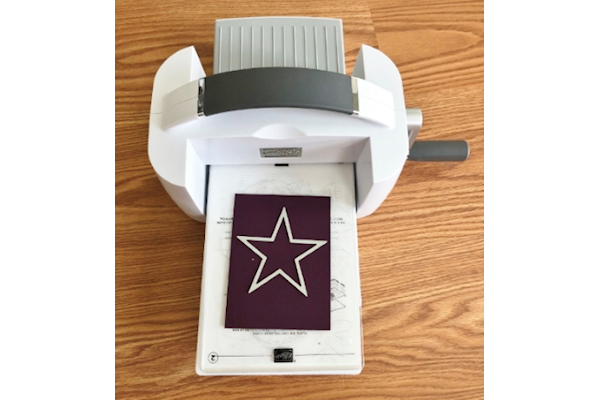
Step 2
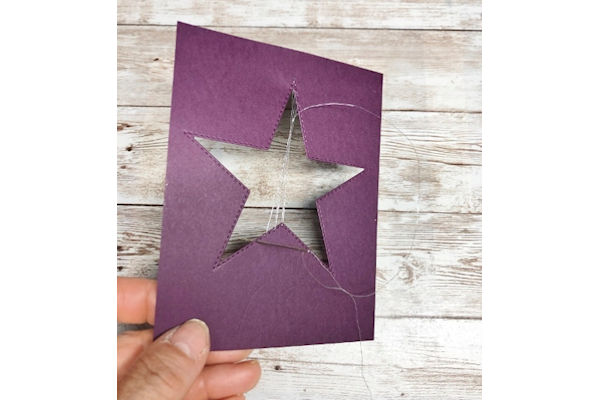
Place the layer that you die cut onto the card base. Center a smaller die of the same shape (stars are use here) and die cut the card base to create a window with the smaller die. (This creates a small border inside the stitched layer and also covers up the stitching on the back of the panel.)
-
Step 3
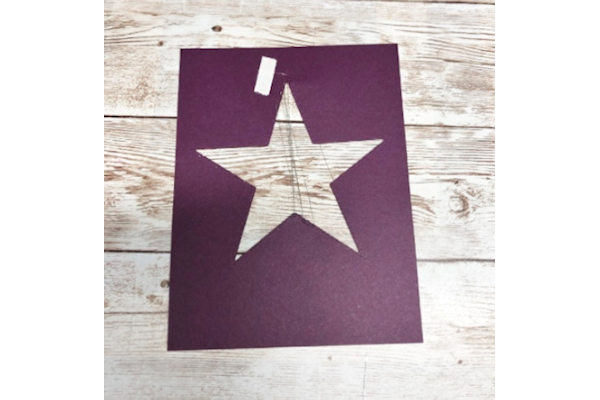
Thread the needle with 2 yards or less of metallic thread. Secure the thread with tape on the back of the stitched window.
-
Step 4
Bring the thread through from back to front at the center top of the shape. Go down at the center bottom. Skip the next stitch mark in your die to the right of your first stitch. Make a new stitch at the top coming up from the 3rd stitch and going down two stitches over to the left at the bottom.
-
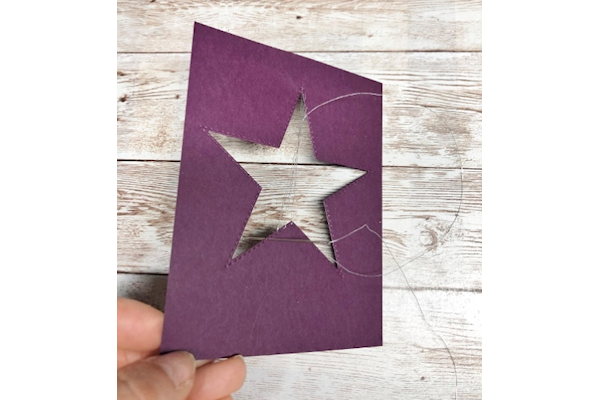
Continue on in the same way, skipping every other stitch with your stitches at the bottom going to the left, and your stitches at the top going to the right.
-
Step 5
Keep adding more thread as needed and ALWAYS secure the ends with tape in the back.
-
Step 6
Assemble the card, centering the stitched layer on the card front with the opening.
-
Step 7
Complete the project.


Video!
Your Turn
You've seen the tutorial, now you try it! We've got a section of the gallery set aside for Stitched Die String Art. Try this technique, then upload your artwork to the gallery. Show us your creations!
***Please note - Internet Explorer/Edge is not a supported browser, and will not allow you to see the videos. Please use Chrome, Firefox or Safari to view our tutorial videos.

Questions and Comments
We'd love to get your feedback or questions. Leave your comment below.
This was very easy to follow. Thank you!!
Daria
Page 1 of 1 pages