Stable Card
by Giovana Smith
Create a stable shaped Christmas card.
Supplies
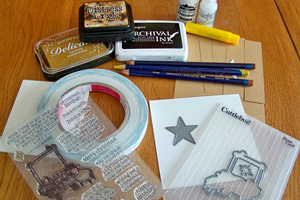
- Stamps, Sweet 'n Sassy Stamps "Born This Day" used here
- Dies Sweet 'n Sassy Stamps Manger Die set used here
- Cardstock: Ivory, Light brown
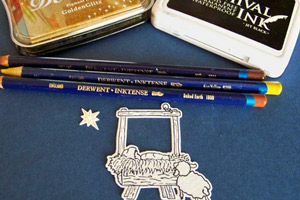
- Walnut Stain Ink
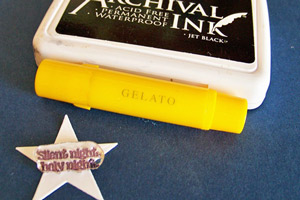
- Banana Gelato
- Adhesive, Dimensionals and Scor-Tape used here
- Snow Cap Acrylic Paint
- Embossing folder
Moss (Optional)
Step-by-Step
-
Step 1
Fold a 4 1 /2" x 9" piece of brown cardstock in half to create your card base. You will need two brown 1/2" wide strips for the side of your stable and two brown 1" wide pieces for the top of the stable.

-
Step 2
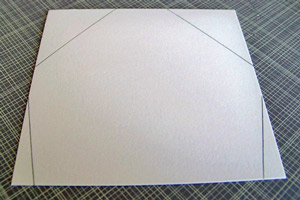
Create a template following these measurements.
Mark the top of your card (where the fold is) 1 3/4" in on both sides. Measure down 2" on each side and mark that. Connect the dots.
Mark the bottom of your card 1/2" in on both sides. Connect with the 2" spot on each side.
Cut away cardstock along the lines.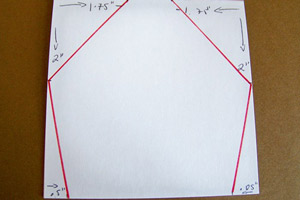
-
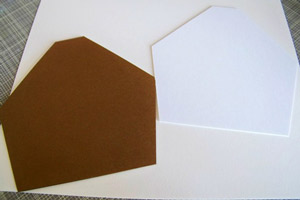
Use template to cut your brown card base.
-
Step 3
Use your card base as a template over ivory cardstock. Trace it and cut it out.
-
-
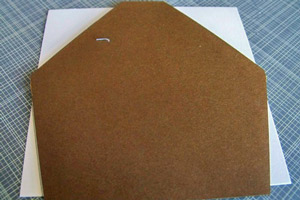
Step 4
Adhere ivory layer to the card front.
If you place your strips on the sides and tops, it already looks like a stable. But don't adhere them just yet.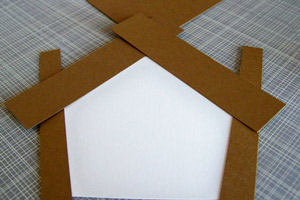
-
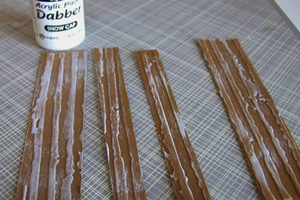
Step 5
Emboss your strips with woodgrain embossing folder and paint with white acrylic paint.
-
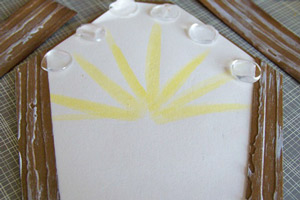
Step 6
Adhere the side strips of the manger with Scor-Tape. To give it more dimension, add the top strips with large glue dots.
Create yellow rays with coloring medium of your choice.
-
Step 7
Stamp, die cut and color your images.
-
Adhere to card. Decorate your stable with moss.
-
Step 8
Adhere die cuts to card front and decorate.

Video!
Your Turn
You've seen the tutorial, now you try it! We've got a section of the gallery set aside for Stable Card. Try this technique, then upload your artwork to the gallery. Show us your creations!
***Please note - Internet Explorer/Edge is not a supported browser, and will not allow you to see the videos. Please use Chrome, Firefox or Safari to view our tutorial videos.

Questions and Comments
We'd love to get your feedback or questions. Leave your comment below.
Thanks so much for your comments ladies <3
Page 1 of 1 pages