Snowman Tea Light
by Becky Roberts
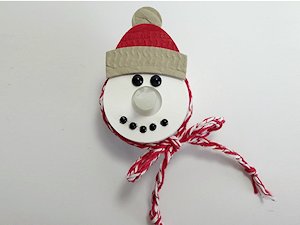
Turn a battery tea light into a cute snowman.
Supplies
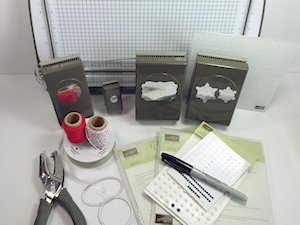
- Cardstock (Stampin’ Up!® Real Red, Crumb Cake and Whisper White used here)
- Decorative paper (SU Candy Cane Lane Designer Series Paper used here)
- Window Sheet
- Battery tea light
- Circle punches (1/2” and 1-3/8” Circle Punches, Standard 1/4” hand-held Hole Punch used here)
- Baker’s twine or other trim for scarf
- Self adhesive pearls
- Black permanent marker
- Oval dies (SU Layering Ovals Framelits used here)
- Embossing folder (sweater pattern or other textile – SU Cable Knit Dynamic Textured Impressions Embossing Folder used here)
- Medium shaped die or punch for box window (Decorative Label Punch used here)
- Adhesives (Tombow Mono Multipurpose Liquid Glue and Mini Glue Dots used here)
- Paper trimmer
- Scoring tool
- Scissors
- Other supplies as needed to complete the project (Snow Flurry Punch, Layering Circles Framelits, 5/8” Organza Ribbon, Candy Cane Lane Baker’s Twine (both colors), bone folder, shredded paper)
Step-by-Step
-
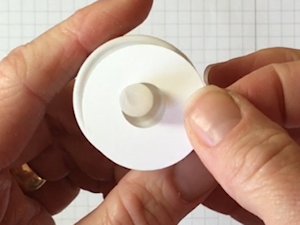
Step 1
Start with a piece of white cardstock at least 2” x 2”. Insert the 1/2” Circle Punch in as far as it will go and punch a hole. Center the 1 3/8” Circle Punch over that and punch.
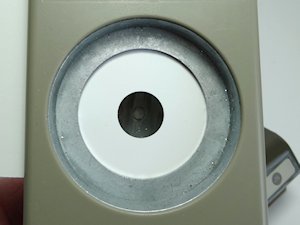
-
This creates the snowman’s face and a place for his nose. Center the piece on a battery tea light and adhere.
-
Step 2
Use a piece of ribbon or other trim to make the scarf. For the sample, the scarf is made with two colors of Baker’s Twine in 6 strands, braided together.
Wrap the scarf around the snowman’s head and into a bow under his chin. You may need to secure it with a Mini Glue Dot if it isn’t tight enough.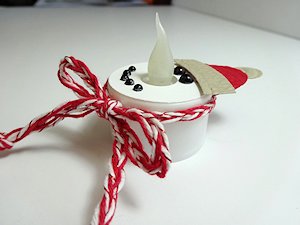
-
Step 3
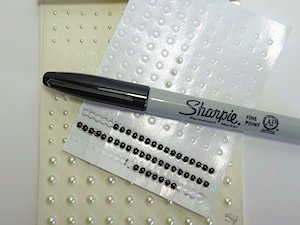
The eyes are self-adhesive pearls colored with a black Sharpie marker. After coloring, let them dry a couple of minutes before carefully sliding them off with a pair of scissors. You will need 5 small pearls for the smile and two larger pearls for the eyes.
-
Start with the center pearl in the smile and then add one to each side at a time. That determines where his smile is on his face. Now you can add the eyes accordingly. Put the eyes fairly close to his nose, though, so you have room for his hat.
-
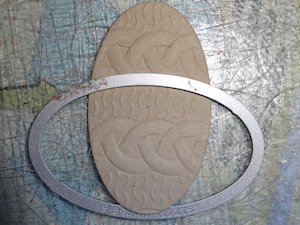
Step 4
The hat is made with oval dies. Cut two ovals that are 1 1/4” x 2 1/2” and use a textile embossing folder to emboss them.
-
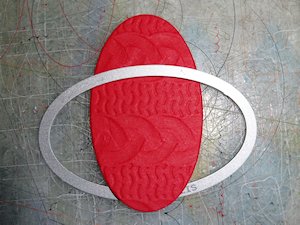
Step 5
Lay the die onto the cut oval almost midway down. Tuck the bottom behind the cardstock if necessary so it won’t cut it off. Run it through the Big Shot to cut the top portion off.
-
Reposition the die down the oval about 1/2” or so and cut again. You now have the brim for the hat.
From the piece that you are not using, punch a 1/2” Circle Punch for the ball on the top of the hat.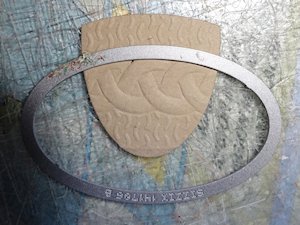
-
Step 6
Cut the red oval at about 1/4” to 1/3” from the top. Hold the brim up to it and decide how tall you want your hat to be. Adhere it all together.
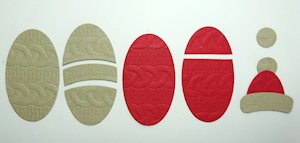
-
After all the cuts for the hat, this is what you should have.
-
Step 7
Adhere the hat to the tea light with 2-3 Mini Glue Dots.
TIP:
If your tea light has a slightly raised outer edge, place the Mini Glue Dots there as opposed to the recessed area.
-
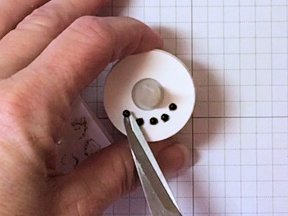
Step 8
Cut a 1 5/8” Scallop Circle for the bottom of the tea light. Position the light on top of the circle and mark where the on/off switch is. Punch a couple of 1/4” holes there so the switch is now accessible when the base is adhered to the light. Adhere the tea light to the scallop circle with foam tape.
TIP:
If the recessed area was deep, stack two pieces of foam tape together to adhere the cardstock base.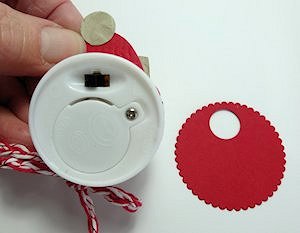
-
Step 9
To create the box base cut a piece of cardstock to 5 1/2” x 6 1/2”. Score all four sides at 1 3/4”.
The layering panels are two at 1 1/2” x 1 7/8” and two at 1 1/2” x 2 3/4”.
The top is cut to 4 1/8” x 3 1/8”. Score all four sides at 1/2”.
On both box pieces, cut on two opposite sides of the cardstock on the score line up to the intersecting score line. Trim a slight ‘v’ out of the tab portion for easier folding. (You can take a slight ‘v’ off the outside of the tabs also if you want to help avoid any paper hangovers.)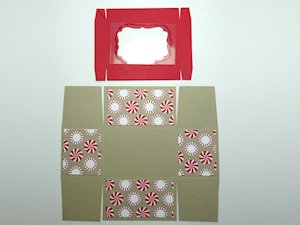
-
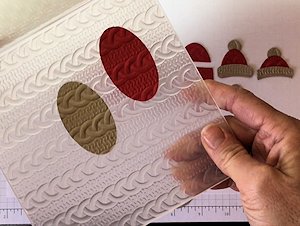
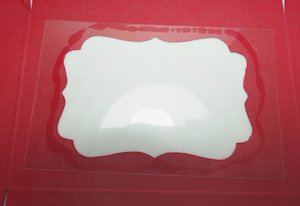
Step 10
Use a punch or die to put a window in the box top and adhere a piece of clear Window Sheet behind it.
-
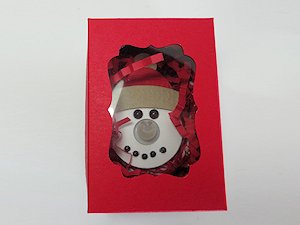
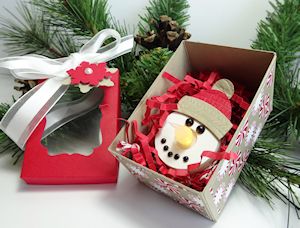
Step 11
Assemble the box and lid. Inside, add a small amount of shredded paper to the box, mostly near the corners, and set the snowman inside.
NOTE:
If there are too many shreds, his nose will poke a hole through the lid, so check carefully before you push the lid on.
-
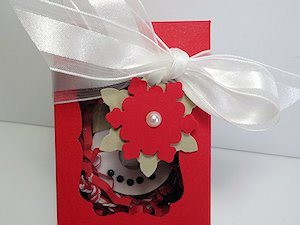
Step 12
Embellish the box as desired.
-
Step 13
Complete the project.
Video!
Your Turn
You've seen the tutorial, now you try it! We've got a section of the gallery set aside for Snowman Tea Light. Try this technique, then upload your artwork to the gallery. Show us your creations!
***Please note - Internet Explorer/Edge is not a supported browser, and will not allow you to see the videos. Please use Chrome, Firefox or Safari to view our tutorial videos.

Questions and Comments
We'd love to get your feedback or questions. Leave your comment below.
Page 1 of 1 pages