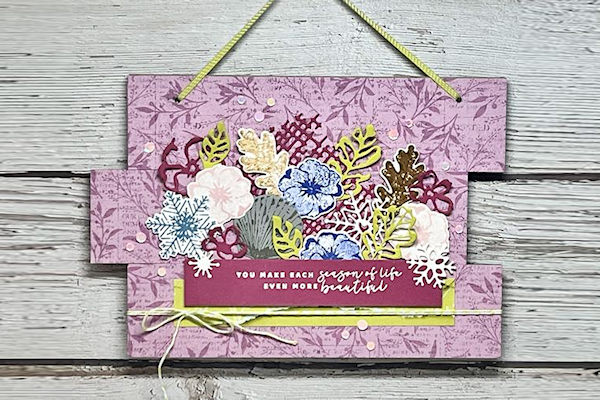
Slat Wall Hanging
by Debbie Henderson
Make a sturdy decor item using chipboard and embellishments.
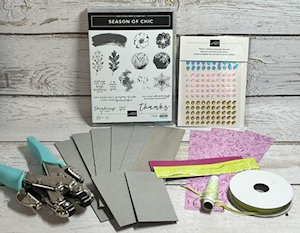
Supplies
- Thick cardboard or chipboard (six pieces 8” x 2” & two pieces 4” x 2”)
- Liquid Glue
- Patterned paper (Stampin’ Up!® Masterfully Made used here - three pieces 8” x 2”)
- Pencil
- Crop-a-dile or other heavy duty punch
- Other supplies as needed to complete the project: (SU products used here: Season Of Chic stamp set, Gray Granite, Boho Blue, Orchid Oasis, Bubble Bath and Pecan Pie inks, VersaMark ink, Basic White, Berry Burst and Gray Granite cardstock, Ribbon & Twine, Chic Dies, Heat Tool, White Embossing Powder, Stampin’ Dimensionals, Pastel Adhesive-Backed Sequins)
Step-by-Step
-
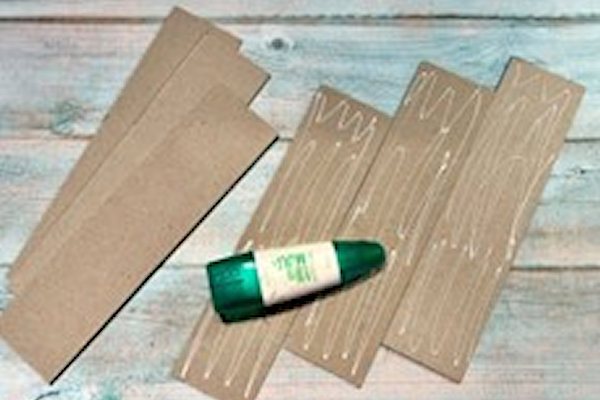
Step 1
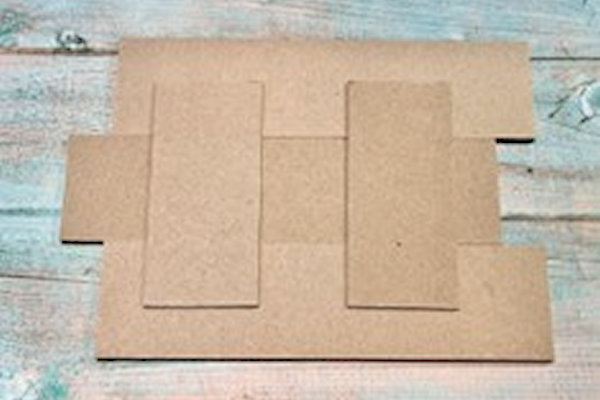
Add liquid glue to three of the 8” x 2” cardboard or chipboard pieces. Stack and layer the remaining 3 on top of each one.
-
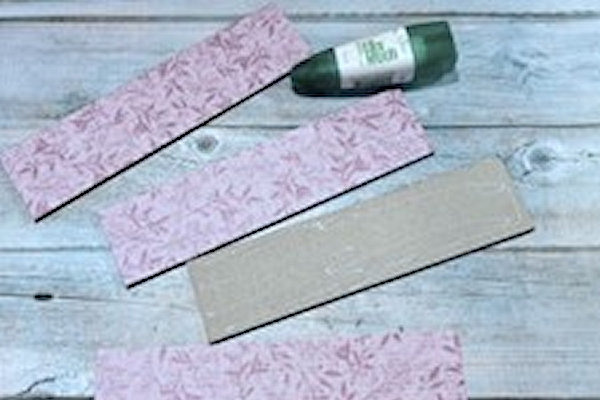
Step 2
Add liquid glue to the top of each cardboard or chipboard, and glue the designer paper to each one.
-
Step 3
Flip and line up the three cardboard or chipboard pieces as shown. Add glue to the two 4” x 2” cardboard or chipboard pieces and glue them down to secure all pieces together to form the wall hanging shape.
-
Step 4
Embellish the panels as desired. To recreate the sample:
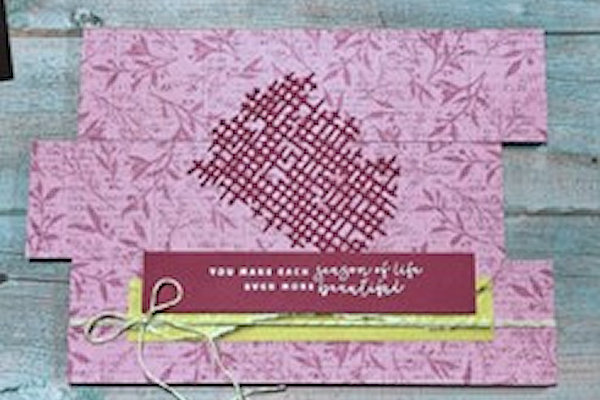
Glue 6” x 1” designer paper about 1” from the bottom, flat.
Emboss a sentiment on contrasting cardstock.
Wrap the twine around the wall hanging below the sentiment twice and tie into a bow at the left.
Glue the large background die shape cut with Berry Burst Cardstock to the center. -
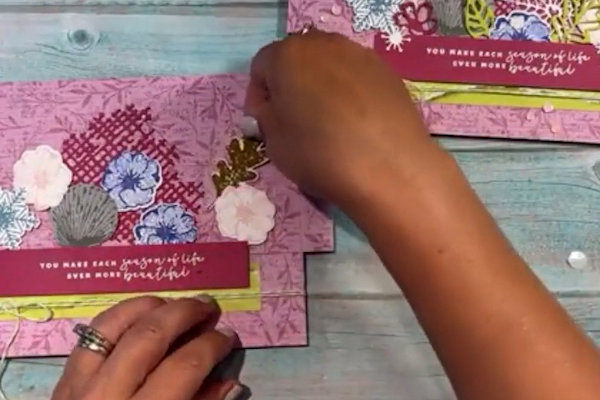
Continue to glue and layer the stamped and die cut items tucked under the sentiment and work your way up.
TIP:
Vary the height of your embellishments by gluing some flat and popping some up with foam tape. -
Step 5
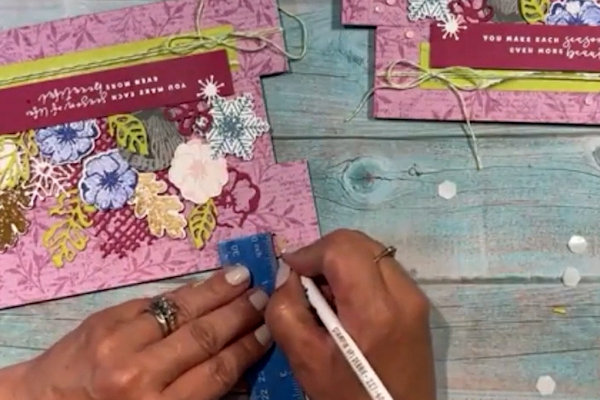
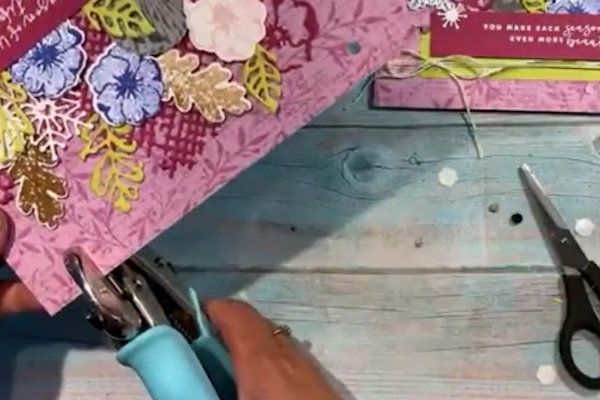
Using a pencil, measure at the top left and top right over 1” and down 1/2”.
-
Use the Crop-A-Dile to add two holes.
-
Step 6
Thread the ribbon through the holes and tie a knot to hold the ribbon in place on the back.
NOTE:
You may have to tie several knots on top of each other. -
Step 7
Complete the project.

Video!
Your Turn
You've seen the tutorial, now you try it! We've got a section of the gallery set aside for Slat Wall Hanging. Try this technique, then upload your artwork to the gallery. Show us your creations!
***Please note - Internet Explorer/Edge is not a supported browser, and will not allow you to see the videos. Please use Chrome, Firefox or Safari to view our tutorial videos.

Questions and Comments
We'd love to get your feedback or questions. Leave your comment below.
Page 1 of 1 pages