Shrink Plastic Buttons
by Kim Teasdale
Sometimes, the only way to get the perfect button for a project is to make it yourself.
Supplies
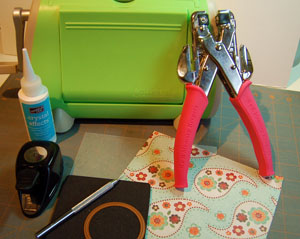
- Die Cut Machine
- Spellbinders Standard Circle Dies (Fourth largest in the set used here.)
- Mat Pack and Piercing Tool
- Shrink Plastic (Shrinky Dinks Frosted Clear used here)
- Crop-a-dile™
- Heat Tool
- Patterned Paper
- Crystal Effects™ or other dimensional, clear adhesive
- 1" Circle Punch
Step-by-Step
-
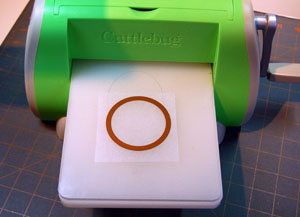
Step 1
Use circle die in die cut machine to cut a circle out of shrink plastic.
-
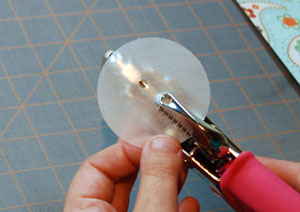
Step 2
Use largest hole punch on the Crop-a-dile to punch the button holes.
-
Step 3
Following the directions on the packaging, shrink the plastic using a heat tool or an oven.

-
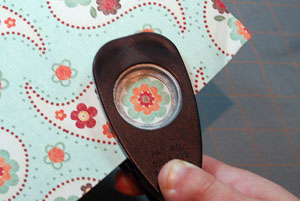
Step 4
Punch 1" circle from any patterned paper to decorate your button.
-
Step 5
Add a thin layer of Crystal Effects to the shiny side of the button and adhere patterned paper.
The patterned paper will appear cloudy until completely dry.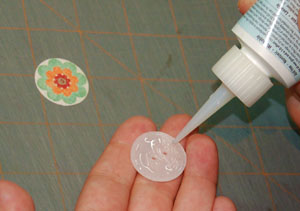
-
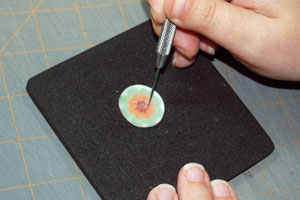
Step 6
Using piercing tool with the foam mat, poke through the dried adhesive to clear button holes.
-
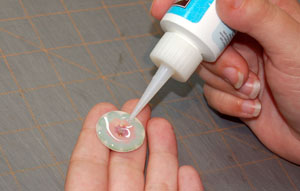
Step 7
Add a thick layer of Crystal Effects to the frosted side of the button and wait for it try dry clear before using.
-
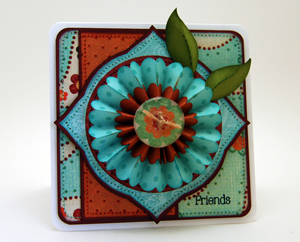
Step 8
Completed project featuring shrink plastic button.
Your Turn
You've seen the tutorial, now you try it! We've got a section of the gallery set aside for Shrink Plastic Buttons. Try this technique, then upload your artwork to the gallery. Show us your creations!
***Please note - Internet Explorer/Edge is not a supported browser, and will not allow you to see the videos. Please use Chrome, Firefox or Safari to view our tutorial videos.

Questions and Comments
We'd love to get your feedback or questions. Leave your comment below.
Hugs and smiles
Page 1 of 1 pages