Quilled Images
by Gloria Plunkett
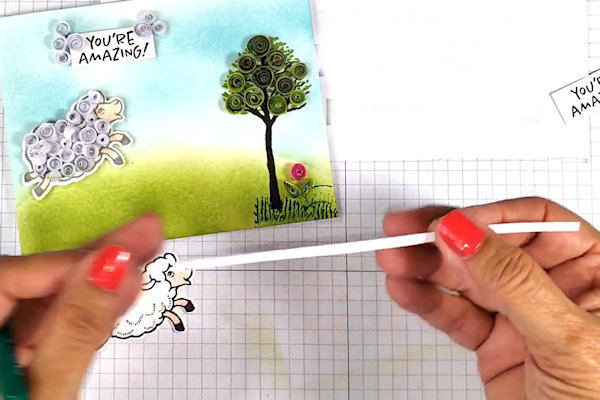
Embellish a stamped image with quilled paper.

Supplies
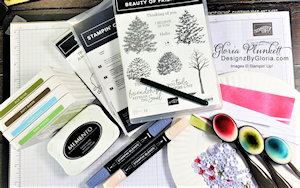
- Cardstock
- Text weight paper
- Trimmer
- Quilling tool
- Liquid glue
- Stamps or die cuts (Stampin' Up!® Counting Sheep and Beauty of Friendship stamp sets)
- Other supplies as needed to complete the project (blender brushes, inks, handcut stencil)
Step-by-Step
-
Step 1
Plan your card design, choosing stamps that can be enhanced with the quilled paper coils. Prepare text-weight paper for quilling. If you don’t have colored papers, white paper can be inked.
-
Trim strips to 1/8” width and a consistent length (strips for the sample were cut to 5 1/2" x 1/8”).
-
Step 2
Place the end of the quilling strip into the slotted end of the tool, lining the edge of the paper with the opening.
-
Holding the paper against the roller with your fingers to keep a tight coil, begin to roll the strip around the tool. Keep the paper coil centered on itself and the edges aligned.
-
Step 3
Remove the paper from the tool. If you want a looser coil, release the tension slightly until the strip unwinds to the size and openness you want. Add a small drop of liquid glue to the tail and press it against the coil to adhere and close the loop.
-
Step 4
Repeat as needed until you have enough coils for your image or scene.
-
Step 5
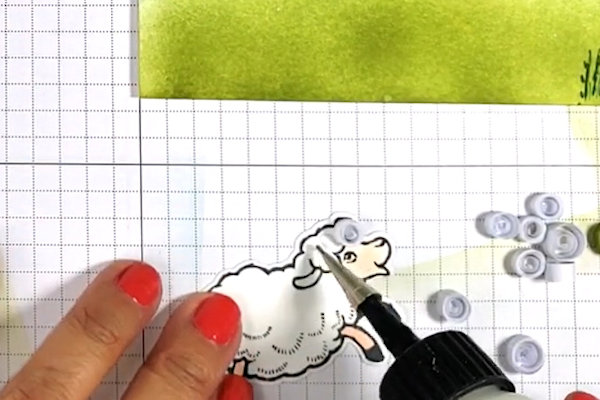
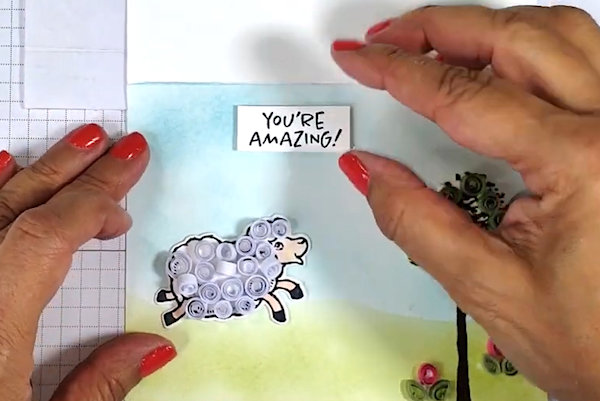
Glue the quilled coils to a stamped image or a die cut piece.
-
TIP:
For colored coils, stamp a base color first. -
Step 6
Coils can also be shaped by pinching one or both ends to a point. A leaf shape was made here.
-
Step 7
Embellish the card as desired.
-
Step 8
Complete the project.


Video!
Your Turn
You've seen the tutorial, now you try it! We've got a section of the gallery set aside for Quilled Images. Try this technique, then upload your artwork to the gallery. Show us your creations!
***Please note - Internet Explorer/Edge is not a supported browser, and will not allow you to see the videos. Please use Chrome, Firefox or Safari to view our tutorial videos.

Questions and Comments
We'd love to get your feedback or questions. Leave your comment below.
Page 1 of 1 pages