Purse Papers
by Maureen Plut
Learn how to create a beautiful little folder of small note papers to tuck into your purse.
Supplies
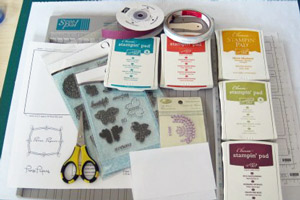
- Purse Papers template
- Heavy cardstock, white or colored
- Twelve 3" x 5" pieces of paper, white or light colored
- Stamps, Verve Stamps used here
- Scoring tool
- Scor-Tape, or strong adhesive tape
- Sharp scissors
- Ink
- Ribbon
- Embellishments
Step-by-Step
-
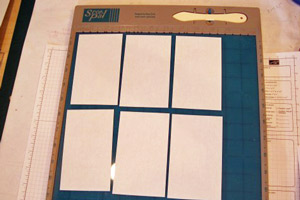
Step 1
Download PDF template file. Print onto heavy cardstock. Cut out template and “Purse Papers” frame, making sure to cut off black lines so they don’t show on finished project. Score template on dotted lines according to template instructions.
PursePapersTemplate.pdf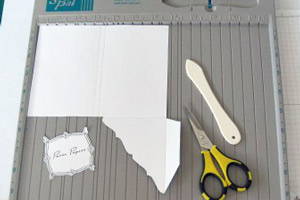
-
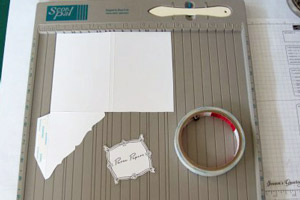
Step 2
Flip template over and add strong adhesive tap to flap.
-
Step 3
Stamp template with various inks and images of your choice.

-
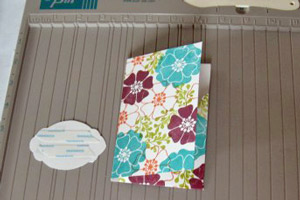
Step 4
Fold folder on scored lines. Remove plastic liner from tape and adhere flap to back of folder.
-
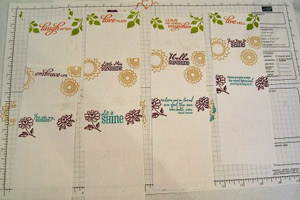
Step 5
Lay out plain papers onto work space.
-
Step 6
Stamp various images and quotes to the top of papers using various ink colors.
-
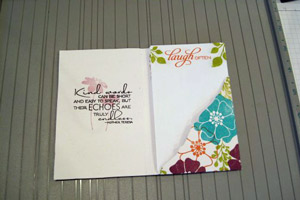
Step 7
Stamp a sentiment onto the inside of folder. Tuck papers into folder.
-
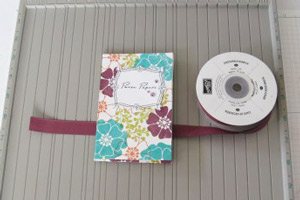
Step 8
Decorate front of folder. Add embellishments if desired. Tie ribbon around folder using a flat knot so it can easily slide off and on the folder.
Video!
Your Turn
You've seen the tutorial, now you try it! We've got a section of the gallery set aside for Purse Papers. Try this technique, then upload your artwork to the gallery. Show us your creations!
***Please note - Internet Explorer/Edge is not a supported browser, and will not allow you to see the videos. Please use Chrome, Firefox or Safari to view our tutorial videos.

Questions and Comments
We'd love to get your feedback or questions. Leave your comment below.
MH
To the "videoer" , it is plut as in hoot, not plut as in but.
Anyway, great tutorial.
I'm excited to get started on making purse packets. Thanks for the tutorial.
I am wondering if there is another way to add a closure since I don't have the magnetic snaps.?l
Page 1 of 3 pages 1 2 3 >