Photo Tiles
by Maria Williams
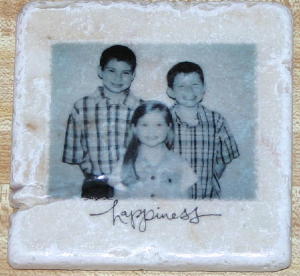
Created custom keepsake coasters.
Supplies
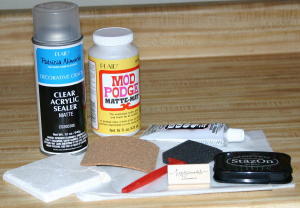
- 4" x 4" Tumbled Tile (Wipe down with a damp cloth to remove any dust and let dry completely)
- Tissue Paper
- Mod Podge®
- Tape
- Foam brush
- 4” x 4” Cork
- Permanent glue
- Stamp (optional)
- StazOn®
- Acrylic Sealer
Step-by-Step
-
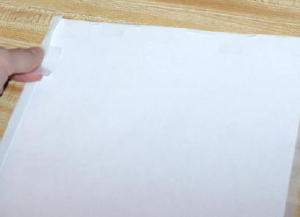
Step 1
Cut a piece of tissue paper and tape it to a regular sheet of paper. (This way it will feed through the printer.)
-
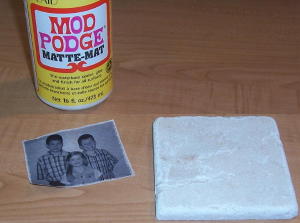
Step 2
Print picture on tissue paper and trim to fit tile.
-
Step 3
Apply a thin coat of Mod Podge™ to tile.
-
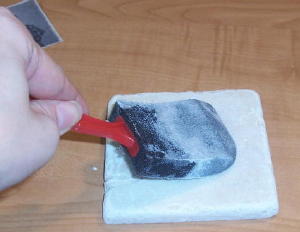
Step 4
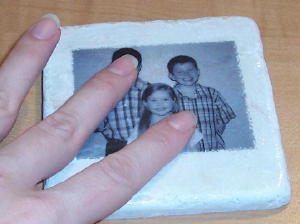
Place picture on the tile.
-
Step 5
Apply another thin coat of Mod Podge™ over picture and then let dry.
-
Step 6
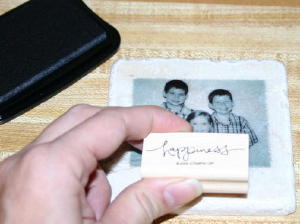
Ink stamp with Stazon™, and stamp on tile. Let dry, then cover entire tile with another layer of Mod Podge.
-
Step 7
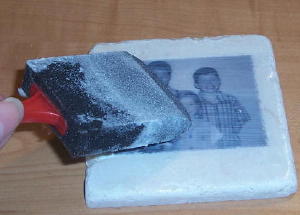
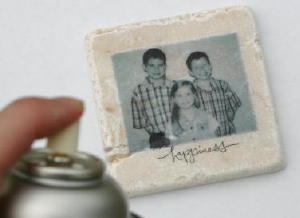
After letting the Mod Podge™ dry completely, spray with acrylic spray, following directions on can.
-
Step 8
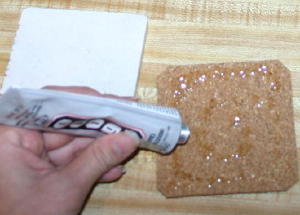
After tile is completely dry, turn it over and apply permanent glue to one side of the cork square.
-
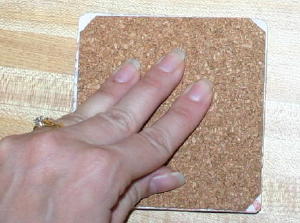
Step 9
Attach cork glue side down to the back of the tile and press down firmly.
-
Step 10
Let the glue dry and enjoy your coaster!
Your Turn
You've seen the tutorial, now you try it! We've got a section of the gallery set aside for Photo Tiles. Try this technique, then upload your artwork to the gallery. Show us your creations!
***Please note - Internet Explorer/Edge is not a supported browser, and will not allow you to see the videos. Please use Chrome, Firefox or Safari to view our tutorial videos.

Questions and Comments
We'd love to get your feedback or questions. Leave your comment below.
Then cut, modge podge, add a magnet to the back and Whalla - you have personal magnets for the Fridge.
Happy Holidays!
So, while the modge podge is still wet, I gently press (do NOT rub...it will tear!) down with my fingers with gentle, but firm pressure and the creases will "melt" into the tile. After it dries I apply modge podge and several coats of sealer and you can't even see them.
Another note: to keep the tiles from having "brush stroke" lines when the modge podge dries, I use my finger to gently press all over the tile...this takes the lines off and leaves a more "flat" texture. Then when you seal them they have a nice, smooth appearance.
Hope that helps!
FYI Four little furniture circles that go on the bottom of chairs for hard floors work much better than cork. They are already sticky and there is no mess with glue.
Page 3 of 4 pages < 1 2 3 4 >