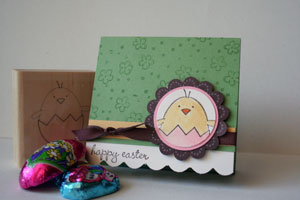
Peek-a-Boo Treat Holder
by Beate Johns
This treat holder designed by Vickie Maduzia is a quick and a cute way to give away small treats.
Supplies
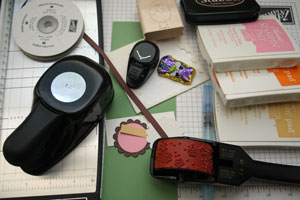
- 3 1/4" x 9 1/4" piece of cardstock
- Scoring tool
- Small chocolate treat
- Circle punch
- Glue dots
- Dimensionals
- Corner rounder optional
- Cardstock, stamps, ink and embellishments to decorate
Step-by-Step
-
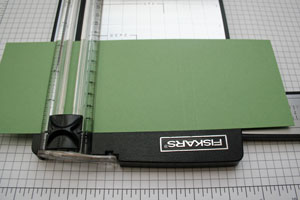
Step 1
Score the cardstock at 3", 3 3/8", 6 3/8" and 6 3/4".
-
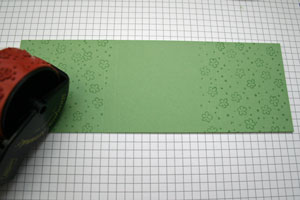
Step 2
Stamp or wheel outer panels.
-
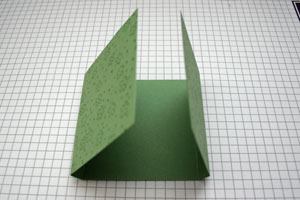
Step 3
Prefold all scored lines.
-
Step 4 (Optional)
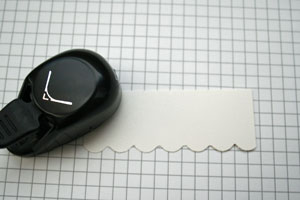
Add scallops to a small strip of matching cardstock with a corner rounder or decorative scissors.
-
Step 5
Adhere scalloped strip to the 2 1/2" x 3 1/4" panel. This is the front of the treat holder.
Decorate the front.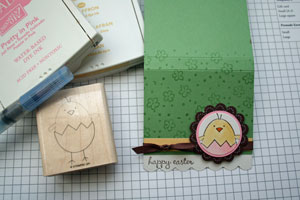
-
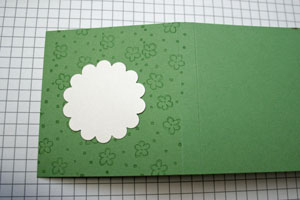
Step 6 (Optional)
For a frame for the window, adhere it to the other outer panel now.
-
Step 7
Center the circle punch over the frame and punch out window.
Hint:
This was eyeballed, but you can use this trick for perfect punch placement out every time:
Punch a circle from a Post-It™ Note. Stick the circle where the window should be. Now line up the circle punch over the Post-It™ Note circle and punch out.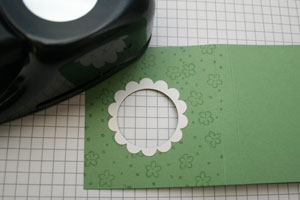
-
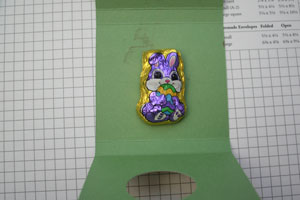
Step 8
Adhere the chocolate treat with a glue dot in the center panel. Make sure it will show through the window.
-
Step 9
Use dimensionals to adhere the window panel over the treat. Here, two dimensionals were stacked on top of each other.

-
Step 10
Embellish completed treat holder.
Video!
Variations
-
Use Patterned Paper
Use patterned paper instead of cardstock.
Full Front
Make your treat holder front as long as the back. For that start with a 3 1/4" x 9 3/4" piece of cardstock. The scoring placement will stay the same.
Close it up
Add magnetic closures or Velcro dots on the inside if you'd like the treat holder to stay closed.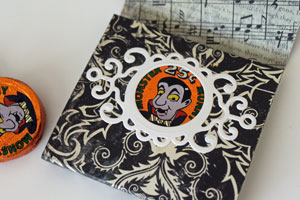
Your Turn
You've seen the tutorial, now you try it! We've got a section of the gallery set aside for Peek-a-Boo Treat Holder. Try this technique, then upload your artwork to the gallery. Show us your creations!
***Please note - Internet Explorer/Edge is not a supported browser, and will not allow you to see the videos. Please use Chrome, Firefox or Safari to view our tutorial videos.
Questions and Comments
We'd love to get your feedback or questions. Leave your comment below.
Thanks, Beate!
Absolutely DARLING!
Sharon529 - i love the "thanks a mint" idea!
Thanks a lot, Beate!!!!!
http://beate.blogs.splitcoaststampers.com/2007/02/26/quick-tutorial-on-scallop-border/
I love the scallops on the treat holder, but how do you use a corner rounder to create them?
Page 1 of 2 pages 1 2 >