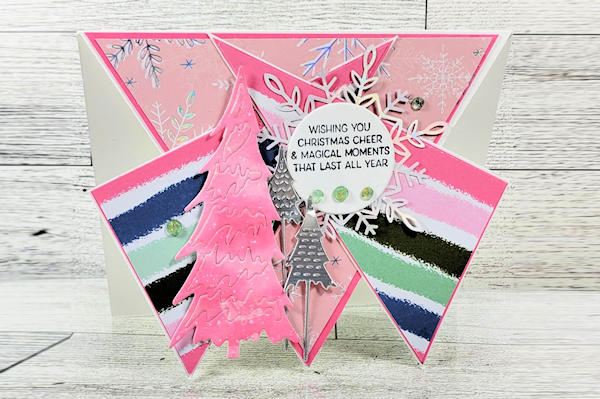
Overlapping Fun Fold Card
by Gloria Plunkett
Use angled cuts to decorate your card front.
Supplies
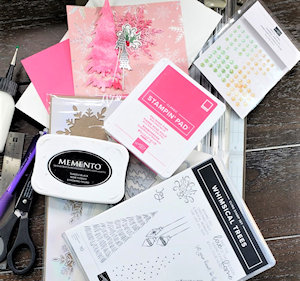
- Cardstock (Stampin' Up!® Basic White and Positively Pink Cardstock used here)
- Patterned Paper
- Pencil
- Ruler
- Liquid Adhesive
- Other supplies as needed to complete the project (SU products used here: Tree Dies, Snowflake Die cut, Gems, Silver Foil Paper, Stampin Dimensionals)
Step-by-Step
-
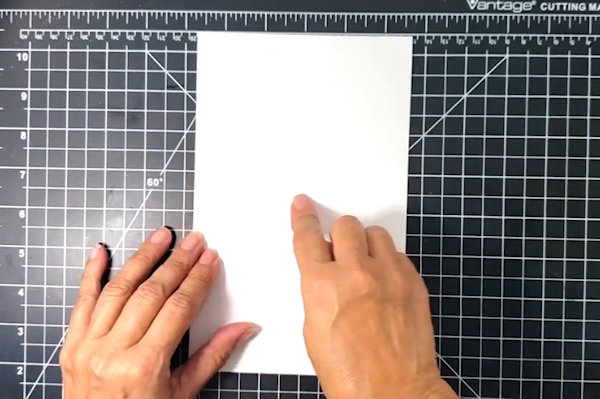
Step 1
Prepare a card base.
For an A2 card, the cardstock is 8 1/2" x 5 1/2". Score across the center at 4 1/4". -
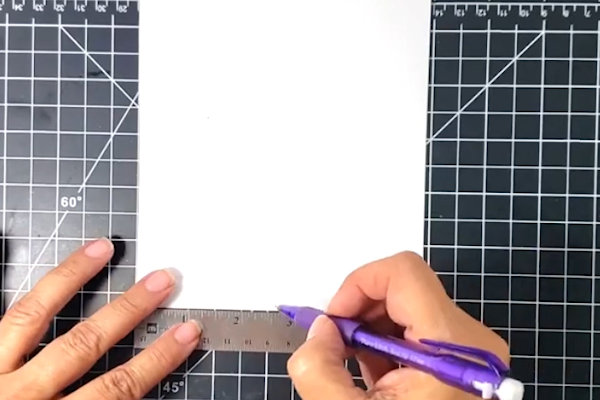
Step 2
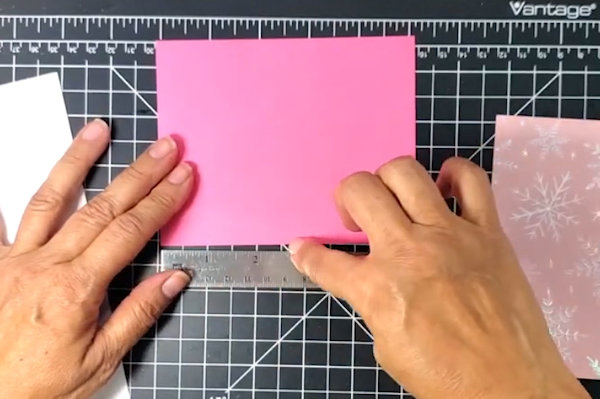
Make a pencil mark at the bottom center (2 3/4").
-
Step 3
Cut layering pieces for the panels (for the sample, the panels are 5 1/4” x 4” and 5" x 3 3/4") and mark them at bottom center. (For other sizes, reduce measurements by 1/4" for each layer.)
-
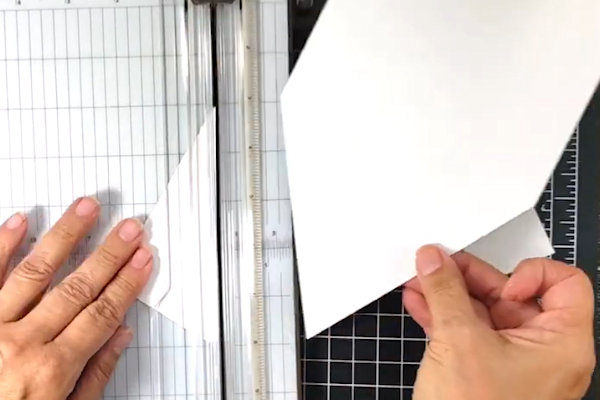
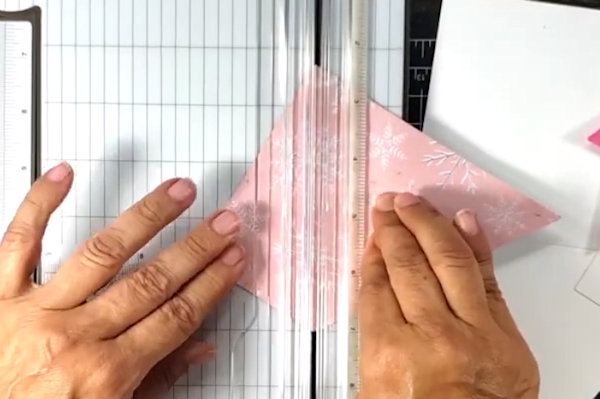
Step 4
Cut the card front from the score line to the center point on both sides.
-
Cut the layering panels in the same way.
-
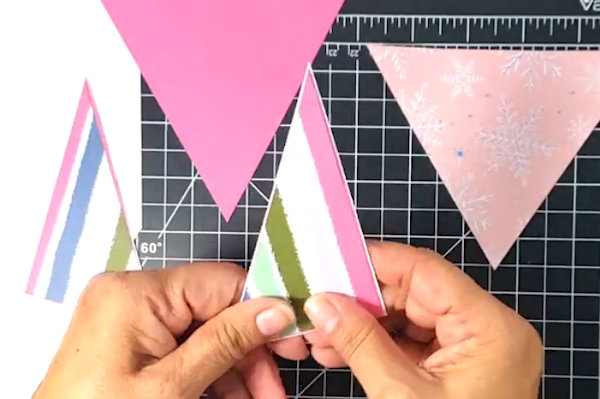
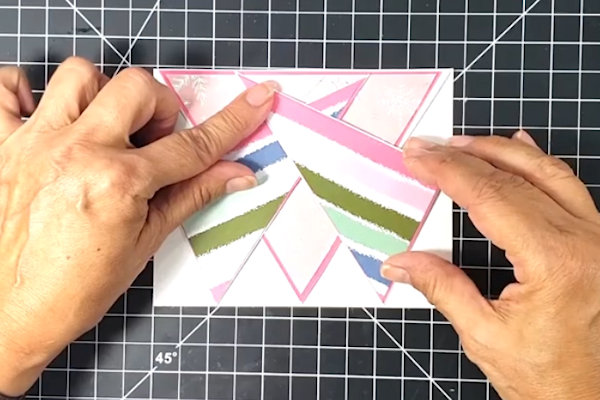
Step 5
Assemble the layers.
-
Step 6
Adhere the central panel to the card base.
-
Adhere the smaller panels onto the central panel only, lining up corners with the edges of the card.
-
Step 7
Embellish the card as desired to complete the project.

Video!
Variations
To make a vertical card:
Cut card base to 4 1/4" x 11". Score at 5 1/2". Mark a center point at 2 1/8" and cut from the score line down to the point on both sides. The rest of the assembly is the same.
Your Turn
You've seen the tutorial, now you try it! We've got a section of the gallery set aside for Overlapping Fun Fold Card. Try this technique, then upload your artwork to the gallery. Show us your creations!
***Please note - Internet Explorer/Edge is not a supported browser, and will not allow you to see the videos. Please use Chrome, Firefox or Safari to view our tutorial videos.

Questions and Comments
We'd love to get your feedback or questions. Leave your comment below.
((Lyn))
Page 1 of 1 pages