Nugget Boxes
by Lori Craig
Taking an extra minute or two for precise measurements yields the greatest results when creating this quick and easy gift for a friend. The template and original instructions were created by Beth Warner (Showmestamper).
Supplies

- 5 ¼” x 3 ¾” piece of cardstock (or heavy patterned paper) for box
- 5 1/8” x 3 1/16” piece of cardstock (or heavy patterned paper) for sliding cover
- Paper cutter with scoring blade
- Scissors
- Sticky Strip™ or other adhesive
- 3 Hershey's® Nuggets® chocolate bars
- 3 1” x 3 ¼” pieces of cardstock or patterned paper or Avery® 5160 address labels
- Embellishments
Step-by-Step
-
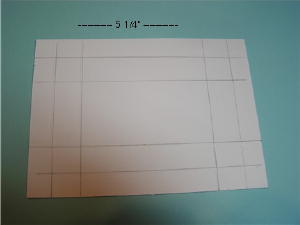
Step 1
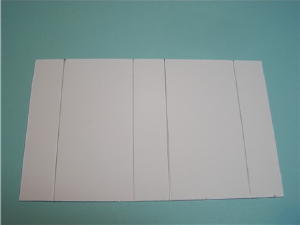
On the 5 1/4” x 3 3/4” piece of cardstock, score all 4 sides at 1/2” and 1 1/8”. It is easiest to measure the 1/2” mark on the left side of the cutting/scoring blade track. Then turn the paper around to measure the 1 1/8” mark on the right side of the cutting/scoring blade track.
-
Step 2
Use scissors to remove the 3 small boxes that make an "L" shape at EACH corner. On the long (5 1/4") sides, cut along the score line to the 1 1/8" mark creating little flaps as shown.
The box goes together easily if the flaps are trimmed on an angle as shown.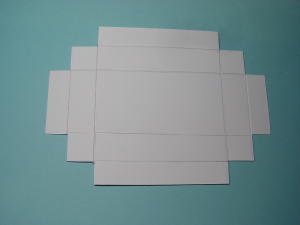
-
Step 3
Fold each short side and then the long sides of the box, securing with Sticky Strip.
Use a bone folder or other straight edge to give the creases a sharp, crisp fold.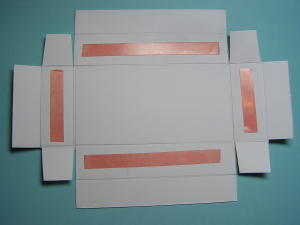
-
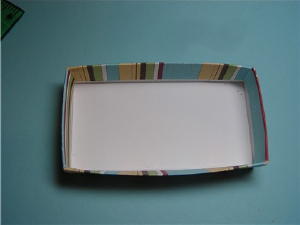
Step 4
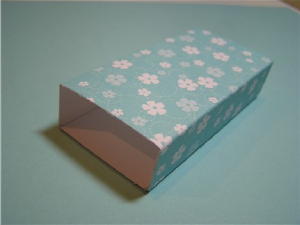
This becomes the box.
-
Step 5
Moving on to the 5 1/8" x 3 1/16" piece of cardstock, with the 5 1/8" side at the base of the trimmer, score the 3 1/16" length at the 11/16", 2 1/4", 2 15/16" and 4 7/16" marks.
-
Step 6
Fold on the score lines, wrap around the box to check for correct fit and secure the overlapping edges with Sticky Strip. This is the sleeve.
-
Step 7
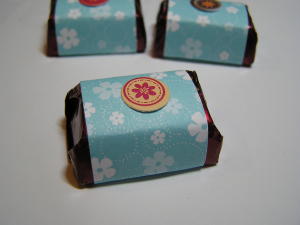
You may use strips of cardstock or patterned paper cut into 1" x 3 1/4" strips. Because the cardstock is a heavier weight, use glue dots to secure the two ends of the strip at the bottom of the nugget. This creates a mini sleeve for each nugget.

-
Step 8
Nuggets may be covered with stamped 1" x 2 5/8" (Avery® 5160) address labels.
-
Step 9
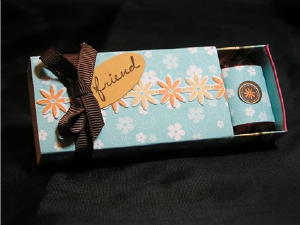
Finished project.
Variations
Chris Simon (cdjksss) has created patterns for nugget boxes in any size you can imagine! Click here!
Your Turn
You've seen the tutorial, now you try it! We've got a section of the gallery set aside for Nugget Boxes. Try this technique, then upload your artwork to the gallery. Show us your creations!
***Please note - Internet Explorer/Edge is not a supported browser, and will not allow you to see the videos. Please use Chrome, Firefox or Safari to view our tutorial videos.

Questions and Comments
We'd love to get your feedback or questions. Leave your comment below.
The template can be found in our forum, in the download forum under templates.
Hugs and smiles
Page 1 of 1 pages