Misted Markers
by Dina Kowal
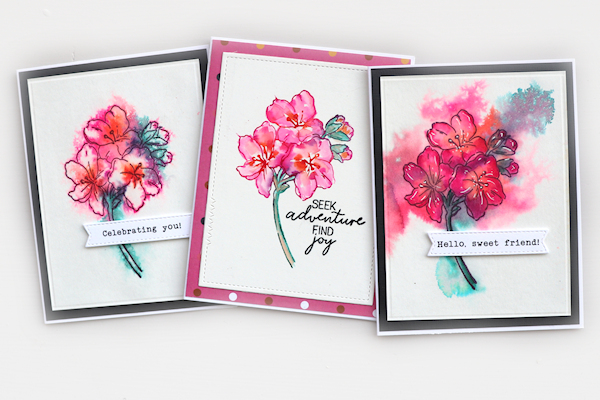
In this update to the Misting with Markers tutorial, use water and markers with a stamp positioner to create various faux watercolor effects with your stamped image.
Supplies
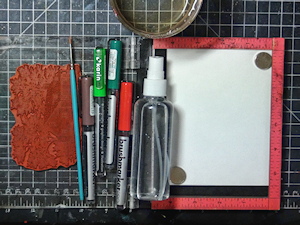
- Stamp positioner with magnets (MISTI used here)
- Water-soluble markers (Karin Promarkers used here)
- Cling or clear stamps (used here: Impression Obsession E20254 Frilly Floral 2 (retired), E13120 Grunge Circles (retired); Stampscapes 140E Cabin)
- Watercolor paper (Fabriano Studio 140# hot press used here)
- Water mister
- Water and paintbrush
- Paper towel
- Other supplies as needed to complete the project (see gallery entries for supply lists)
Step-by-Step
-
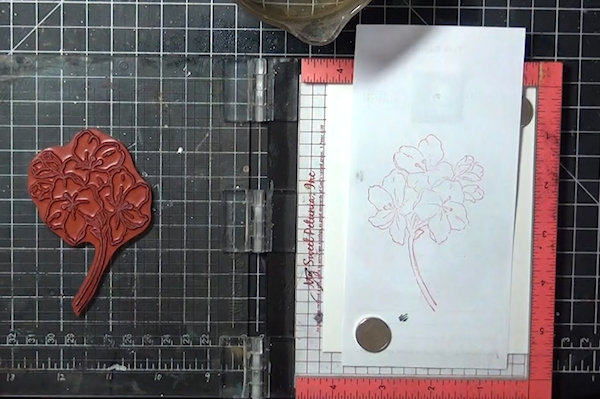
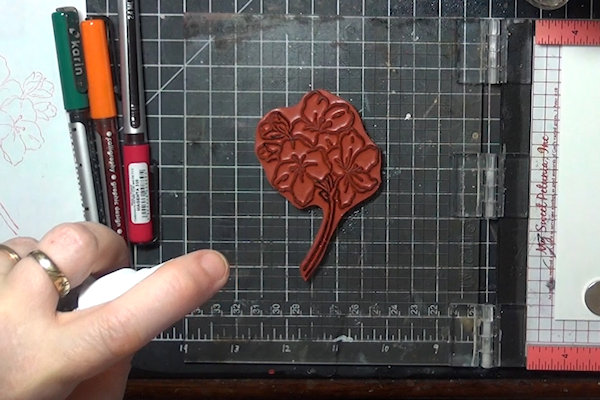
Step 1
Prepare a watercolor paper panel, and secure it in your stamp positioner.
-
TIP:
You may want to stamp an image on a scrap of paper for reference if you don't have it printed on packaging or elsewhere. Sometimes the sections of the image are hard to discern in reverse, so it's nice to be able to look at the printed image to know where the colors go. -
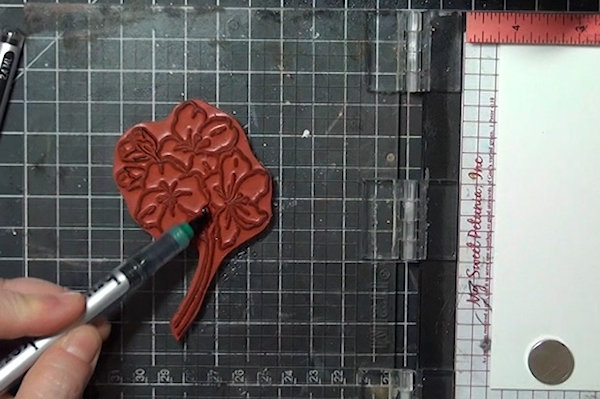
Step 2
Prepare to play! There are several ways to approach the technique. You can vary the amount of water, color the entire image, or work in sections and/or layers.
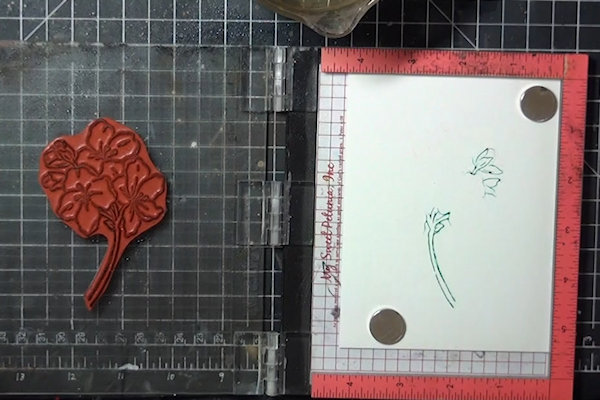
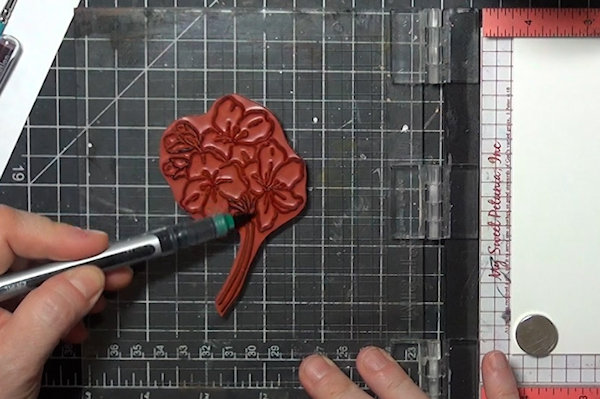
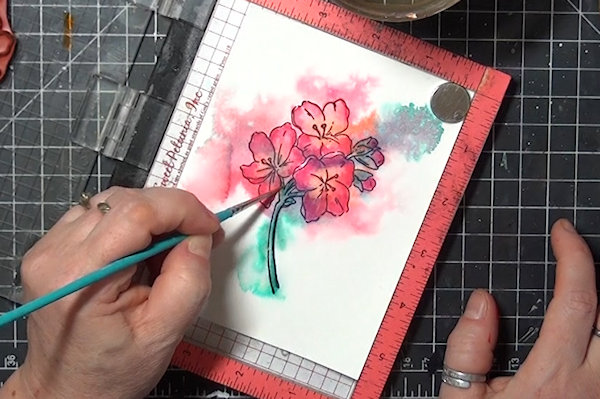
In the original Misting with Markers tutorial, it was necessary to color the entire image before misting and stamping. A stamp positioner allows you to work with one color at a time. Choose a color and begin! For the sample, I started with the green of the stem and leaves. Use the side of the marker to color along the raised outline of the image, just where you want the color you’re working with. -
Step 3
Mist the stamp lightly with water. More water will produce more of a watercolored look. Experiment to find the amount and look that you prefer.
-
Close the positioner to apply the activated ink to the paper.
-
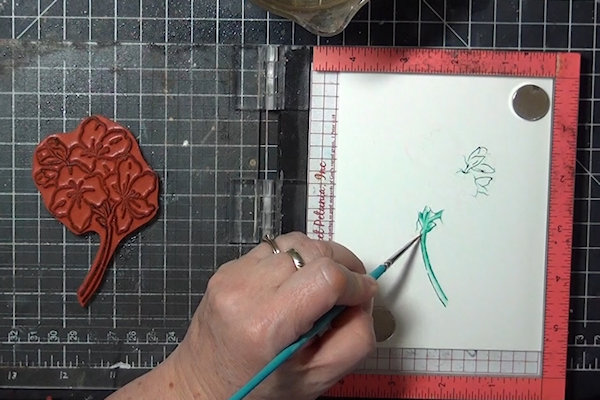
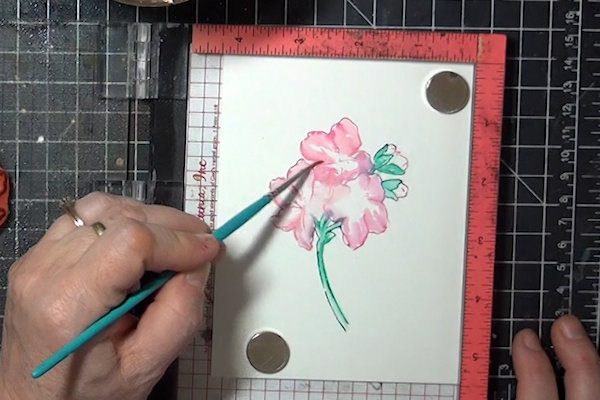
Step 4
You can leave the outline stamped as is, or you can use a wet brush to paint in the outlined sections. Carefully pull the ink in from the outline into the open section of the image.
-
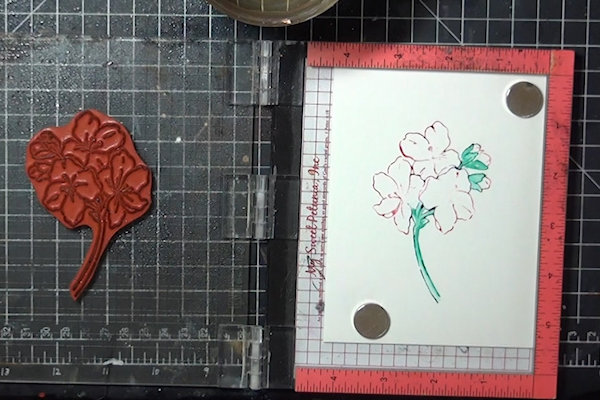
Step 5
Dry the stamp and apply the next marker color. Here a dark pink is used around the edges of the flowers.
Mist and stamp as before.
-
Mist and stamp as before.
NOTE:
Misting the full stamp will also moisten the areas of the stamp that were colored previously, which is fine – just note that ink may run along the outlines of the stamp, and additional water may affect your stamping as well. You can keep a paper towel handy to cover or wipe areas of the stamp you want dry. -
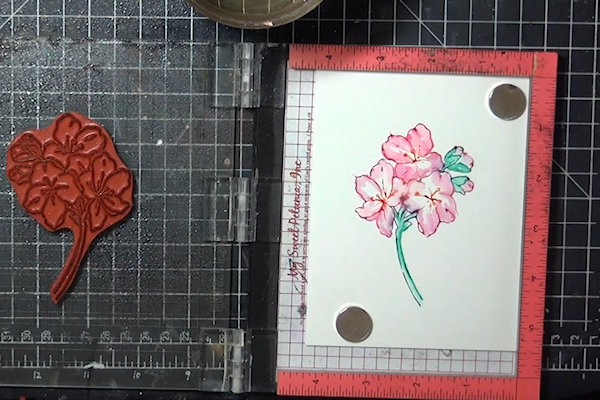
Step 6
Blend in the open areas with water as before, if desired.
-
Reapply marker ink as desired – note in the sample that a few edges were missed at first. Repeat the above steps and add other colors or touch up as needed for your image.
If the water or blending is causing you to lose details you want in the image, let the panel dry and then reink those areas on the stamp, misting lightly before stamping, or not misting at all. -
Step 7
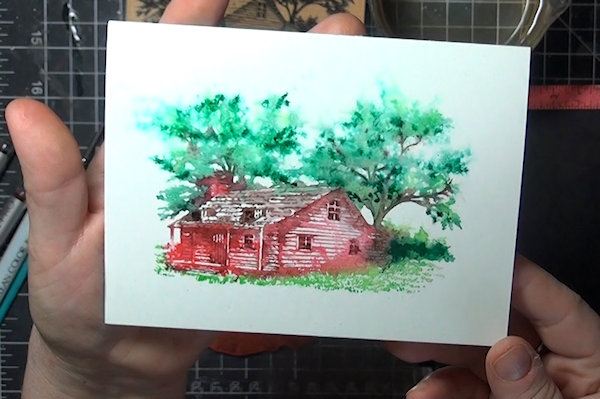
For an alternative look – color the entire image using different colors for each area as needed.
-
Instead of misting the stamp, mist the paper lightly.
-
Step 8
Stamp into the misted area, allowing the inks to bleed out. You can mist the paper again lightly after stamping to encourage more movement if needed.
-
Let the panel air dry. Keep the stamp in place. Stamp the outline over the dried ink. (Here the image was stamped with Versafine Clair ink, which is not water soluble.)
-
Step 9
Here is another sample that was done in the same way, but with more misted water. When the panel was dry, I used the same markers to loosely color in the image from the edges.
-
Blend in the ink with a wet brush.
-
Step 10
Please view the video to see my process for coloring this image. More detailed images can be colored using these techniques, as well as layering. There are a lot of variables, and it's easier to show in real time rather than in photo steps.
-
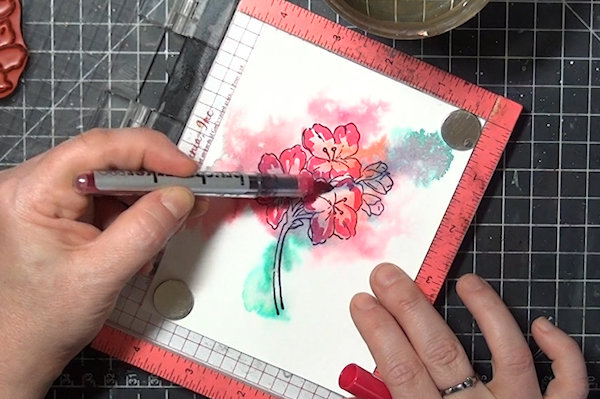
Step 11
One more bonus! For a fun background, ink up your stamp with markers, mist well, and then smack the cover of your positioner down so that the watery ink splatters out around the image.
-
Step 12
Use your colored images to complete cards or other projects.


Video!
Your Turn
You've seen the tutorial, now you try it! We've got a section of the gallery set aside for Misted Markers. Try this technique, then upload your artwork to the gallery. Show us your creations!
***Please note - Internet Explorer/Edge is not a supported browser, and will not allow you to see the videos. Please use Chrome, Firefox or Safari to view our tutorial videos.

Questions and Comments
We'd love to get your feedback or questions. Leave your comment below.
Page 1 of 1 pages