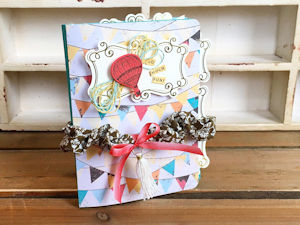
Mini Wrap Journal
by KellyJean Gettelfinger
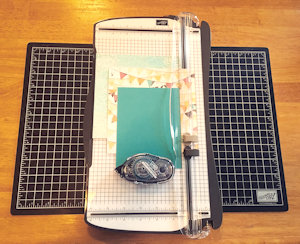
Make a custom mini journal with simple supplies.
Supplies
- Cardstock: 1 piece cut to 4 1/2” x 6”, 1 piece cut to 1/2" x 6”, several pieces measuring 8 1/2” x 5 1/2” (optional for journal pages)
- Decorative paper: 2 pieces measuring 5 1/2” x 6”, several pieces measuring 8 1/2” x 5 1/2” (also notebook paper, or typing paper optional for journal pages)
- Baker’s Twine measuring at least 42”
- Paper trimmer
- Scoring tool
- Adhesive
- Other supplies as needed to complete the project
Step-by-Step
-
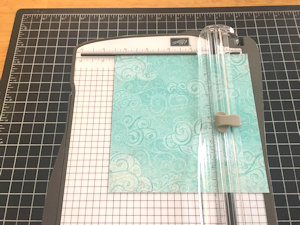
Step 1
Score both sheets of decorative paper (measuring 5 1/2” x 6”) at 4 1/2” and 4 3/4” on the short (5 1/2") side.
-
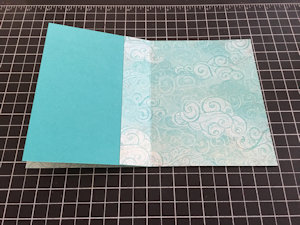
Step 2
Fold one sheet of decorative paper at the 4 1/2” score line. Adhere the cardstock measuring 4 1/2” x 6” to the small scored section of the decorative paper.

-
NOTE:
Be sure to exclude the 1/4” scored section from the adhesive and cardstock.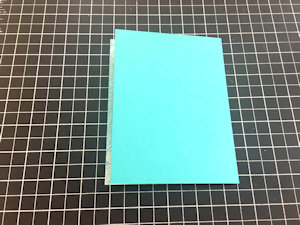
-
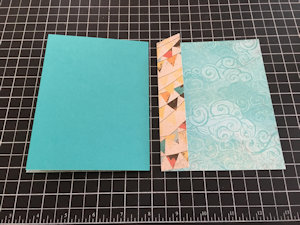
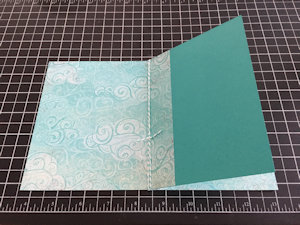
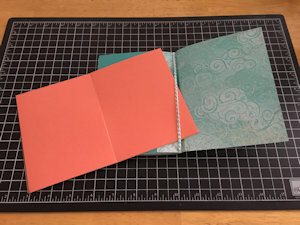
Step 3
Repeat Step 2 with the second piece of scored decorative paper.
-
Position the cardstock in between each piece of decorative paper as shown.
-
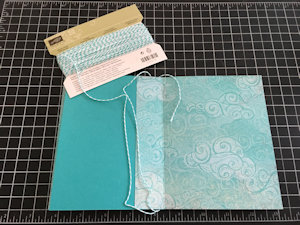
Step 4
Wrap baker’s twine three times around the cardstock close to the project folds.
-
Tie the twine to secure.
-
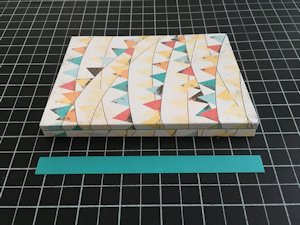
Step 5
Fold each of the remaining scored lines on the decorative paper pieces.
-
Adhere the cardstock measuring 1/2” x 6” over BOTH scored areas. This will create a spine for the journal.
-
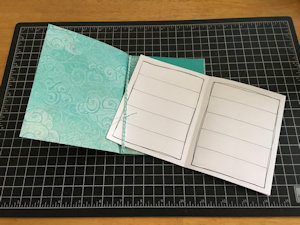
Step 6
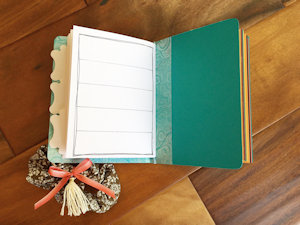
Fold in half several pieces of cardstock, decorative paper, notebook paper, or typing paper measuring 8 1/2” x 5 1/2”.
-
Slip the folded pieces under the twine one either side of the center piece of cardstock. Add and remove folded pieces as desired.
-
Step 7
Decorate the front of the journal as desired.

-
Be creative with a band for closure, if desired.
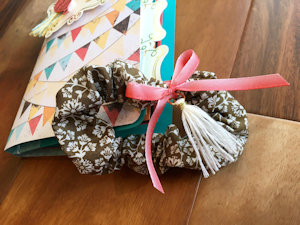
-
Step 8
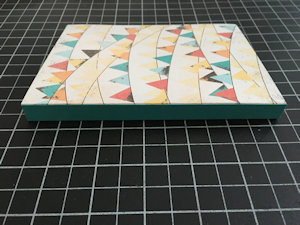
Complete the project.
-
Video!
Your Turn
You've seen the tutorial, now you try it! We've got a section of the gallery set aside for Mini Wrap Journal. Try this technique, then upload your artwork to the gallery. Show us your creations!
***Please note - Internet Explorer/Edge is not a supported browser, and will not allow you to see the videos. Please use Chrome, Firefox or Safari to view our tutorial videos.

Questions and Comments
We'd love to get your feedback or questions. Leave your comment below.
I'm sorry to be such a dolt, but I am "spatially impaired" - I made-up that term, but it sure describes me! - and cannot figure out what side of the patterned paper to score: the tall side (6") or the short side (5 1/2").
Given this "impairment," I can't even figure it out from all the clues you provide in both the written and video tutorial, which I'm sure are great for 99.9% of the people who use them.
Please spare the life of the next piece of cardstock and help this girl out!
Thank you in advance -
Kelly
Page 1 of 1 pages