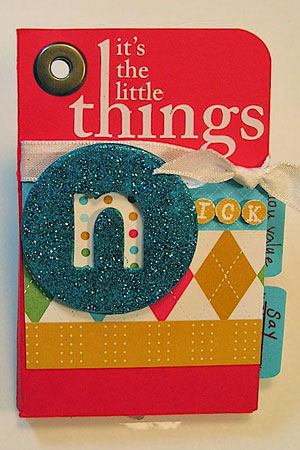
Mini Photo Book
by Angie Tieman
Create an small album that's perfect for gift giving.
Supplies
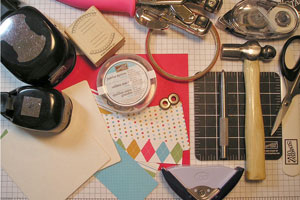
- 1 piece 5 ¼” x 6 ¼” cardstock for album base
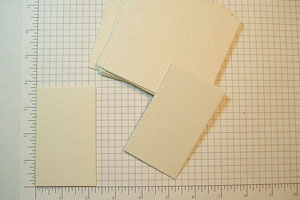
- 2 chipboard coasters cut to 2 ¼” x 3 ¾”
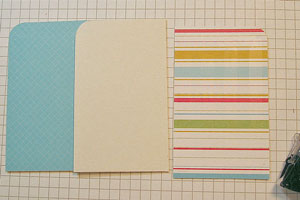
- 4 sheets patterned paper 2 ¼” x 3 ¾”
- Totally Tabs stamp set
- Tab punch
- 3/4" square punch
- Bone Folder (optional)
- 2 Jumbo Eyelets
- Crop-a-Dile™
- Eyelet setting tools
- Corner rounder
- Adhesive (SNAIL™, Mono temporary, and Sticky Strip™ )
- Paper cutter with cutting & scoring blade
- Scissors
- Assorted stamps, inks, cardstock, patterned paper, and embellishments
Step-by-Step
-
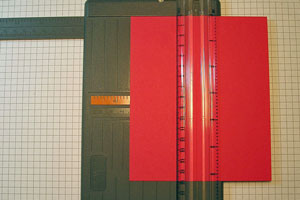
Step 1
Score the 5 ¼” x 6 ¼” album base vertically at 2 ½” and 2 ¾”.
-
Step 2
Score the same piece horizontally at 2” and 2 ¼” from the bottom.

-
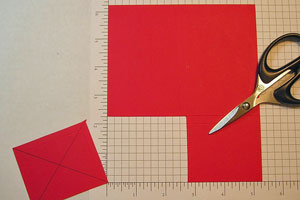
Step 3
Cut away the bottom left corner 2 ¾” wide by 2 ¼” high.
-
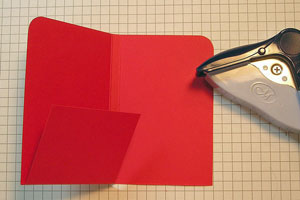
Step 4
Pre-fold scored lines and corner round top edges.
-
Step 5
Cut two pieces of chipboard coasters to 2 ¼” by 3 ¾”.
-
Step 6
Decide how you want to arrange the patterned paper on chipboard coaster pieces.
-
Step 7
Corner round top outside edge of each chipboard coaster piece and patterned paper piece.
Hint:
The corner rounder won’t go through totally, but it will make an indention, so cut along that and then use sanding block to smooth out, if desired.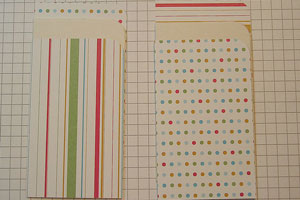
-
Step 8
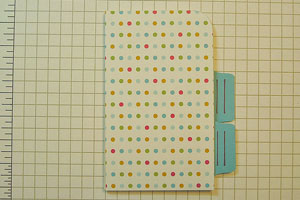
Adhere patterned paper to chipboard coaster pieces.
-
Step 9
Stamp tabs on cardstock scraps and punch out with Tab punch (or use tabs of your choice).
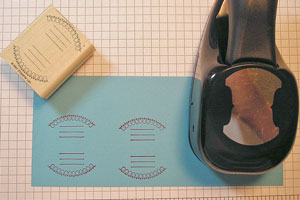
-
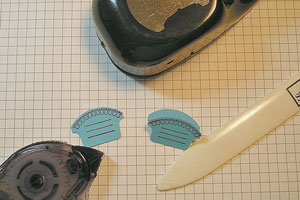
Step 10
Score tabs and seal shut with adhesive.
-
Step 11
Adhere tabs to back side of each chipboard piece, aligning the second one slightly above the first one.
-
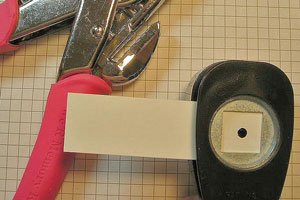
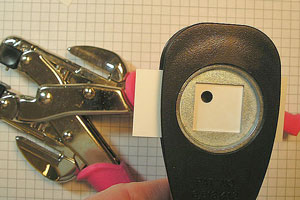
Step 12
Punch 3/16” hole in white cardstock scrap using Crop-a-Dile™. Center the ¾” square punch over the hole and punch out.
-
Step 13
Repeat above steps, but align the square punch over the hole so that it is in the top left corner and punch out.
-
Step 14
Using temporary adhesive, adhere white center hole square against score line at the top left edge of album cover and punch 3/16” hole with Crop-a-Dile. Repeat on back side of album against score line at the top right edge.
Hint:
The square is only a guideline to punch your hole. Take it off after you punching the hole.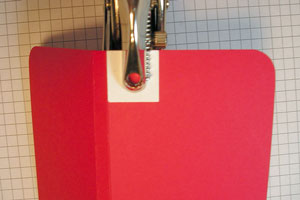
-
Step 15
Using temporary adhesive, adhere white square with hole in the upper left corner to the first chipboard piece and punch 3/16” hole with Crop-a-Dile. Repeat for second chipboard piece.
-
Step 16
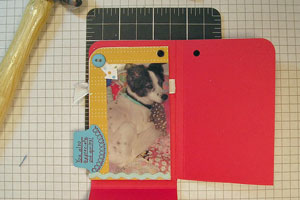
Decorate album cover and chipboard pieces as desired, then insert a jumbo eyelet through the album cover and first chipboard piece.
-
Step 17
Set jumbo eyelet with eyelet setter, hammer, and mat.
-
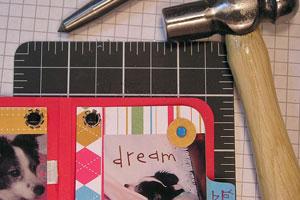
Step 18
Insert jumbo eyelet through back album cover and second chipboard piece; set with eyelet setter, hammer, and mat.
-
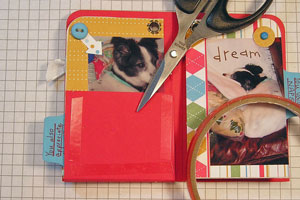
Step 19
Fold up the extended flap piece of the album and apply Sticky Strip™ adhesive around the edges.
-
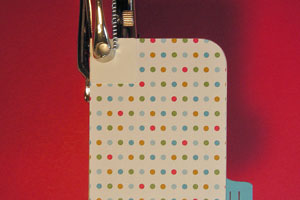
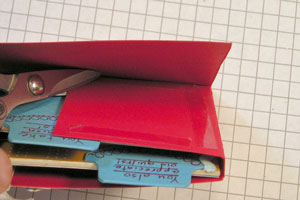
Step 20
Carefully fold up flap piece behind both chipboard pieces and adhere to inside back cover of album
-
Step 21
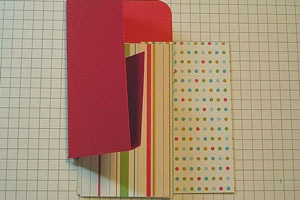
Finished Book Closed.
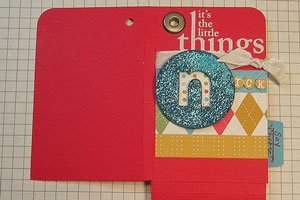
-
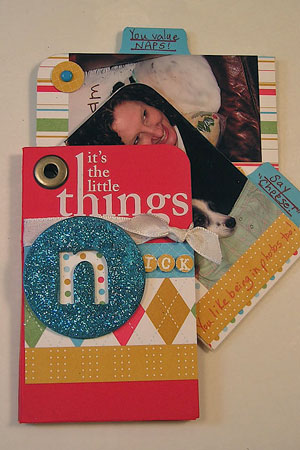
Finished book open.
Your Turn
You've seen the tutorial, now you try it! We've got a section of the gallery set aside for Mini Photo Book. Try this technique, then upload your artwork to the gallery. Show us your creations!
***Please note - Internet Explorer/Edge is not a supported browser, and will not allow you to see the videos. Please use Chrome, Firefox or Safari to view our tutorial videos.

Questions and Comments
We'd love to get your feedback or questions. Leave your comment below.
Thanks again. ~ Jen
For the question about how to add more pages from 2stampis2be...you could definitely make the pages out of cardstock vs. the chipboard coasters, then you could fit more in. And if you were worried about more pages going through the jumbo eyelet, you could use an office type o-ring instead.
Hope that helps!
to come up with such a basic concept: give us step,by step, pictures to follow!!!!
I will be here every day!
And, I see that you even answer questions about the projects! Joy joy!!
Thanks for the hard work!
http://squareheadedstamper.blogspot.com/2008/10/dont-look-ma.html
I was able to add a lot of pictures by putting it together this way. The next time I make one (which will be soon!) I'll alter the measurements again so I can add even more chipboard pages to it. Take care!
Brandi
Page 2 of 2 pages < 1 2