Masking - Basic
by Beate Johns
Something as simple as a little Post-It® Note adds lots of depth to your stamping.
Supplies
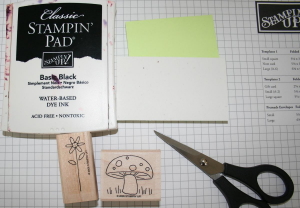
- Post-It Note™
- Scissors
- Stamps
- Cardstock
- Ink
Step-by-Step
-
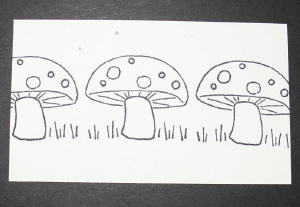
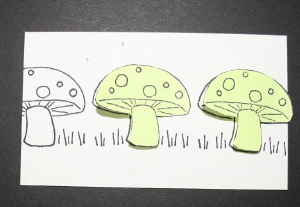
Step 1
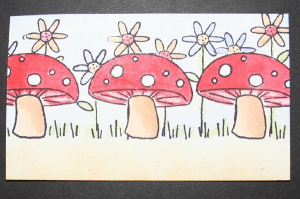
Stamp the image you would like to have in the foreground (very front) of the scene on your cardstock.
-
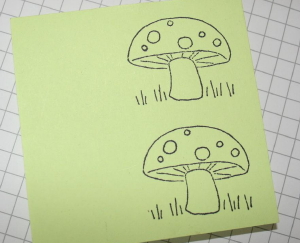
Step 2
Stamp the same image on a Post-It Note™, making sure that part of the image is on the sticky part of the paper.
I stamped two images, since I have several mushrooms on my cardstock.
-
Step 3
Carefully cut the images on the Post-It Note™ out with your scissors.
Cut right on the line or even slightly inside of it.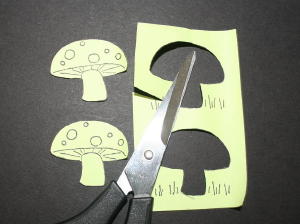
-
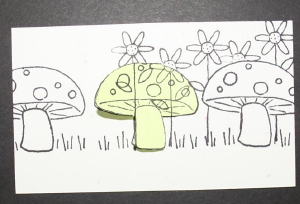
Step 4
Layer your Post-It Note™ images over those on your cardstock.
-
Step 5
Stamp your second image over your mask. This image will appear to be in the background.
-
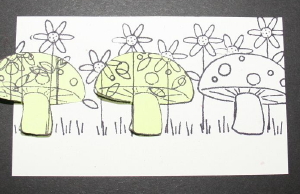
Step 6 (Optional)
Once you have finished stamping over one image, remove the mask, place it over the next foreground image and continue to stamp.
-
-
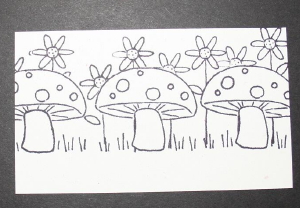
Step 7
Color your image if necessary.
-
Step 8
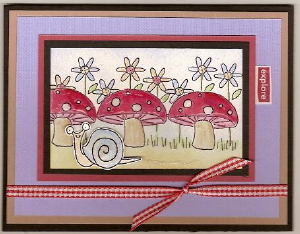
Finish your card.
Video!
Your Turn
You've seen the tutorial, now you try it! We've got a section of the gallery set aside for Masking - Basic. Try this technique, then upload your artwork to the gallery. Show us your creations!
***Please note - Internet Explorer/Edge is not a supported browser, and will not allow you to see the videos. Please use Chrome, Firefox or Safari to view our tutorial videos.
Questions and Comments
We'd love to get your feedback or questions. Leave your comment below.
the white line happens if you cut on the outside or even on the line of the image. Try cutting slightly on the inside of the stamped image to make your mask. How much inside of the image depends on how thick the paper is you are using for your mask.
Where can I find it? A web search came up with
nothing.
http://www.eclecticpaperie.com/ectast.html
You can find Eclipse tape in a lot of online stores. Just type in Eclipse tape into your google search engine and they will pop up. I know Ellen Hutson sells the wide roll that I used, but I think she is sold out right now.
Check our Misting with Marker tutorial for that technique.
Hugs and smiles
Beate
Page 1 of 1 pages