Marker Layering
by Karen Barber
Create beautiful shaded images with water based markers and blender pen.
Supplies
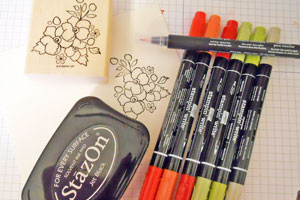
- Outline Stamp Image, stamp from Stampin' Up!'s Bordering on Romance used here
- Black Stazon™ or other waterproof ink
- Watercolor paper
- Water based Markers, in gradient colors, Stampin' Up! Markers used here
- Blender Pens
Step-by-Step
-
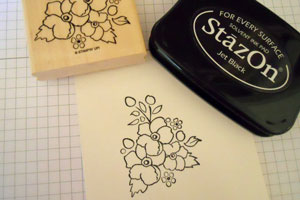
Step 1
Stamp your image in black Stazon™ on your watercolor paper.
-
Step 2
Starting with the lightest color, lay down a fair amount of color at the inside base of each petal, and then with a circular motion use a blender pen to spread the color out to the outside edge of your image.
-
Then lay down some more of the same color at the base of each petal.

-
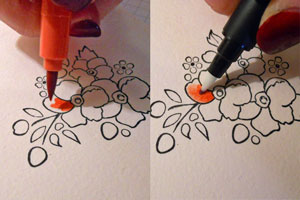
Step 3
Continue with this process but each time, go a shade darker.
Add Poppy Parade marker to your Calypso Coral but do not cover up the whole petal, only go part of the way out to where it gets lighter, do not cover the light part. Use a blender to just take the line out between the two colors. Next add a very tiny amount of Riding Hood Red, at the very base and use the blender again to remove the line. Continue with all the flowers.
-
Step 4
Continue with this process to color your leaves. (Pear Pizazz and Lucky Limeade were used here.)

-
Step 5
This shows the different stages of what the flowers will look like as you continue to layer your colors.

-
Step 6
Continue until all your images are colored.
-
Step 7
Use a light gray marker to go around the entire outside of the image (Sahara Sand used here).
Hint:
Be careful not to over do this, just a very light halo around your image.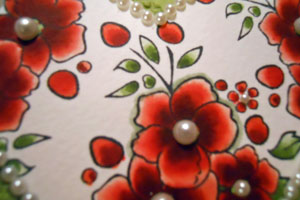
-
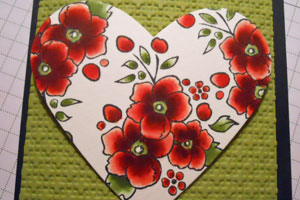
Step 8
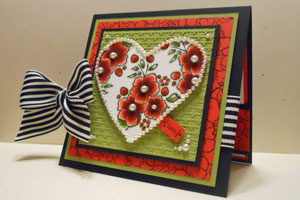
Finish your project.
Video!
Your Turn
You've seen the tutorial, now you try it! We've got a section of the gallery set aside for Marker Layering. Try this technique, then upload your artwork to the gallery. Show us your creations!
***Please note - Internet Explorer/Edge is not a supported browser, and will not allow you to see the videos. Please use Chrome, Firefox or Safari to view our tutorial videos.

Questions and Comments
We'd love to get your feedback or questions. Leave your comment below.
Love, Clairey
Page 1 of 4 pages 1 2 3 > Last »