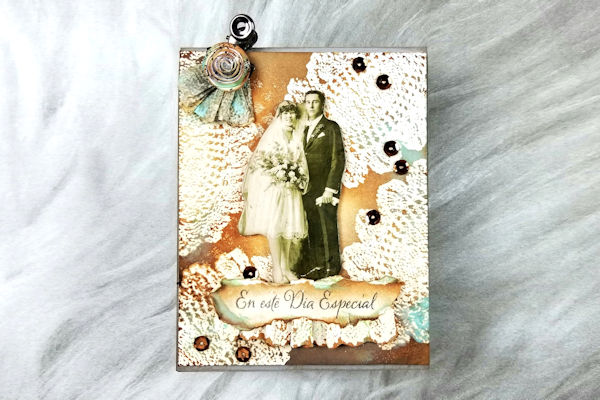
Layered Vintage Card
by Ana Reese
Use layers of stamping, sponging and ephemera to create a beautiful vintage card.
Supplies
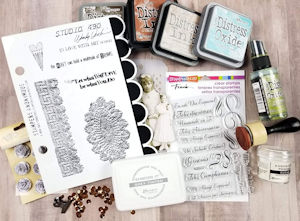
- Embossing powder (Ranger Clear Embossing Powder used here)
- Small paint brush
- Stencil brush
- Ink blending tool
- Heat tool
- Stencil (Tim Holtz Mini Square Gradient used here)
- Mini stapler (Tim Holtz Mini Stapler used here)
- Inks (FSJ Black Licorice Ink and Ranger Grey Tinted Embossing Ink, Distress Inks Pumice Stone, Vintage Photo, Distress Oxide Ink – Broken China, Distress Oxide Spray – Peeled Paint used here)
- Stamps (Wendy Vecchi- In Love with Art and Stampendous- Spanish Loving Messages used here)
- Other supplies as needed to complete the project (used here: FSJ Glaze, foam tape, copper sequins, Tim Holtz Hinge Clips, ART Paper Flower embellishments, Neenah 110# Solar White Cover, Grey cardstock by FSJ, Neenah Vellum paper, scissors, paper trimmer, glue dots, Tim Holtz Paper Dolls)
Step-by-Step
-
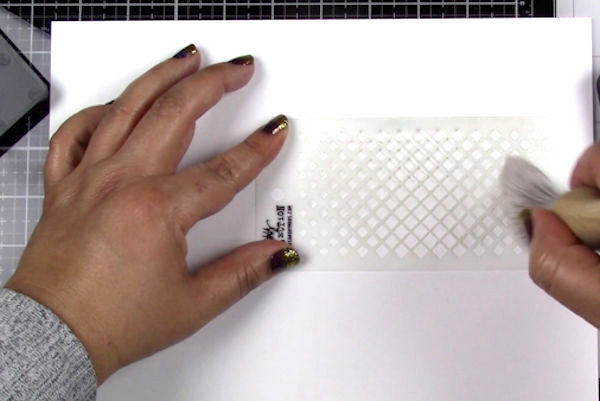
Step 1
On a white sheet of cardstock use the stencil brush, stencil and Distress ink to create a couple of randomly placed images (Mini Square Gradient stencil and Pumice Stone ink used here).
-
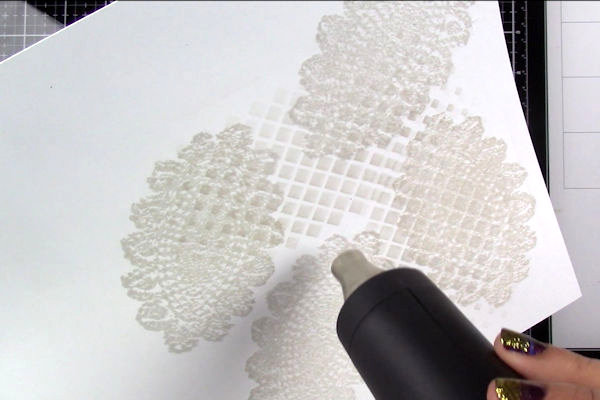
Step 2
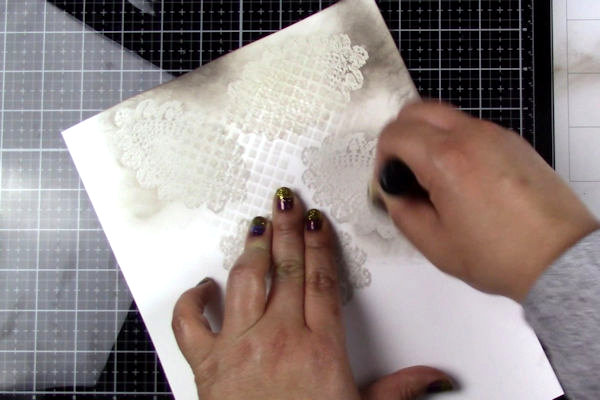
Stamp a background image with embossing ink and heat emboss using clear embossing powder (oval doily from In Love with Art stamp set, Ranger Grey tinted embossing ink, and Ranger Clear embossing powder used here).
-
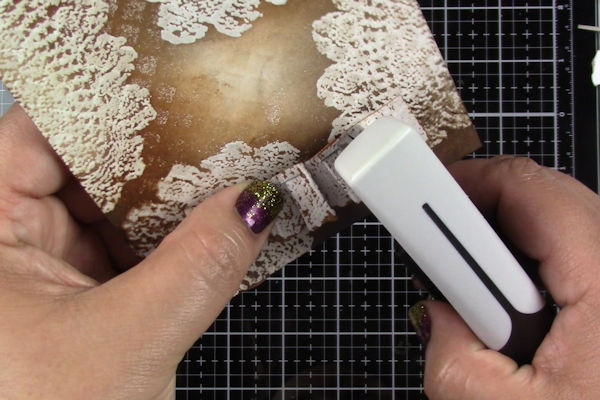
Step 3
Use a blending tool to ink embossed images with Distress ink. The embossed images will resist the blended ink. Focus on the edges and any inside details in the image.
-
Step 4
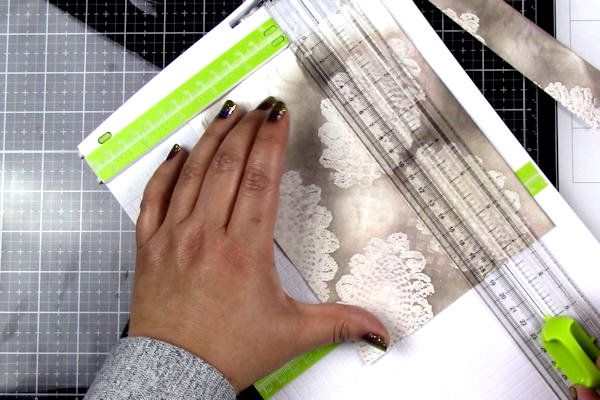
Select the area you like the most from the inked image and cut out a 4 3/8” x 5.25” panel.
-
Step 5
Use a blending tool to go over the image and edges once again, but this time with a contrasting color (Vintage Photo Distress ink used here.) Use a dried baby wipe or a rag to wipe any excess ink from embossed areas.
-
Step 6
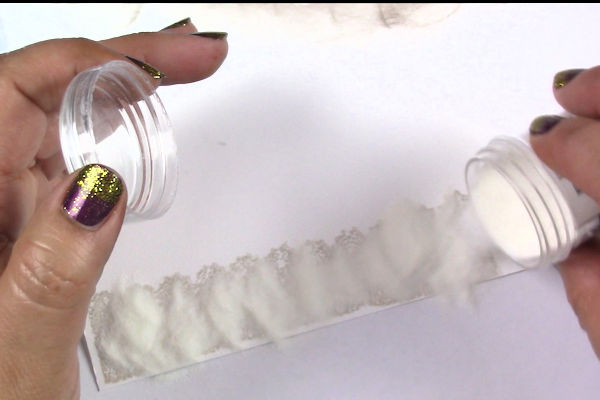
Stamp a border using embossing ink, and then heat emboss as you did the previous image.
-
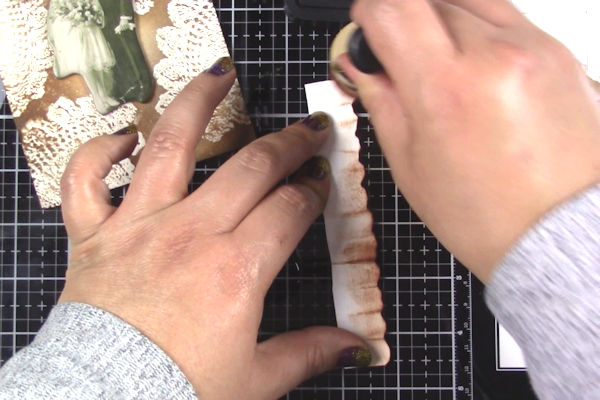
Step 7
Use a blending tool to ink around the embossed image with both contrasting Distress ink colors as in step 3.
-
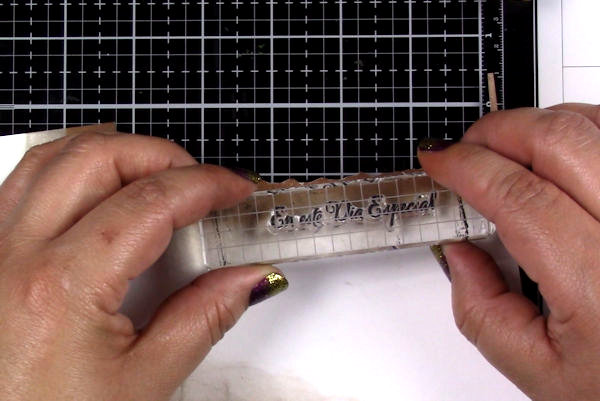
Step 8
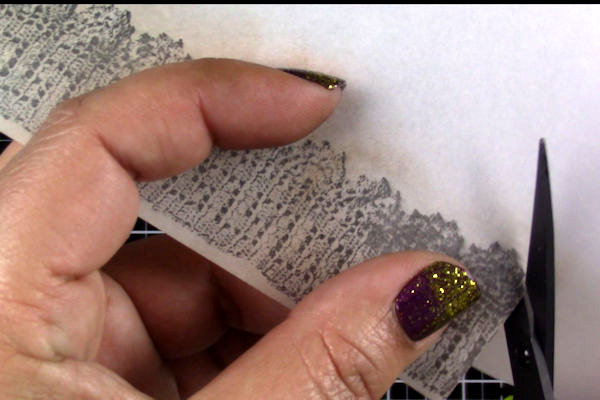
Clean the border stamp and stamp again, this time on vellum paper with black ink. Heat set the image, then use the blending tool to add a little bit of the Distress inks to match the project colors.
-
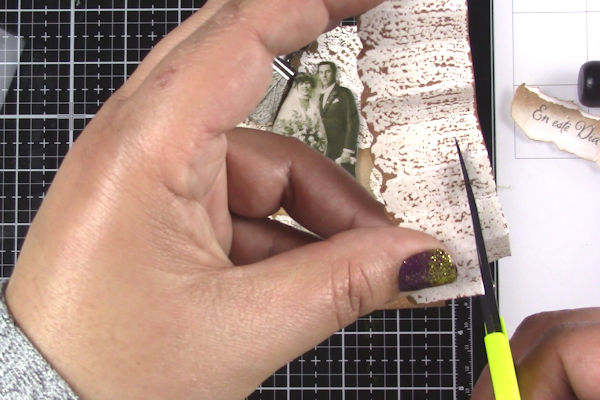
Step 9
Fussy cut both borders.
-
Cut off about .25” from the image that was stamped on cardstock.
-
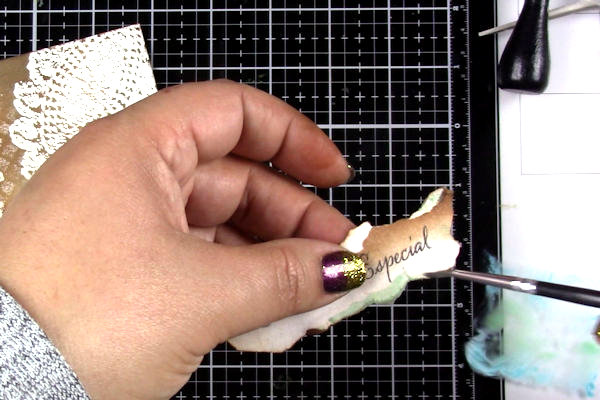
Step 10
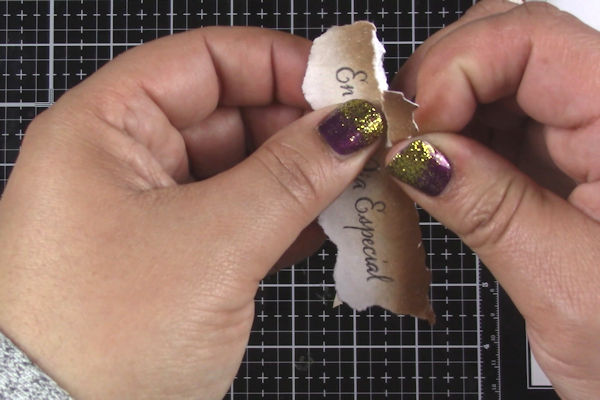
Stamp a sentiment with black ink on the inked area left around the cut-out border image. This will create a gradient effect around the sentiment.
-
Tear the sentiment to give it a vintage look.
-
Step 11
Fold both border cutouts accordion style.
-
Turn over and ink the back with Distress inks. Clip the Vellum cutout using the Hinge clip and set aside.
-
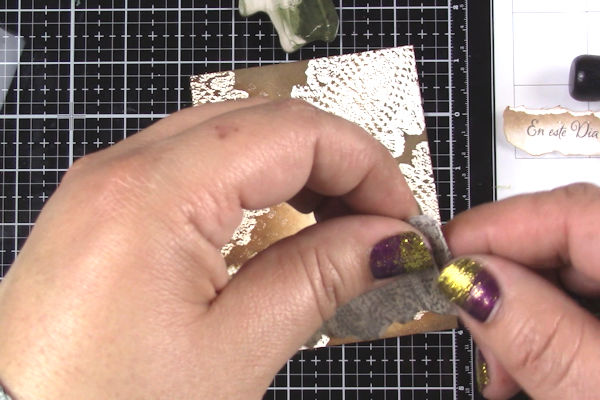
Step 12
Flatten out the cardstock cutout and use a mini stapler to hold the shape together. It should have a ruffled look.
-
Attach the ruffled cardstock towards the mid bottom of the panel.
-
Step 13
Add a little color to the piece (Broken China Distress ink and Peeled Paint Distress Oxide spray used here). Use a little water to mix them and apply using a small paint brush to areas of the sentiment and of the back panel to imitate a patina/ rusty look. Adhere sentiment on top of the ruffled piece using glue dots.
-
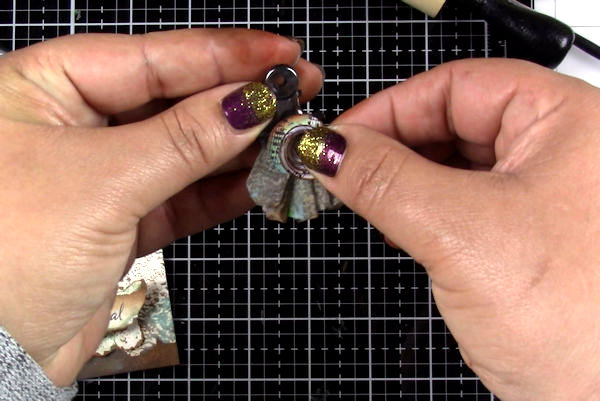
Step 14
Embellish as desired.
Here, a paper flower embellishments was inked with Distress inks and a little bit of the ink mixture to add patina coloring. The flower was attached to the handle of a hinge clip, attached to top left corner of the panel. -
Adhere a focal image to the card.
Here, a paper doll was added for a wedding card, and some sequins were adhered to the back panel. -
Step 15
Cut a card base (A2 size). Ink the edges with Distress ink. Stamp a coordinating image inside the card.
-
Adhere the finished panel using black foam tape to the top of the card base. Your card is now finished.


Video!
Your Turn
You've seen the tutorial, now you try it! We've got a section of the gallery set aside for Layered Vintage Card. Try this technique, then upload your artwork to the gallery. Show us your creations!
***Please note - Internet Explorer/Edge is not a supported browser, and will not allow you to see the videos. Please use Chrome, Firefox or Safari to view our tutorial videos.

Questions and Comments
We'd love to get your feedback or questions. Leave your comment below.
Page 1 of 1 pages