Interlocking Gate Card
by Brenda Quintana
Add a locking element to a classic gate fold card.
Supplies
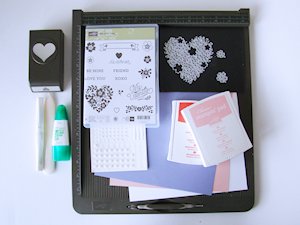
- Cardstock (Stampin' Up!® Wisteria Wonder, Blushing Bride, Pink Pirouette, Watermelon Wonder used here)
- Scoring tool
- Punch or die (Stampin' Up! Sweetheart Punch used here but any shape of similar size can work)
- Ruler
- Pencil
- Scissors
- Adhesive
- Other supplies as needed to complete the card (Stampin' Up! supplies used here: Bloomin' Love Stamp Set, Bloomin' Heart Thinlits Dies, Pearl Jewels, Blushing Bride and Watermelon Wonder inks)
Step-by-Step
-
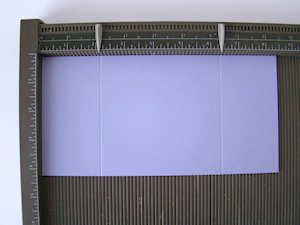
Step 1
To make the card base, start with an 8 1/2” x 4 1/4” piece of cardstock. On the long side, score at the 2 1/8” and 6 3/8” marks.
-
Fold the card base along the score lines.

-
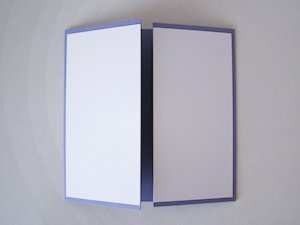
Step 2
Cut TWO 2” x 4” front panels from coordinating cardstock and adhere them to the card base, making sure they meet in the middle.
-
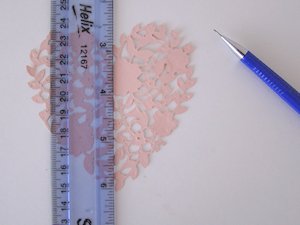
Step 3
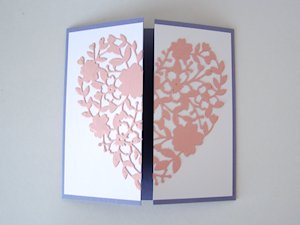
Punch or die cut a symmetrical shape approximately 3-1/2” wide. Use a pencil and ruler to make a line down the center. Cut along the pencil line.
-
Adhere the cut pieces to the front of the card, making sure they meet in the middle.
-
Step 4
Punch or die cut TWO shapes approximately 1-1/2” in width. Use a pencil and ruler to make a line down the center of both pieces.

-
Cut a slot slightly more than halfway up on one shape and slightly more than halfway down on the other.

-
Step 5
Interlock the two shapes together with the slotted cuts, making sure they can align evenly.

-
Step 6
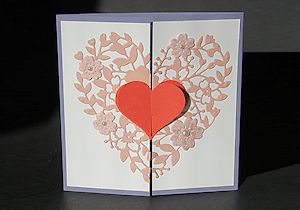
While keeping the shapes interlocked, put adhesive on the back of the hearts. Be sure not to get any glue near the slots.

-
Adhere the interlocked pieces to the front of the card, making sure the slots align with the opening of the card. If using glue, give the glue a chance to dry before opening the card.

-
Step 7
Open the card by pulling slightly up one side and slightly down on the other.

-
Step 8
For the inside panels, cut a 3-3/4” square for the middle and TWO 1-5/8” x 3-3-/4” for the sides. Stamp as desired.

-
Step 9
Embellish the front of the card as desired to complete the project.
Video!
Your Turn
You've seen the tutorial, now you try it! We've got a section of the gallery set aside for Interlocking Gate Card. Try this technique, then upload your artwork to the gallery. Show us your creations!
***Please note - Internet Explorer/Edge is not a supported browser, and will not allow you to see the videos. Please use Chrome, Firefox or Safari to view our tutorial videos.

Questions and Comments
We'd love to get your feedback or questions. Leave your comment below.
Thank you for the great instructions
Diana
Page 1 of 1 pages