Inking with Markers
by Beate Johns
Learn how to use markers to ink up your stamps.
Supplies
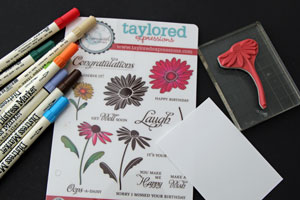
- Water-based Markers, Distress Markers used here
- Cardstock
- Stamps, Taylored Expressions Oops A Daisy used here
Step-by-Step
-
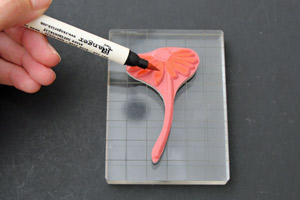
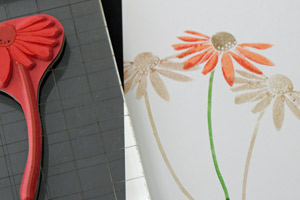
Step 1
With stamp facing up start coloring your image with a marker.
-
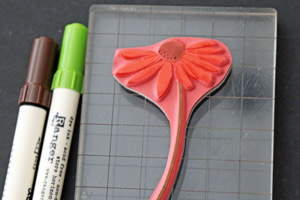
Step 2 (Optional)
To add more depth, take a slightly darker color and add shading directly on the stamp.
-
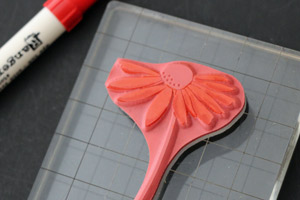
Step 3
Continue to use markers to fully color your image.
-
Step 4
Huff (exhale to moisten the ink) on your image before stamping it on cardstock.
-
Step 5
Markers are a great way to use only a part of an image or sentiment. Simply just ink up the part of the stamp that you want to use.
Hint:
This technique is called omitting.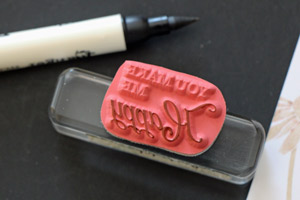
-
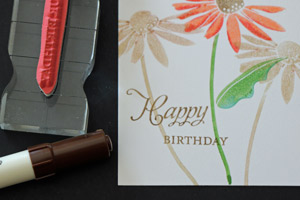
Step 6
Add more partial sentiment to create a completely new one.
-
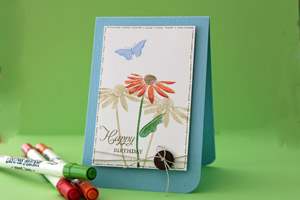
Step 7
Most markers have a brush and fine tip. The fine tip can be used to add doodling to your image layer.
-
Step v
Watercolored Look
Instead of huffing on your inked image, mist the stamp with water. Check the tutorial for it HERE.
Video!
Your Turn
You've seen the tutorial, now you try it! We've got a section of the gallery set aside for Inking with Markers. Try this technique, then upload your artwork to the gallery. Show us your creations!
***Please note - Internet Explorer/Edge is not a supported browser, and will not allow you to see the videos. Please use Chrome, Firefox or Safari to view our tutorial videos.
 *
*
Questions and Comments
We'd love to get your feedback or questions. Leave your comment below.
I tried to open the gallery but got this response:
Category 'marker, distressmarker' not foundmarker, distressmarker
Greetings from Scotland,
Nessie
thanks for tut, may have a go at this tomorrow, as making some charity cards for MacMillan Nurses....
Denise x
You can use any water based markers for this technique. Distress Markers or other Distress products are Ranger products, designed by Tim Holtz.
Page 1 of 1 pages