Gilded Relief
by Lydia Fiedler
Learn a simple technique to get elegant, dimensional gilded images on your project.
Supplies
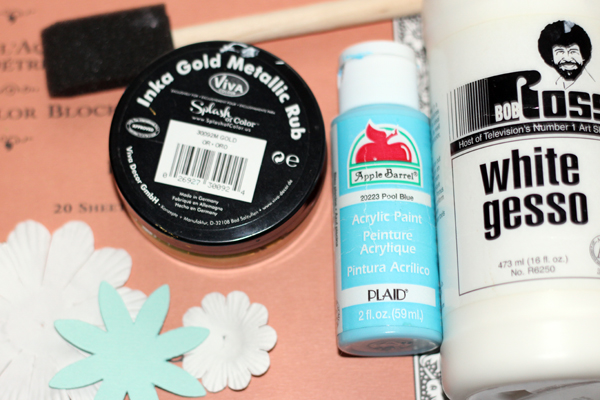
- Heavy watercolor paper
- White gesso (Bob Ross gesso used here)
- Acrylic paint
- Foam paintbrush
- Gold pigment rub (Viva Decor Inka Gold used here)
- Paper flowers or die cuts
Step-by-Step
-
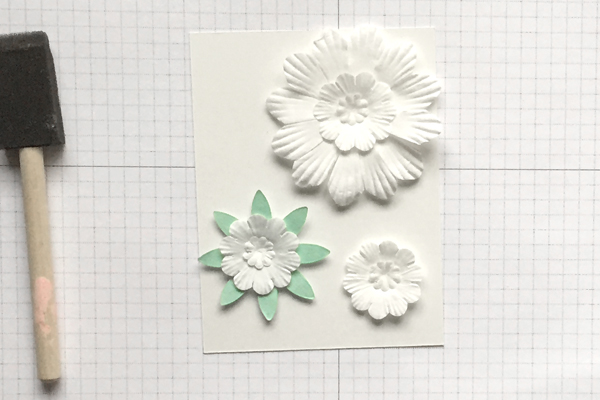
Step 1
Adhere paper flowers or small die cuts to a piece of sturdy watercolor paper with glue. It is only necessary to adhere the flower centers - the rest can be loose. Stack flowers on top of each other for more interest. Allow to dry completely.
-
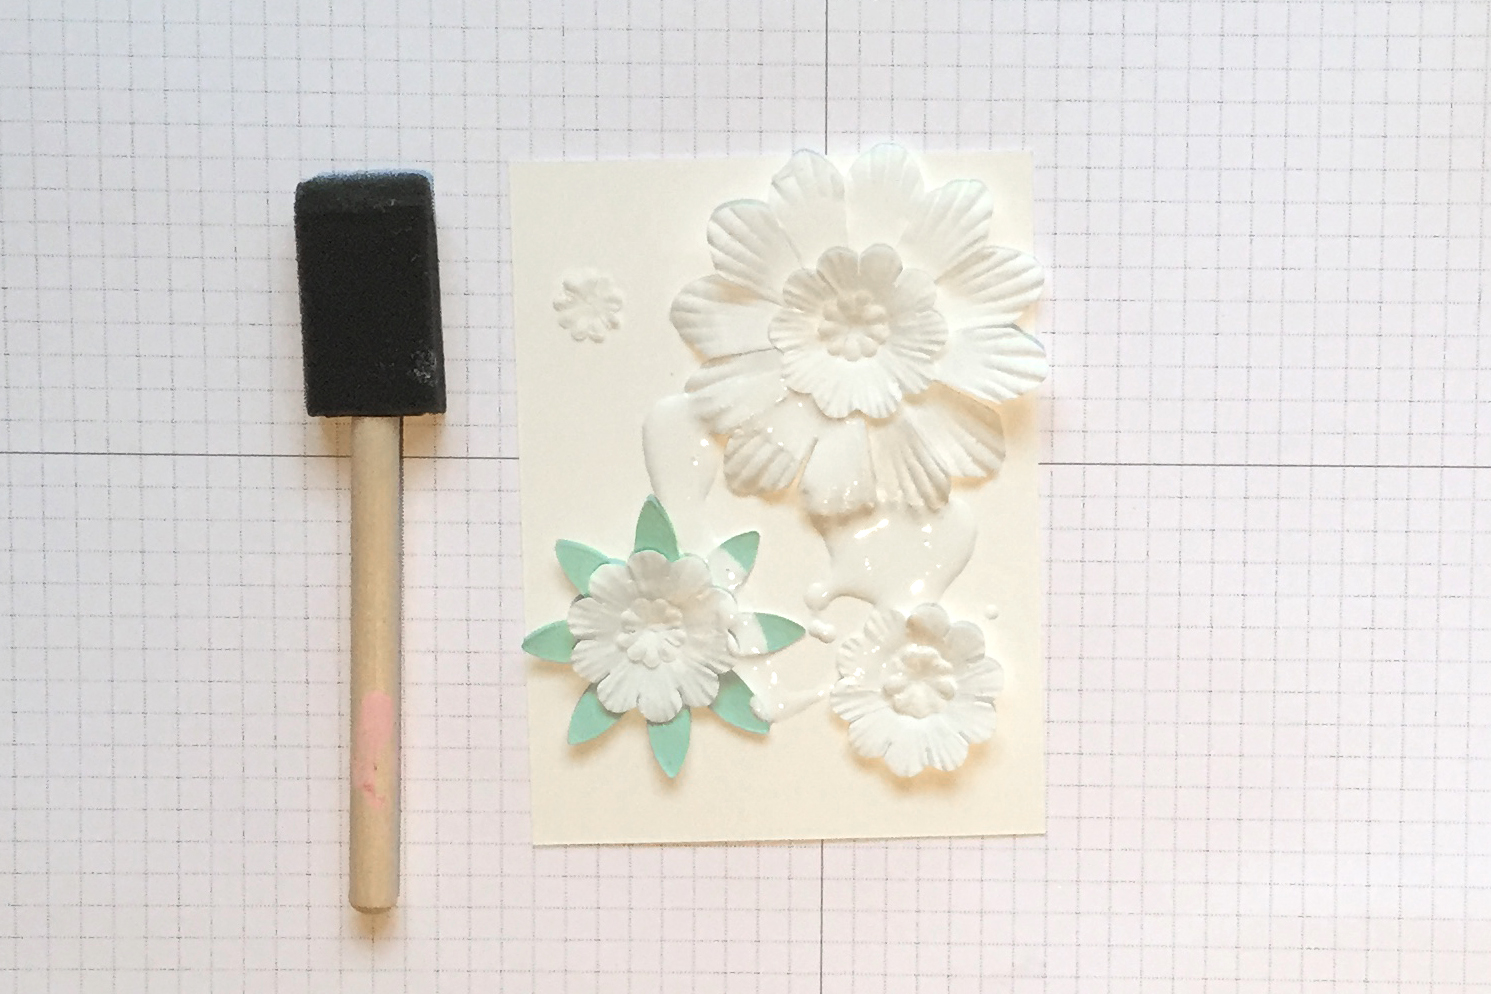
Step 2
Add liquid gesso to the prepared panel - be generous with it.
-
Step 3
Cover the whole panel and all embellishments with a layer of gesso and a foam paintbrush.
-
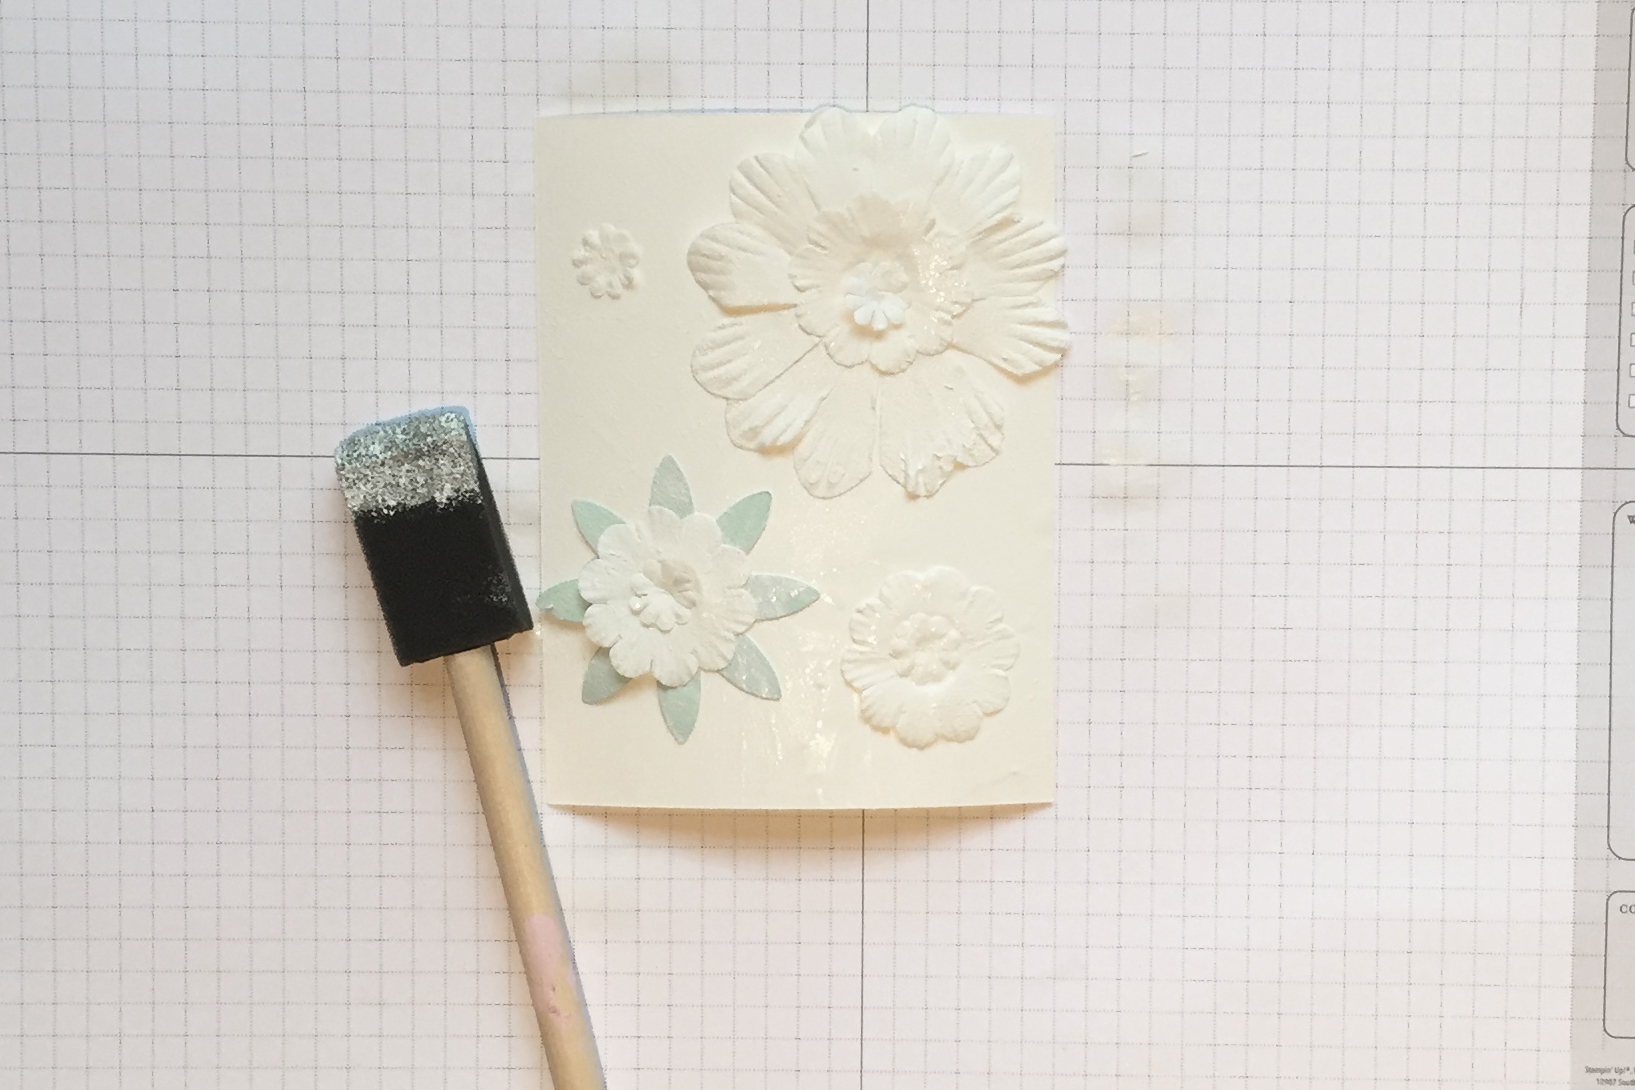
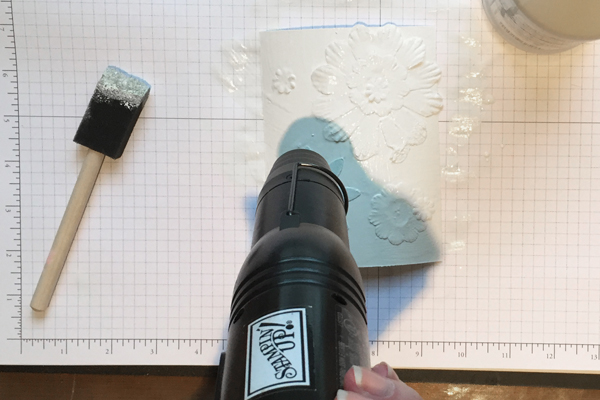
Dry the layers of gesso with your heat gun before applying the next coat.
-
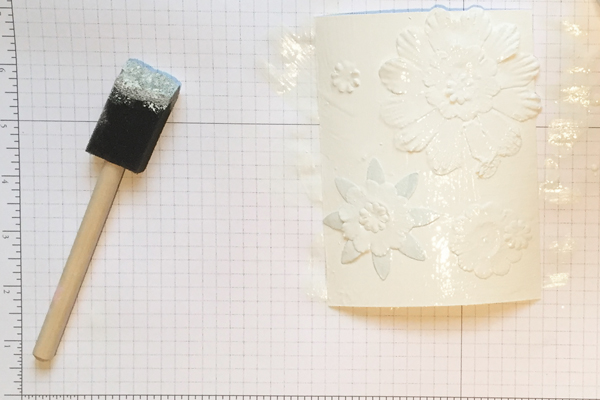
Step 5
Continue adding layers of gesso until the panel is totally covered.
-
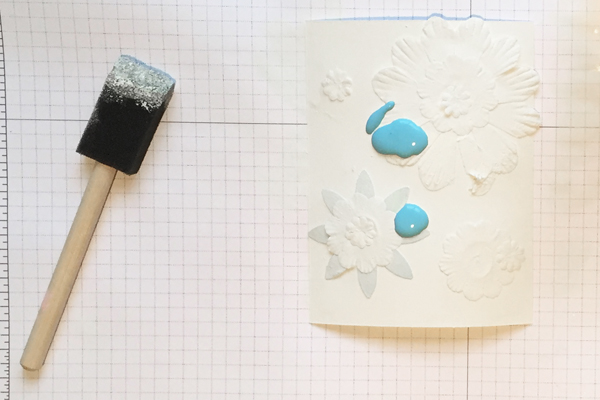
Step 6
After last layer of gesso is dry, add a generous amount of acrylic paint - either a colored paint, or use your dye reinkers to dye your paint a custom color.
-
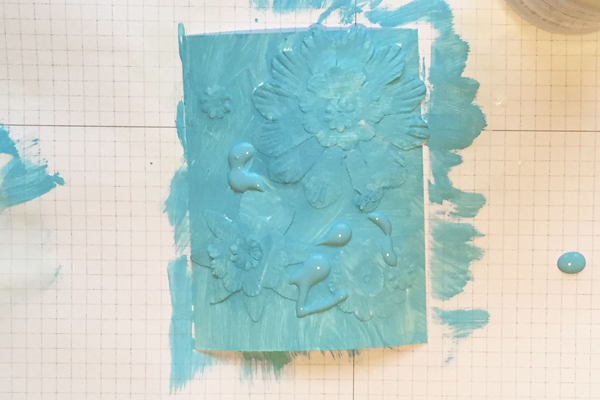
Step 7
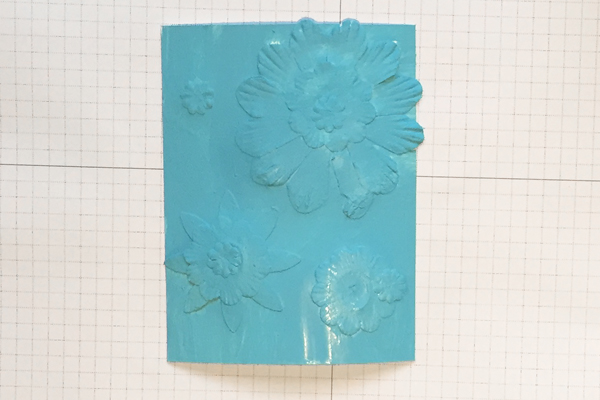
Cover the panel and all the embellishments with paint until no more white is showing.
-
Step 8
Drying in between layers, completely coat the card in paint.
-
Step 9
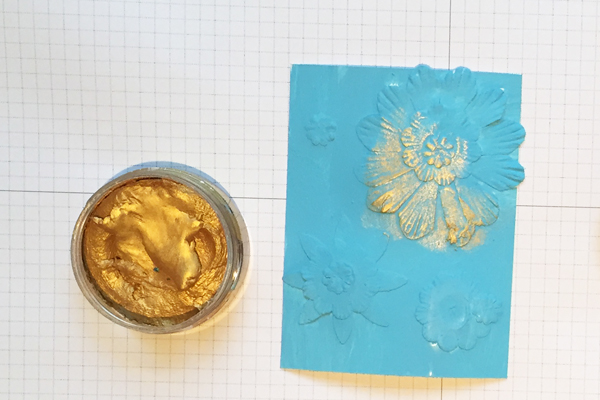
Using your finger, apply the gold rub lightly to the raised flowers to highlight the details.
-
Step 10
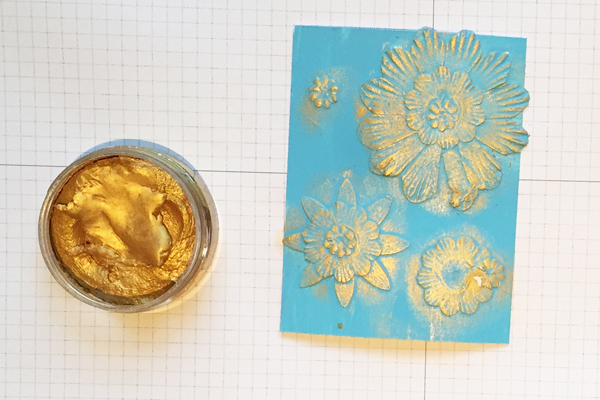
Continue adding gold highlights to flowers and background.
-
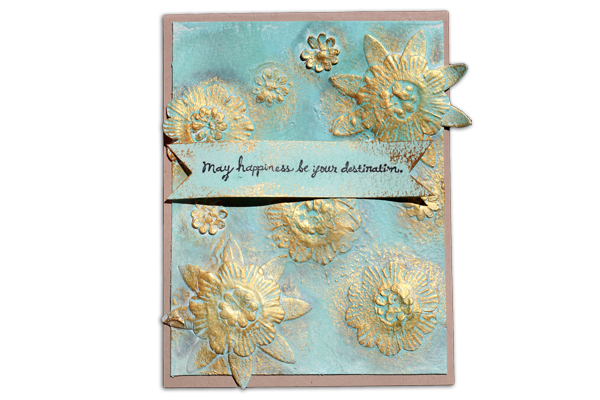
Step 11
Complete the card.
Video!
Your Turn
You've seen the tutorial, now you try it! We've got a section of the gallery set aside for Gilded Relief. Try this technique, then upload your artwork to the gallery. Show us your creations!
***Please note - Internet Explorer/Edge is not a supported browser, and will not allow you to see the videos. Please use Chrome, Firefox or Safari to view our tutorial videos.

Questions and Comments
We'd love to get your feedback or questions. Leave your comment below.
Page 1 of 1 pages