Geometric Wreath
by Ardyth Percy-Robb
Mask with circle die cuts to create a beautiful modern wreath.

Supplies
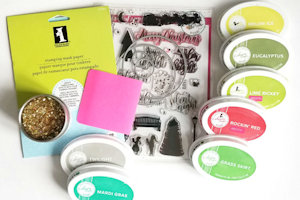
- White cardstock (Neenah used here)
- Circle dies (MFT Die Namics used here)
- Masking paper or sticky notes (Inkadinkado/Scotch brand used here)
- Red and green inks (Catherine Pooler inks used here)
- Ink blenders/sponge daubers (Tsukineko brand used here)
- Other supplies as needed to complete the project (Catherine Pooler sentiment stamp, star confetti, adhesive)
Step-by-Step
-
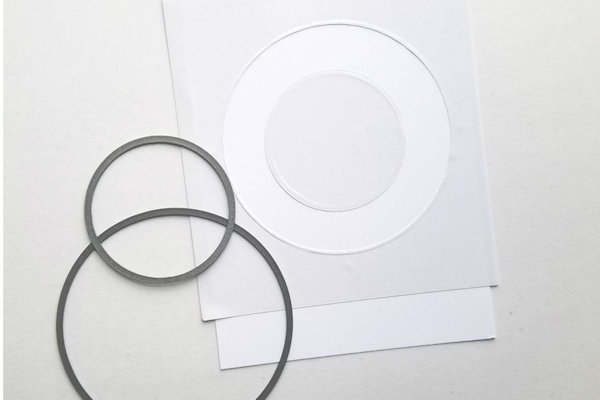
Step 1
Cut a wreath-shaped negative mask using two large circle dies. Cover a cardstock panel.
-
Step 2
Use smaller circle dies to cut negative masks. Use the smallest die to cut berry masks, other dies for 'leaves'.
-
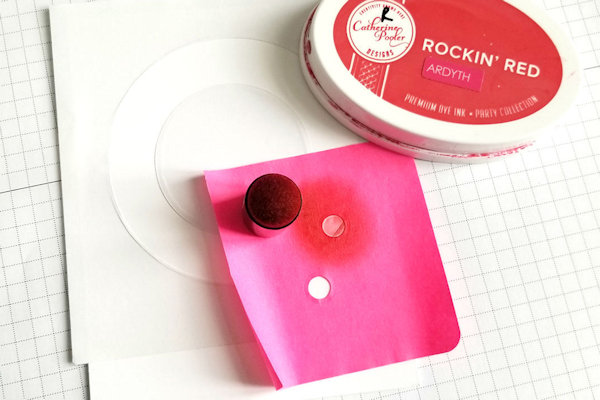
Step 3
Blend red ink through the negative berry mask. Place berries around the wreath.
-
Step 4
Use the same tiny circle die to cut masks and cover the berries.
-
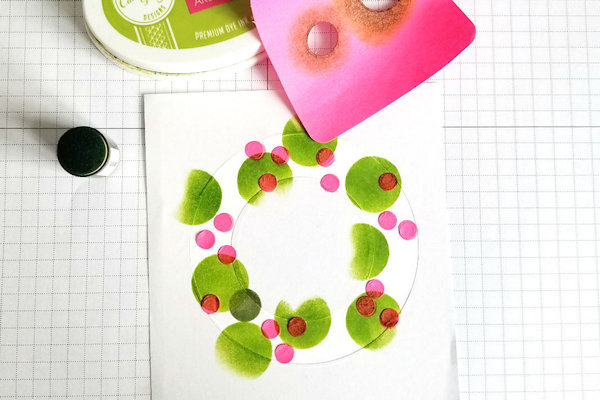
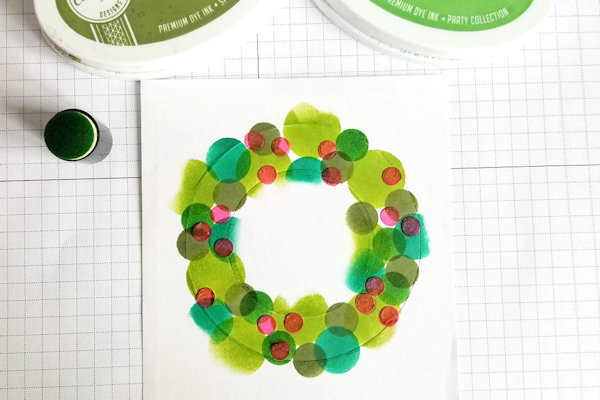
Step 5
Blend various shades of green ink through the larger circle masks.
-
Step 6
Continue with green inks, making sure that the circles overlap and go over the edges of the wreath mask.
-
Step 7
Use a pale green ink to cover any white spaces in the wreath.
-
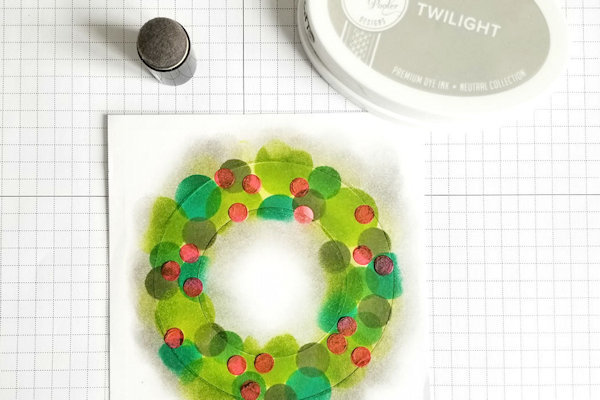
Step 8
Use light gray ink and blend on inside and outside edges of the wreath. This will create shadows and give the wreath some dimension.
-
Remove the mask to reveal your wreath.
-
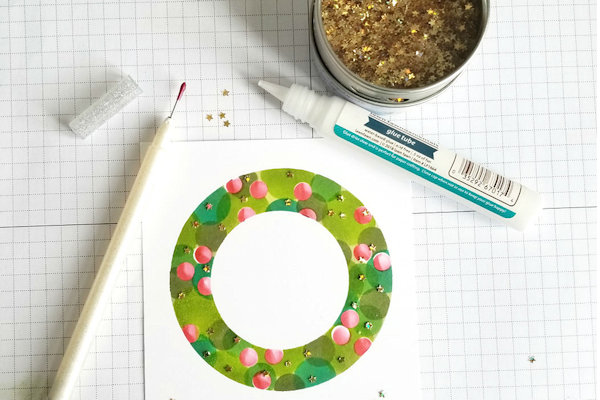
Step 9
Embellish as desired.
-
Step 10
Complete the project.


Video!
Variations
-
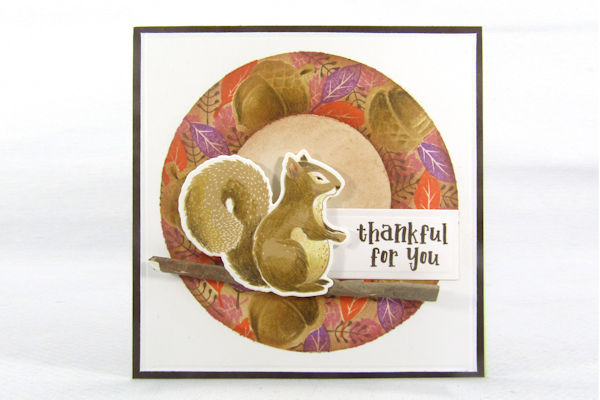
Instead of masking and sponging all the layers of the wreath, try stamping and masking. For this sample, a die cut was used to mask the acorn areas, and stamping was added layers. The simple leaf shapes were stamped and masked, and more intricate leaves were stamped last.
Your Turn
You've seen the tutorial, now you try it! We've got a section of the gallery set aside for Geometric Wreath. Try this technique, then upload your artwork to the gallery. Show us your creations!
***Please note - Internet Explorer/Edge is not a supported browser, and will not allow you to see the videos. Please use Chrome, Firefox or Safari to view our tutorial videos.

Questions and Comments
We'd love to get your feedback or questions. Leave your comment below.
Page 1 of 1 pages