Genie Bags
by Jen del Muro
The “Genie Bag” was created as a twist off of something that I had seen at a friend’s house. The original was created with a lunch sack that was cut in half and used cardstock bases measuring 4.25” x 11.” The instructions below are for the mini version. These are fun to personalize by adding handles, flaps and various embellishments; not to mention, that they are quick and easy to make.
Supplies
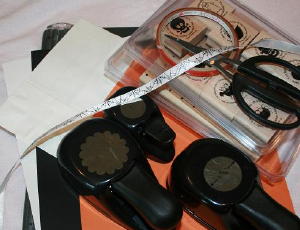
- Paper Cutter
- Cardstock
- Adhesive
- Small Craft Sack
- Other paper and embellishments to design your bag
- Tissue paper
Step-by-Step
-
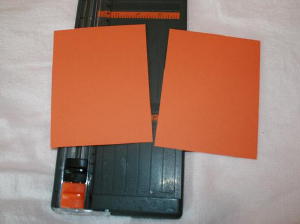
Step 1
Cut 2 sheets of cardstock to 4 1/4" x 5 1/2". These will be the bases to the sides of your bag.
-
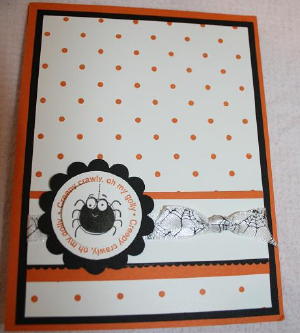
Step 2
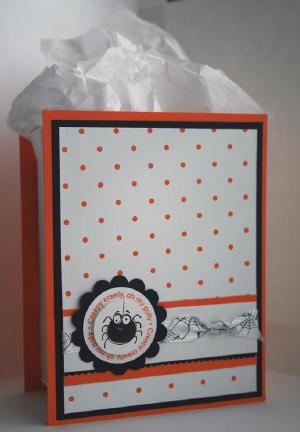
Decorate one sheet as you would a card. Although not shown, you make decorate both sheets of cardstock.
-
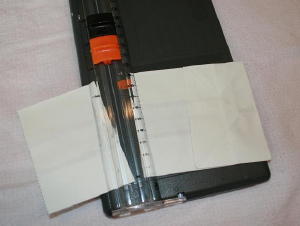
Step 3
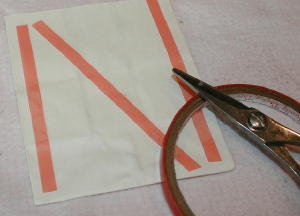
Cut craft sack in about half and apply adhesive to sack on both sides. Adhere 4 1/4" x 5 1/2" sheets of cardstock to the sack.
-
**Note** Since the cardstock is larger than the bag, it is wise to put the adhesive on the sack to avoid exposed adhesive.
-
Step 4
Put on the finishing touches by stuffing with tissue paper and goodies.
Video!
Variations
-
Turn it into a Purse
Cut the covers at an angle and add handles to make your Genie bag look like a purse.
Use your die cut templates
Cut the cover pieces with die cut templates for different shaped bags.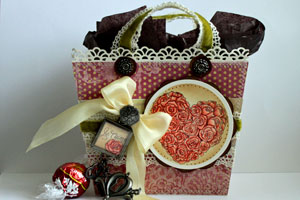
Your Turn
You've seen the tutorial, now you try it! We've got a section of the gallery set aside for Genie Bags. Try this technique, then upload your artwork to the gallery. Show us your creations!
***Please note - Internet Explorer/Edge is not a supported browser, and will not allow you to see the videos. Please use Chrome, Firefox or Safari to view our tutorial videos.

Questions and Comments
We'd love to get your feedback or questions. Leave your comment below.
Your bag is great. I'm going to make a few for all occasions.
Page 1 of 1 pages