Flip Book
by Lisa Somerville
Create a flip book.
Supplies
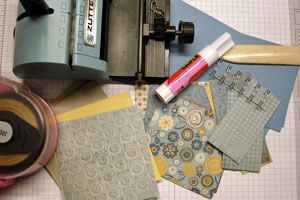
- Three 8" x 3 3/4" pieces of cardstock
- Four 4" squares of cardstock or patterned paper or a combination of both for covers
- Ten 3 1/2" x 1 3/4" pieces of patterned paper
- Four pieces of 3 3/4" x 3 1/2" pieces of cardstock or patterned paper
- Scoring tool
- Bind It All™, or other binding machine
- BIA Coil 1/2" coil was used here, although the 3/4" would work
- Adhesive
- Bone folder
- Two 4" square Chipboard Covers
Step-by-Step
-
Step 1
Score the 8" x 3 3/4" pieces of cardstock at 2" and 6".

-
Step 2
Adhere the 4" square pieces of patterned paper to the front and back of the 4" chipboard squares – set aside.
Optional:
If desired, sand the edges with a sanding block and add ink with a sponge dauber.
-
Step 3
Adhere patterned paper pieces to the scored pages:
Inside view of page one.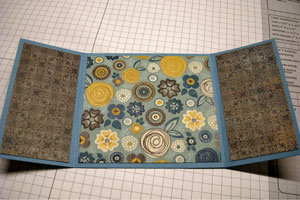
-
Back view of page one.

-
Step 4
Inside view page two.
-
Backside view of page two.

-
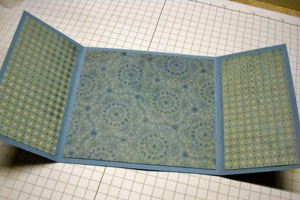
Step 5
Inside view page three.
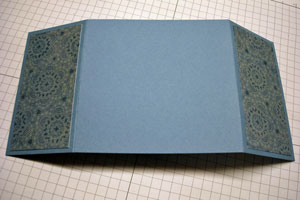
-
Backside view of page three.
-
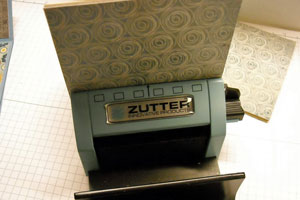
Step 6
Set the Bind It All to “C” (cover) and punch the front and back covers.
-
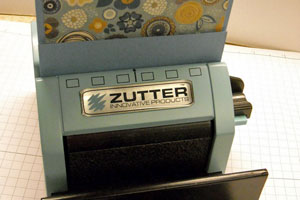
Step 7
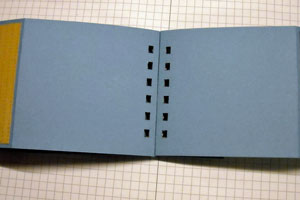
Set the Bind It All to “D” (inner pages) and punch inner pages as shown (it may help to refer to the photos above as to where the patterned paper was placed).
Fold in one of the 2” flaps on page 1 – insert into Bind It All and punch.
-
Fold in the 2” flap on page 2 (that does NOT have patterned paper on both sides) – insert into Bind It All and punch.

-
Step 8
Now the pages will be attached together as follows:
Lay pages 1 and 2 down – front view up. Adhere tape to the right 2” panel on page 1 and adhere it to the left 2” panel on page 2 (making sure to line it up with the punches from the Bind It All)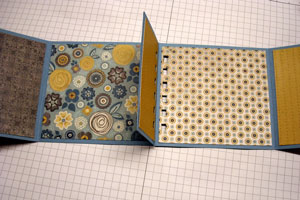
-
Step 9
Lay page 2 down so that you are working on the back of the 4” panel, add tape and adhere it to the back 4” back panel of page 3 (making sure to line it up with the punches from the Bind It All)
-
This is a view of all pages when taped together.

-
Step 10
Now you are ready to add the coil to the book
To get ready to coil the book, assemble in order from left to right:
Back cover, front cover, and pages (note the 2” panels from page 3 are on the top). Slide in the double OWire binding.
Adjust the micro variable knob to the size wire you are using, place the book into the wire closing channel, bring down the handle and release.
-
Step 11
Decorate the front to finish your book.
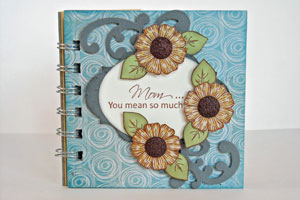
-
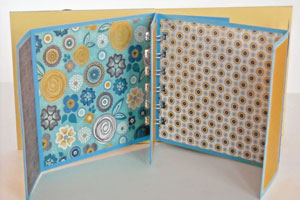
Book opened.
Video!
Your Turn
You've seen the tutorial, now you try it! We've got a section of the gallery set aside for Flip Book. Try this technique, then upload your artwork to the gallery. Show us your creations!
***Please note - Internet Explorer/Edge is not a supported browser, and will not allow you to see the videos. Please use Chrome, Firefox or Safari to view our tutorial videos.

Questions and Comments
We'd love to get your feedback or questions. Leave your comment below.
Page 2 of 2 pages < 1 2