Fleur de Lis Ornament
by Becca Feeken
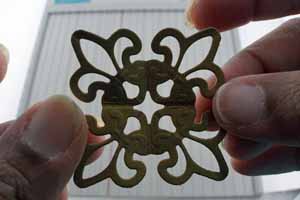
Create a gorgeous ornament with help of the Fleur de Lis Shapeabilities™.
Supplies
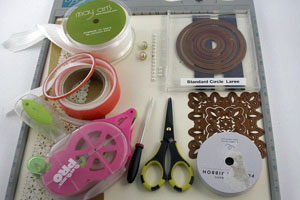
- Spellbinder Fleur de Lis Pendant and Center
- Spellbinders Standard Circles Large
- Scor-Pal™
- Empty Ribbon Spool – 3” diameter
- Ribbon
- Design Paper
- Adhesive including Glue Dots and Tacky Tape™
- Scissors
- 16 Pearls
- 2 Large Pearl Brads
Step-by-Step
-
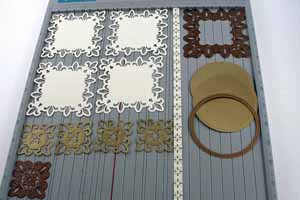
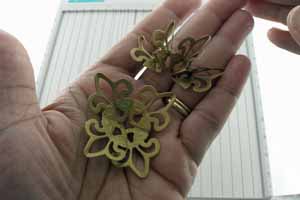
Step 1
Cut – 4 Fleur de Lis Pendants , 4 Fleur de Lis Centers, 2 circles large enough to cover ribbon spool and one strip of paper narrow and long enough to fit in ribbon spool channel.
-
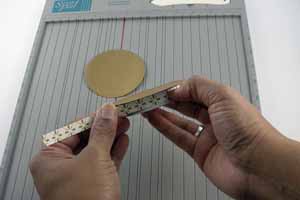
Step 2
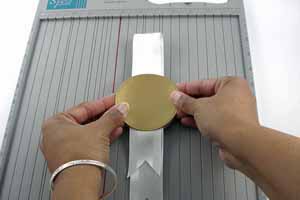
Using adhesive, apply strip of paper in channel covering core of ribbon spool and apply one of the circles to one side of the ribbon spool.
-
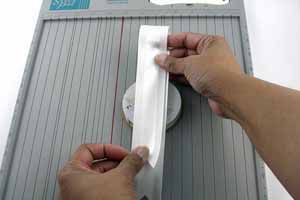
Step 3
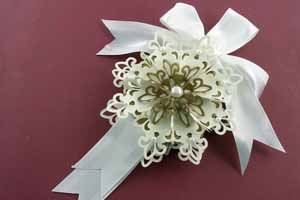
Apply Tacky Tape™ to remaining side of ribbon spool and apply doubled and notched ribbon to top of spool leaving a sizeable loop hanging off of the top of the ribbon spool.
-
Step 4
Apply adhesive to remaining circle and glue down on top of ribbon.
-
Step 5
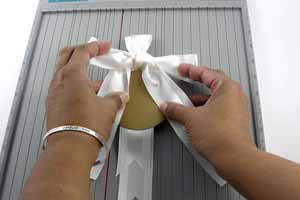
Tie a bow around the hanging loop at the top of the ribbon spool.
-
Step 6
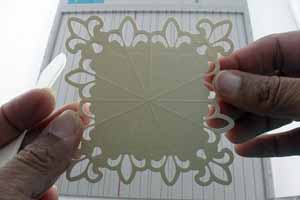
Score each of the four Fleur Pendants as shown.
-
Step 7
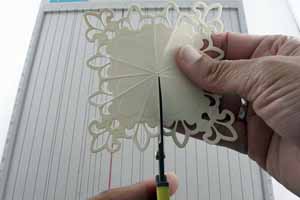
Clip on straight side, along score mark, to the center of the pendant.
-
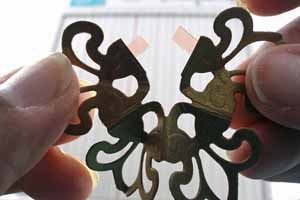
Step 8
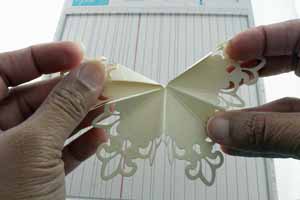
Fold all score lines. Pinch lines that are on each flat side of the Fleur so that they stand in a peak. There will be three peaks. Fold back the cut edge.
-
Step 9
Apply glue dots on the backside of each peak and glue together. Place two glue dots on each side of turned up edge.
-
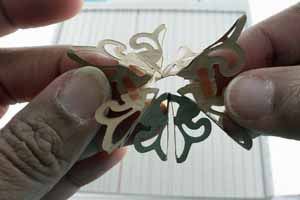
Step 10
With peaks facing up, side two of the Fleur pieces together to make one round medallion.
-
Step 11
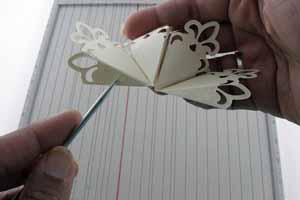
Score each of the four centers as shown and cut towards center.
-
Step 12
Accordian fold each of the centers so that each Fleur shape is a valley fold.
-
Step 13
Place thin tacky tape™ on each side of cut edge.
-
Step 14
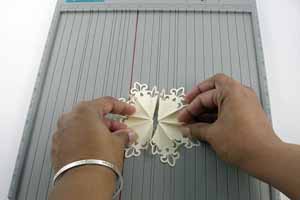
Attach second center piece to taped edge of first piece making a small medallion.
-
Step 15
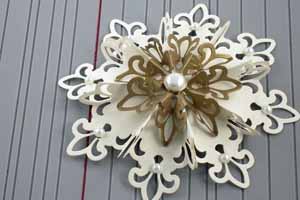
Seat small medallion into large round medallion lining up Fleur shapes.
-
Step 16
Secure with large pearl brad in center and place a pearl on each Fleur shape.
-
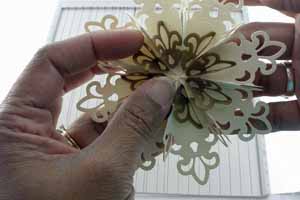
Step 17
Apply adhesive to round circle on base and attach medallion to base. This completes one side of the ornament.

-
Follow steps 7 through 16 to make an additional medallion for the opposite side of the ornament.
Video!
Variations
Not just for Ornaments
Stop after Step 16 and use assembled piece on cards or box tops.
Your Turn
You've seen the tutorial, now you try it! We've got a section of the gallery set aside for Fleur de Lis Ornament. Try this technique, then upload your artwork to the gallery. Show us your creations!
***Please note - Internet Explorer/Edge is not a supported browser, and will not allow you to see the videos. Please use Chrome, Firefox or Safari to view our tutorial videos.

 *
*
Questions and Comments
We'd love to get your feedback or questions. Leave your comment below.
You're wonderful designs give me inspiration every day. xxx
~Bev
This decoration is absolutely stunning. So delicate. Thank you for the clear and concise video. I think I'll attempt this for my MiL for Christmas.
Page 2 of 3 pages < 1 2 3 >