Faux Tearing
by Beate Johns
Create a faux torn edge with scrap paper and sponges.
Supplies
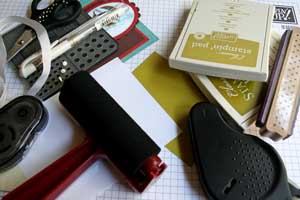
- Cardstock
- Brayer with sponge attachment or sponges
- Lightweight scrap paper
- Dye Ink
- removable adhesive (optional)
- Stamps (optional)
Step-by-Step
-
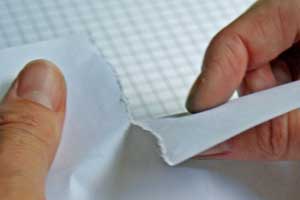
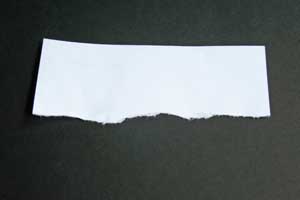
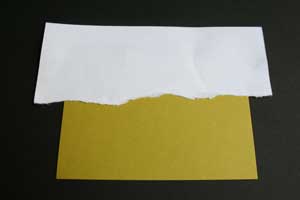
Step 1
Carefully tear the scrap paper. Add soft waves if so desired.
-
-
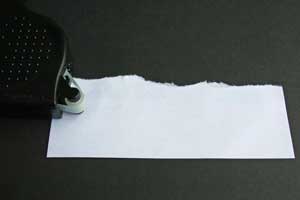
Step 2
Apply removable adhesive to the back of the scrap paper.
-
Step 3
Adhere scrap paper to cardstock.
-
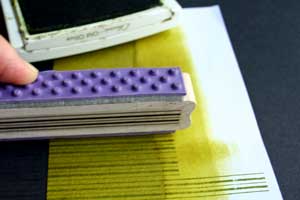
Step 4
Ink a brayer and then apply ink to cardstock until the cardstock has the color you are looking for.
Hint:
Try misting your sponge attachment with water before adding ink. It seems to pick up ink better this way.
-
Step 5 (Optional)
Stamp over the brayered section.
-
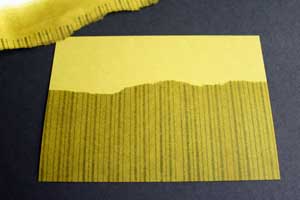
Step 6
Pull off your scrap paper and remove adhesive residue.
-
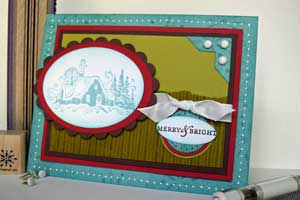
Step 7
Finish your card.
Video!
Variations
Double it up
After sponging your first layer, cover the sponged part up with the other part of your ripped scrap paper. Move your first piece of scrap paper over a bit and sponge a second "layer".
Thicker Texture
Exchange the die inks with pigment ink for a different look.
Your Turn
You've seen the tutorial, now you try it! We've got a section of the gallery set aside for Faux Tearing. Try this technique, then upload your artwork to the gallery. Show us your creations!
***Please note - Internet Explorer/Edge is not a supported browser, and will not allow you to see the videos. Please use Chrome, Firefox or Safari to view our tutorial videos.
Questions and Comments
We'd love to get your feedback or questions. Leave your comment below.
Linda
I LOVE the way you tore a mask . . . brayered over it . . . and then to top it off . . . STAMPED on it!!! That is SO cool!!!!! I LOVE the look!!!! THANK YOU for sharing!!!!
Many Thanks
tamba1
Thanks
Bev
What a clever technique is this! I love the look that it creates. Thanks for sharing this wonderful idea! :0)
.......I'll be trying this with that stamp set:)
Thanks again Beate.
I would like to know the stamp set that included the stripes you used on the bottom of the card.
Thank you,
Laura
I always upload my card to the technique gallery listed on the bottom of the tutorial. There I list all supplies I used.
The background stamp is from the background stamp "Happiness" by Stampin' Up!. My husband cut up the wood block that it came with and I mounted it separately. You can see it here
Keep up the great work
Page 1 of 2 pages 1 2 >