Faux Fabric
by Karen Barber
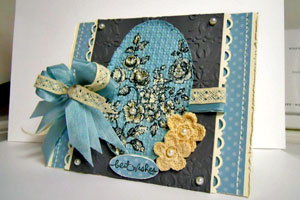
Turn stamped cardstock into faux fabric by embossing it with an embossing folder.
Supplies
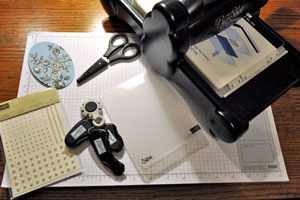
- Cardstock with stamped image
- Big Shot™, or other die cut machine
- Embossing folder
- Distressing tool, or scissors
Step-by-Step
-
Step 1
If you are using scissors to distress your stamped cardstock, do this step first. Run the scissors along the sides of the stamped image as shown to give the edges a distressed appearance.
If you are using a distressing tool go straight to step two.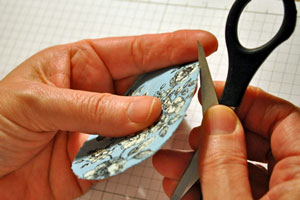
-
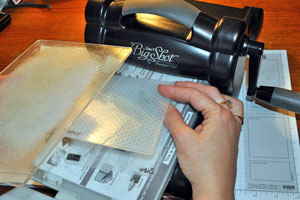
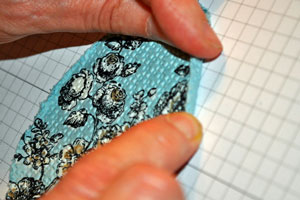
Step 2
Place the stamped image in the embossing folder.
Hint:
Make sure you put the bumpy side of the embossing folder against the back side of the stamped image. This ensures that the fabric texture is raised on the stamped image's surface.
For more information on how to create the look of the main image, check our Bleached out Image tutorial.
-
Run the embossing folder with the cardstock through the Big Shot or other die cutting machine.
-
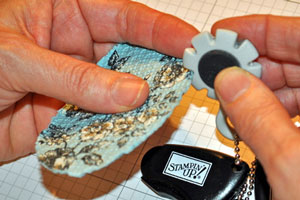
Step 3
If you are using a distressing tool, rough up the edges of the embossed cardstock.
-
Step 4
Roll the edges slightly for an even more distressed appearance.
-
Step 5
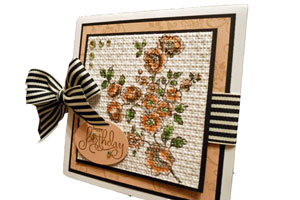
Finish the card.
Video!
Variations
-
Add Vellum
Adhere vellum to the top of the stamped image and run the whole thing through the Big Shot for a more frosted look.
Your Turn
You've seen the tutorial, now you try it! We've got a section of the gallery set aside for Faux Fabric. Try this technique, then upload your artwork to the gallery. Show us your creations!
***Please note - Internet Explorer/Edge is not a supported browser, and will not allow you to see the videos. Please use Chrome, Firefox or Safari to view our tutorial videos.

Questions and Comments
We'd love to get your feedback or questions. Leave your comment below.
Embossing folder?
~Bev
Page 2 of 2 pages < 1 2