Alcohol Ink Faux Bleach
by Sherry Cheever
Create a faux bleached look by adding alcohol ink over embossed images.
Supplies
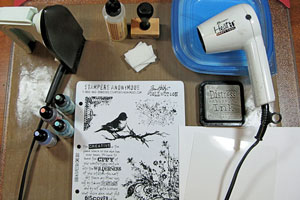
- Alcohol inks (Ranger's Juniper, Salmon, Cool Peri and Aqua used here)
- Ink applicator with felt
- Clear embossing ink
- Clear embossing powder
- Heat tool
- Craft iron
- Glossy cardstock
- White cardstock
- Paper towel
- Stamps (Stamper's Anonymous Tim Holtz Collection Urban Tapestry used here)
Step-by-Step
-
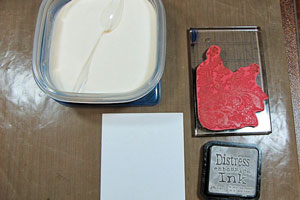
Step 1
Emboss image on glossy cardstock with clear embossing powder.
-
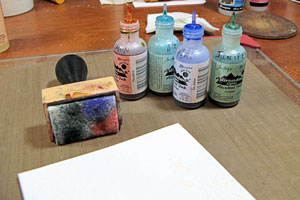
Step 2
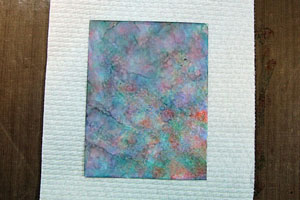
Apply alcohol inks to the felt of an ink applicator. Pounce the applicator over the glossy cardstock to apply the ink.
-
It should look similar to this.
Note:
It is okay that the embossed image isn't clearly visible after this step.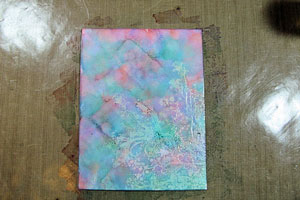
-
Step 3
Place the cardstock on a paper towel so it won’t slip.
-
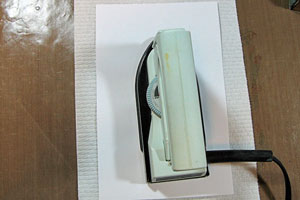
Step 4
Place white cardstock over the glossy and using a craft iron, iron off the embossing.
-
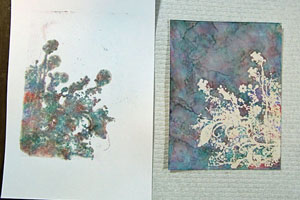
Step 5
When the cardstock lifts off easily, turn over the cardstock to reveal the ironed off embossing. You will now have two background pieces you can use in a project.
Hint:
If for any reason all the embossing is not removed, you can place a sheet of printer paper over the glossy cardstock and iron off remaining embossing.
-
Step 6
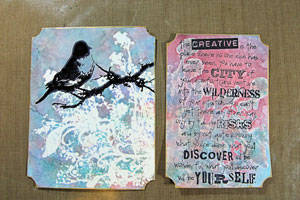
Trim, stamp and ink background pieces for use on cards.
-
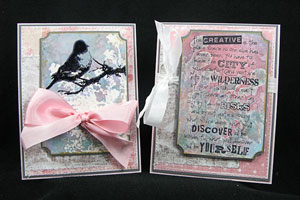
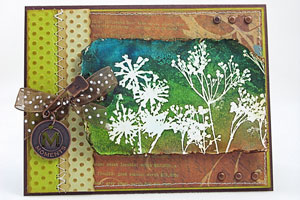
Step 7
Finish your cards.
Video!
Variations
-
Faux Bleach with other inks
Try sponging ink over your image, or spraying colorwash over your image for a different look.
-
Copic Refills work, too
Try the same technique with Copic refills.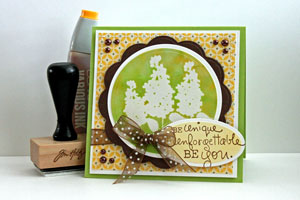
Your Turn
You've seen the tutorial, now you try it! We've got a section of the gallery set aside for Alcohol Ink Faux Bleach. Try this technique, then upload your artwork to the gallery. Show us your creations!
***Please note - Internet Explorer/Edge is not a supported browser, and will not allow you to see the videos. Please use Chrome, Firefox or Safari to view our tutorial videos.

Questions and Comments
We'd love to get your feedback or questions. Leave your comment below.
Luv all videos.
Thanks for sharing this technique and I'm going to give it a try!
Thanks!!
Char
I have a similar folding craft iron from Encaustic Arts (http://www.encaustic.com/) and I know that Amazon has a selection of several different brands.
Do U play with th eEncaustic wax too? I try but still not to good at it.
Do u having any sugestuion on learning it better?Barbara Jardine
tfs
Alexandra
Page 1 of 3 pages 1 2 3 >