Faux Silk
by Beate Johns
Stamp on tissue, crinkle it up and adhere it to cardstock for a soft silky look.
Supplies
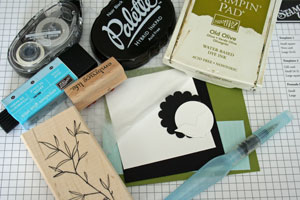
- Tissue paper
- Glue stick, Xyron, spray adhesive, Mod Podge™ or other adhesive
- Neutral cardstock
- Stamps
- Ink
Step-by-Step
-
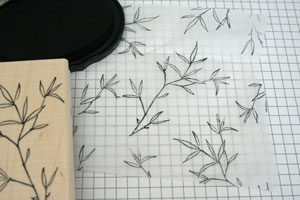
Step 1
Stamp images on tissue paper.
-
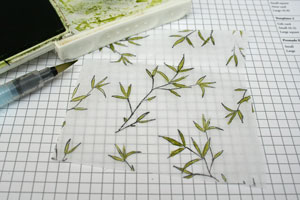
Step 2
Color images if neccessary.
Hint:
Color carefully. The ink will bleed through the tissue paper.
-
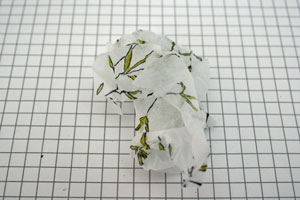
Step 3
Crinkle tissue paper. Smooth out and set aside.
-
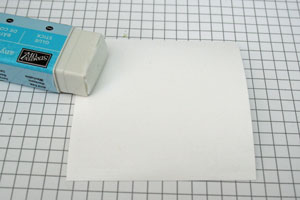
Step 4
Apply adhesive of your choice over the entire piece of neutral cardstock.
-
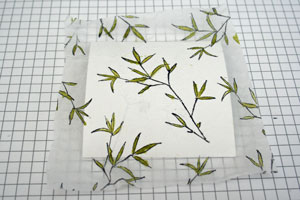
Step 5
Spread tissue paper over adhesive. Smooth out most wrinkles.
-
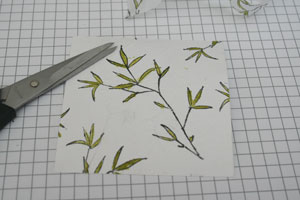
Step 6
Trim excess tissue paper.
-
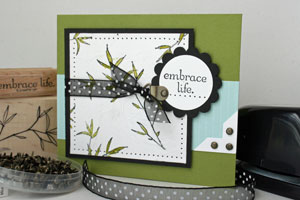
Step 7
Finish your card.
Video!
Variations
Add a little sparkle
Apply Mod Podge™, Elmer's glue, or another wet adhesive to neutral cardstock with a foam brush. Smooth tissue paper over the cardstock and sprinkle Dazzling Diamonds Glitter™ over the tissue paper while still wet.
Make it bold
Use a bold image stamp instead and stamp in colored ink. The ink will run a bit if you use glue stick or liquid glue. It just adds to the card.
Your Turn
You've seen the tutorial, now you try it! We've got a section of the gallery set aside for Faux Silk. Try this technique, then upload your artwork to the gallery. Show us your creations!
***Please note - Internet Explorer/Edge is not a supported browser, and will not allow you to see the videos. Please use Chrome, Firefox or Safari to view our tutorial videos.
Questions and Comments
We'd love to get your feedback or questions. Leave your comment below.
Karen
Love it.
Thanks
Page 2 of 3 pages < 1 2 3 >