Envelope Album
by Helen Gullett
Use everyday envelopes to make a keepsake album.
Supplies

- Envelopes (5” x 6.5” Paper Studios Kraft Envelopes from Hobby Lobby used here)
- Permanent adhesive (liquid glue used here)
- Scrapbook paper (an assortment of 6” x 6” papers used here)
- Envelope Punch Board
- Bone folder
- Embellishments
Step-by-Step
-
Step 1
Select a number of envelopes in the same size (for the sample, ten 5” x 6.5” envelopes were used).
Work with the envelopes in pairs. Open the flap of one envelope with the front of the envelope facing up. Add glue to the flap. Lay the second envelope face down, aligning the edges. -
Repeat the same steps with the remaining envelopes, reserving two which will be used for the front and back covers of the album.
-
Step 2
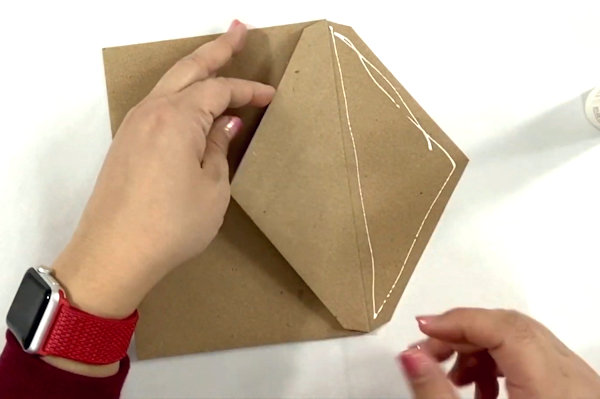
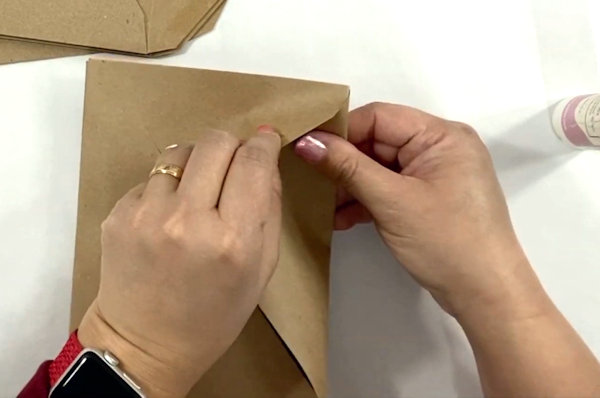
To add the album front, glue the flap of one envelope pair and insert it into the cover envelope as shown. Make sure it aligns well with the edges, the flap, and the inside of the envelope.
-
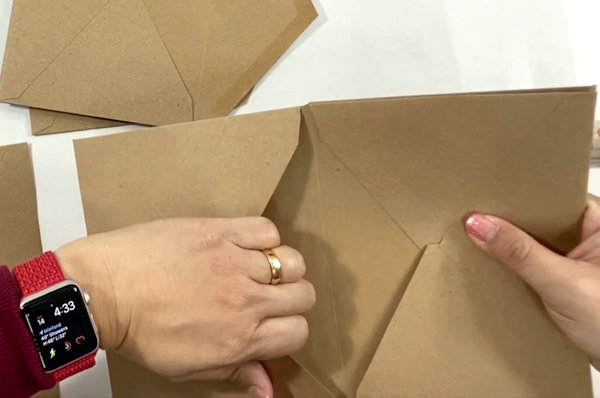
Fold over and make sure the glue is secure and the envelopes are lined up straight.
-
Step 3
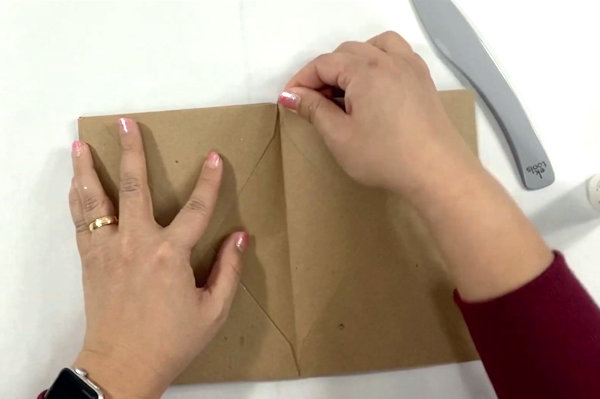
Put glue on the flap that is on the outside.
-
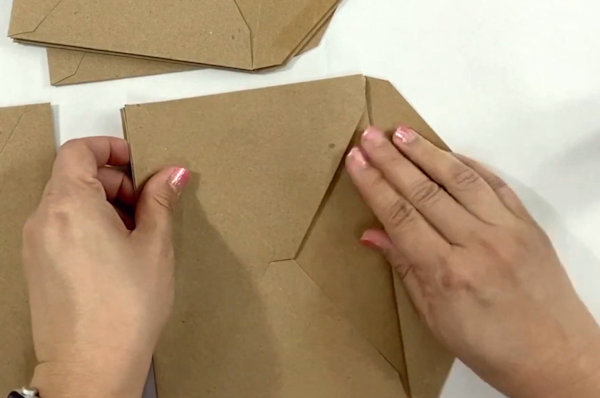
Insert it into the envelope opening, and make sure it is glued flat inside the envelope.
-
Step 4
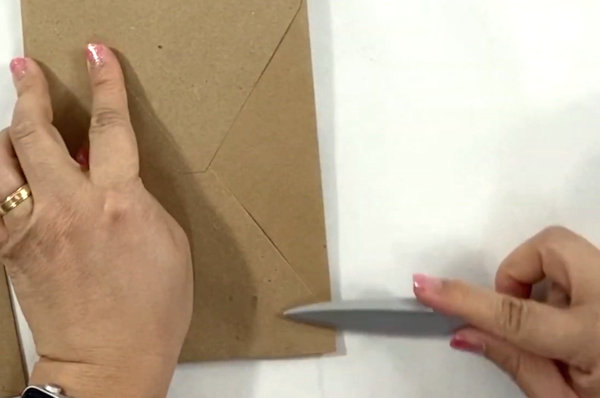
To continue adding pages to the envelope, glue the outside flap of the next envelope pair and insert the flap into the back envelope on the album as shown. Repeat for as many envelope pairs as remain.
-
Check alignment with each addition, and press the spine of the album together to keep it flat, using a bone folder if needed.
-
Step 5
To add the back cover, put glue on the outside flap of the remaining envelope, and tuck it into the back of the album.
-
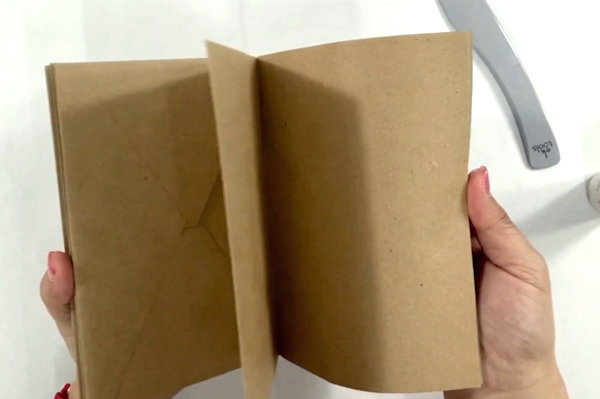
Step 6
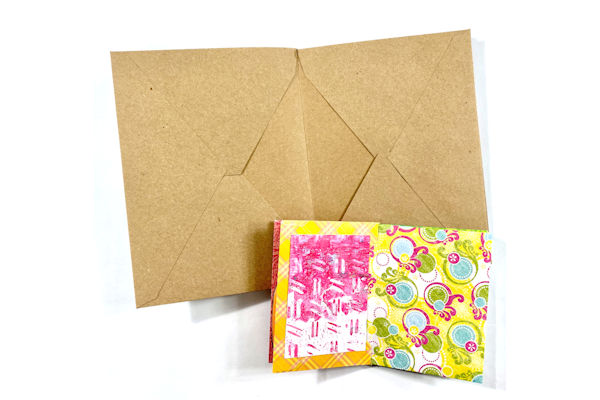
The album is ready to decorate.
-
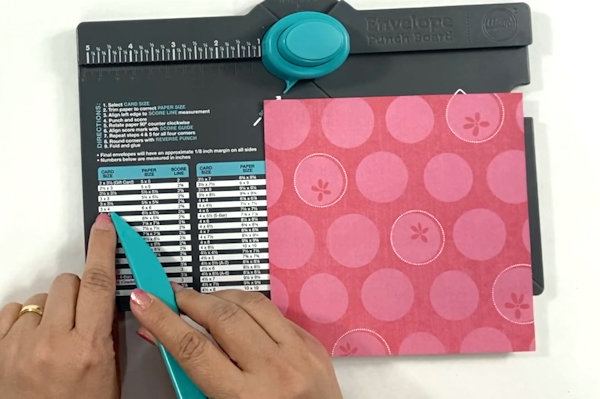
Step 7
If you want a more decorative album or a specific size, use the Envelope Punch Board. Use the guide on the punch board to determine your paper size and scoring measurements.
For the sample, the papers were cut to 6” x 6”. Instructions on the board were followed to create twelve 3” x 4” envelopes. -
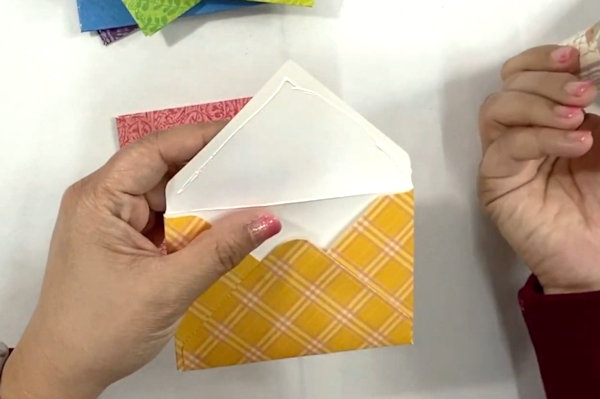
Step 8
For this mini album add glue to the inside flap of an envelope.
-
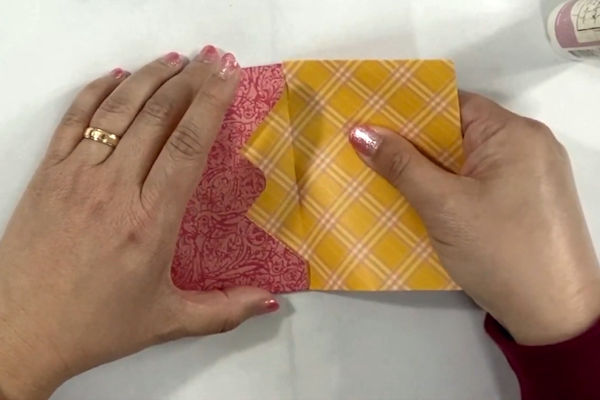
Flip the envelope and insert the flap into the previous envelope. Continue with the remaining envelopes.
-
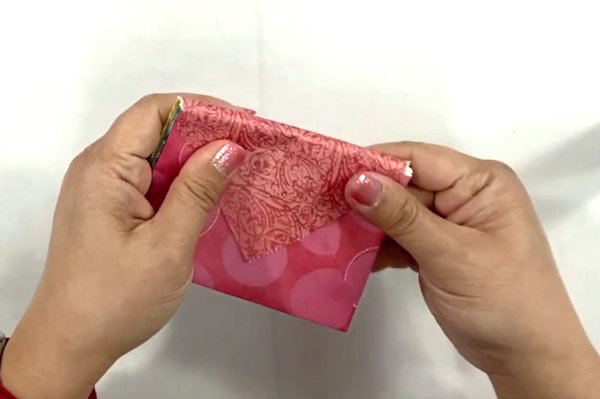
Step 9
On the last envelope, glue the entire flap from the first envelope and wrap it around to the back. Press firmly to make sure all the inner envelopes attach to this flap.
-
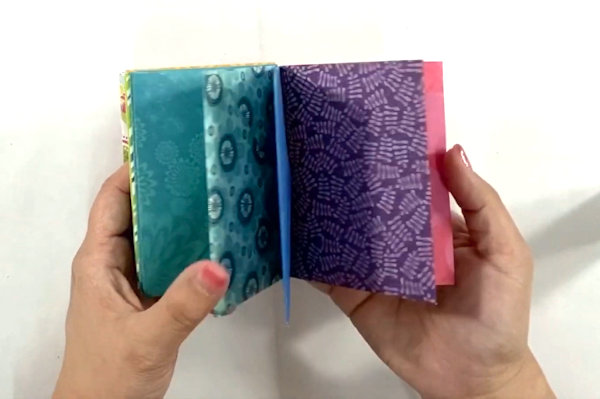
The mini album is ready to decorate.
-
Step 10
Complete the project.


Video!
Your Turn
You've seen the tutorial, now you try it! We've got a section of the gallery set aside for Envelope Album. Try this technique, then upload your artwork to the gallery. Show us your creations!
***Please note - Internet Explorer/Edge is not a supported browser, and will not allow you to see the videos. Please use Chrome, Firefox or Safari to view our tutorial videos.

Questions and Comments
We'd love to get your feedback or questions. Leave your comment below.
Page 1 of 1 pages