Embossed Enamel Leaf
by Deb Mills
Learn how to create a leaf embellishment.
Supplies
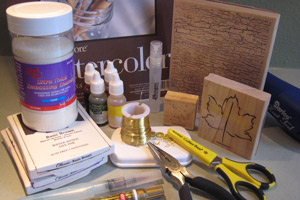
- Cold Press Watercolor Paper
- Water-based Ink Pads
- Leaf and assorted background stamps
- Scissors
- Misting Bottle
- Waterbrush
- Assorted water-based dye re-inkers
- Heat Tool
- Embossing Ink Pad
- Clear Ultra Thick Embossing Enamel (UTEE)
- Gold Leafing Pen
- 14” of gold beading wire (24 gauge was used here)
- wire cutters
Step-by-Step
-
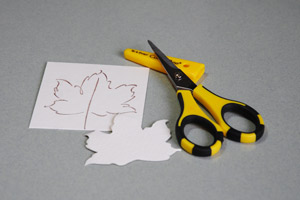
Step 1
Stamp and cut out leaf image, snipping off the stem. The image for this tutorial was stamped on the backside of the watercolor paper to eliminate thick outlines on the finished product.
-
Step 2
Mist front of leaf until paper is quite wet. Curling is normal and desirable. Additional shaping of the leaf can be done at this stage.
Hint:
For a more rustic look, submerge leaf in water and crinkle / un-crinkle.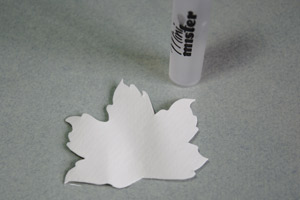
-
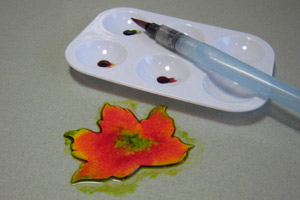
Step 3
Apply re-inker, building color gradually -- a little color goes a long way.
-
Step 4
After the paper has dried completely (a heat tool was used here to speed up drying time and help curl the paper into a more leaf-like shape), assorted background stamps can be used to add interest and depth. Leaf veins could also be penciled in.
Hint:
For a more polished look, skip using background stamps.
Drying Tip: For more curl, dry from the painted side only. For less curl, dry from backside also.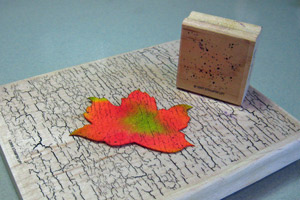
-
Step 5
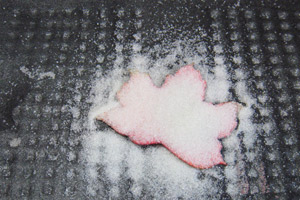
Press painted side of leaf onto the surface of an embossing ink pad, taking care to achieve full coverage, and sprinkle with a generous amount of clear UTEE. Be sure to work over something that will collect excess UTEE so it can put back into the container.
-
Step 6
On a heat-resistant surface, completely melt the enamel with a heat tool until it becomes liquefied and shiny. Be cautious as the enamel and paper can become scorched. (So can fingers!) Immediately apply another coat of UTEE and heat again.

-
Step 7
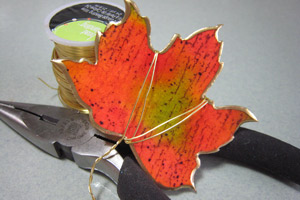
Once leaf has cooled completely, draw around the edge with a gold leafing pen and wrap with gold beading wire. Be sure to leave about 1.5 inches of wire at the bottom for the stem. After wrapping the leaf three or four times, bring the two wire pieces together at the bottom and twist to fashion a stem.
-
Step 8
Use the finished leaf on your project.

Video!
Variations
-
Use dies instead of stamping and hand cutting your image and try other shapes then leaves.

Your Turn
You've seen the tutorial, now you try it! We've got a section of the gallery set aside for Embossed Enamel Leaf. Try this technique, then upload your artwork to the gallery. Show us your creations!
***Please note - Internet Explorer/Edge is not a supported browser, and will not allow you to see the videos. Please use Chrome, Firefox or Safari to view our tutorial videos.

Questions and Comments
We'd love to get your feedback or questions. Leave your comment below.
Thank you
Caroline
It is now pinned to my board to try later.
Keep up the good work,Thanks
Caroline
Great job Beate!
Thanks for sharing
Jimba
Depending on where you live, assorted variations of these supplies can typically be found at the "the big three" crafting stores (Hobby Lobby, Michaels, Jo-Anne Fabrics).
What you can't find there, you can certainly find online. For SU! supplies, you can search their site (stampinup.com) for a demonstrator in your area.
Hope that helps!
Gina
Hope you have fun with it!
Gina
~Bev
Page 1 of 2 pages 1 2 >