Drawer Box
by Holly McMillen
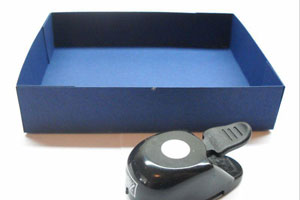
Create an adorable box with a drawer to hold cards or other goodies.
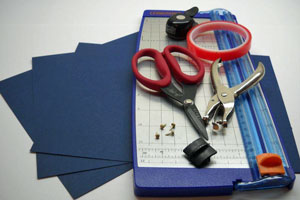
Supplies
- One 8 1/2" x 7" piece of heavy cardstock or lightweight chipboard (drawer)
- One 9 1/16" x 6 1/16" piece of heavy card stock or lightweight chipboard (Part A)
- One 9 1/8" x 6 1/8" piece of heavy card stock or lightweight chipboard (Part B)
- Paper cutter with scoring blade
- Sticky tape or other strong adhesive
- 1/2" circle punch
- Hole punch
- Scissors
- Stamps, paper and embellishments to decorate the box
Step-by-Step
-
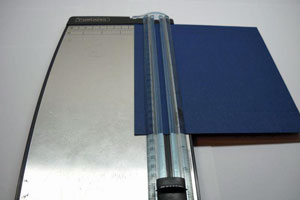
Step 1
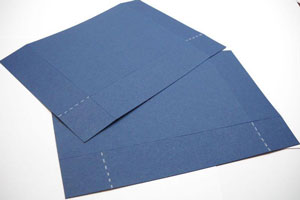
Score the 8 1/2" x 7" piece of cardstock on each side at 1 1/4".
-
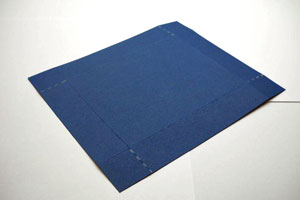
Step 2
Cut up to the score lines on all four sides as shown.
-
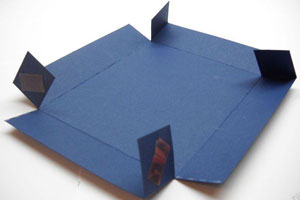
Step 3
Fold tabs and apply sticky tape to the back of them. Form into a box bottom.
-
Step 4
Using the 1/2" circle punch, punch a 1/2"circle in the front of the drawer and set aside.
-
Step 5
Score at 1 1/2" on both short sides and at 1 1/2" on one of the long sides of both Part A and Part B.
-
Step 6
On Part A (which will nest inside), cut in on each side at the score line to the interior score line.
On Part B (which will nest outside), cut up on the two bottom score lines to the interior score line.
Apply sticky tape to the tabs and fold both pieces in to form an open ended box.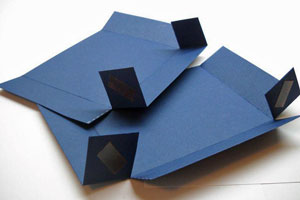
-
Step 7
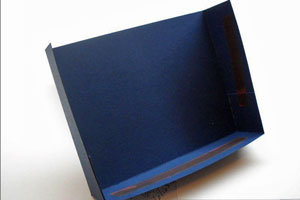
Apply sticky tape to the interior walls of the Part B (slightly larger piece).
-
Step 8
Slide the smaller piece (Part A) into the larger (Part B) and press together.

-
Step 9
Slide the drawer into the box and it is ready to decorate.
Note:
Lightweight chipboard works well - you can use the backing to the 12 x 12 designer paper packs.
If you use regular weight chipboard, adjust Part B to measure 9 3/16” x 6 3/16”, but keep the score lines the same. This will allow for the slightly thicker paper.
Fun tip:
When made with the lightweight chipboard, you can stack the boxes for storage of Nestabilities™ or other supplies.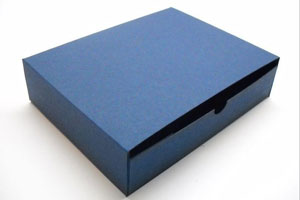
-
Step 10
Decorate the box and create matching cards.
This box holds up to 10 cards (4 1/4" x 5 1/2") and envelopes.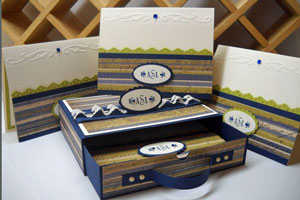
Video!
Your Turn
You've seen the tutorial, now you try it! We've got a section of the gallery set aside for Drawer Box. Try this technique, then upload your artwork to the gallery. Show us your creations!
***Please note - Internet Explorer/Edge is not a supported browser, and will not allow you to see the videos. Please use Chrome, Firefox or Safari to view our tutorial videos.

Questions and Comments
We'd love to get your feedback or questions. Leave your comment below.
Hugs and smiles
Love the color combo you used!
Love ya!
Charlene
Thank`s
I know lots of work goes into preparing and making these tutorials for us. Thanks for taking the time!
Big hugs for sharing this with us!!
Page 1 of 4 pages 1 2 3 > Last »