Die Cutting Napkins
by Dave Brethauer
The absorbent properties of napkins add delightful dimension to die cuts.

Supplies
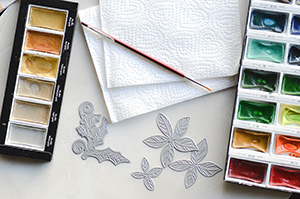
- White paper napkin (thin, cheap napkins work best)
- Dies (Memory Box 94306 Silverdale Branch die used here)
- Cardstock
- Die cutting machine
- Watercolor paints (Kuretake Gansai Tambi watercolors and Starry Color metallic watercolor paints used here)
- Watercolor brush (No.2 round brush used here)
- Other supplies as needed to complete the project (used here: Memory Box CL5245 Tidings Wreath clear stamp set, white embossing powder, embossing heat tool)
Step-by-Step
-
Step 1
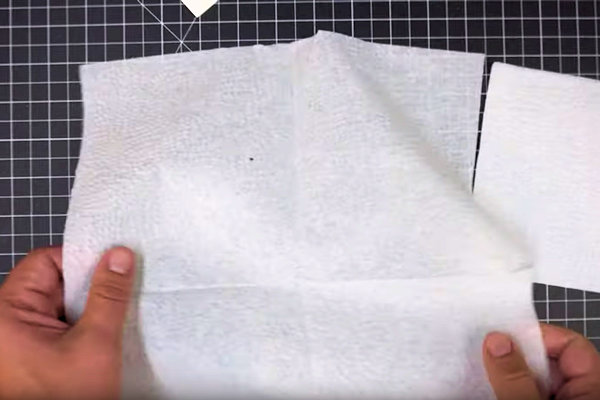
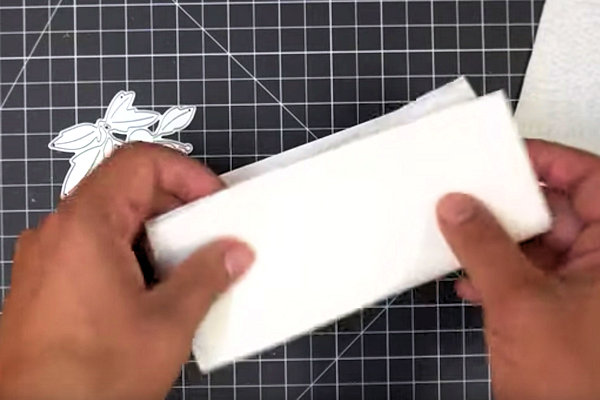
Begin by unfolding a napkin.
-
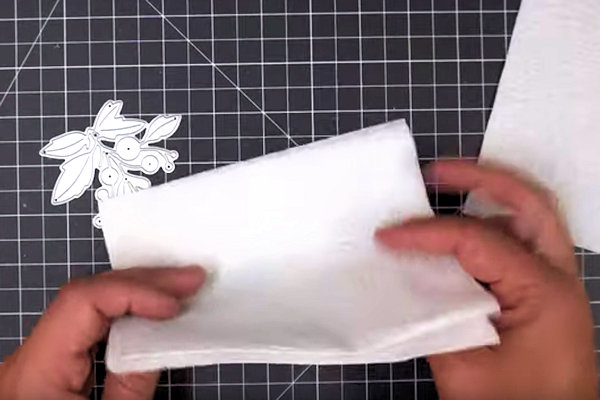
Refold the napkin so that it will have eight layers when the die cuts through it.
-
Step 2
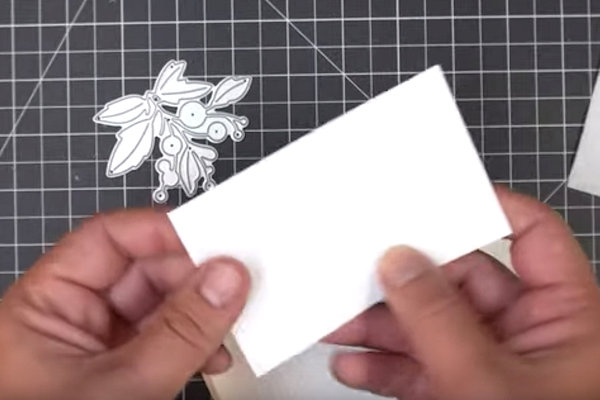
Cut a piece of plain white cardstock slightly larger than the die to be used.
-
Place the folded napkin on top of the white cardstock.
-
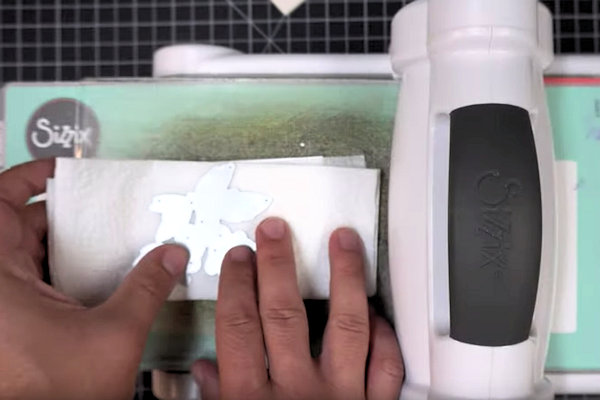
Step 3
Place the cutting die on top of the napkin and onto your die cut machine. Cut according to your machine’s instructions.
-
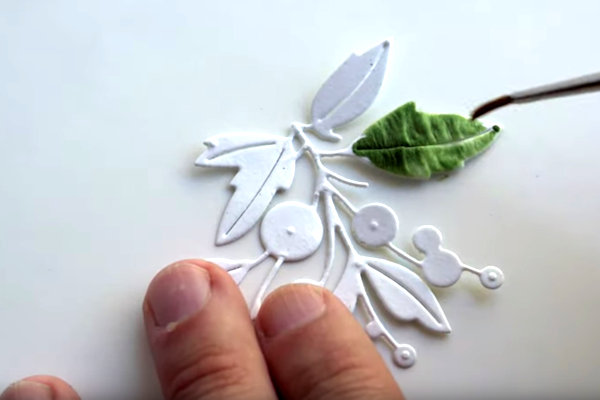
Step 4
After cutting, remove the cut shape as you normally would and begin painting.
-
Use plenty of liquid, so that the layers of the napkin soak up the liquid and puff up a bit.
-
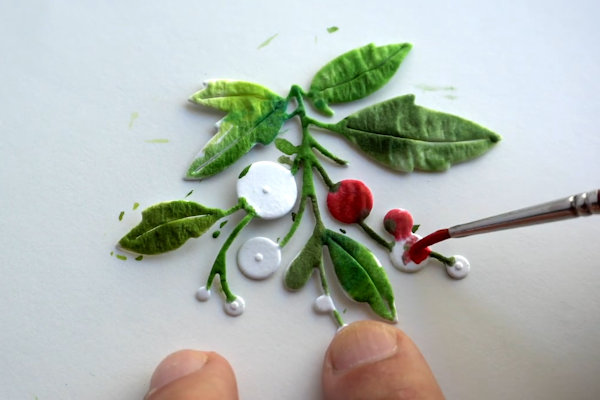
Step 5
While the napkin die cut is still wet, brush over the surface lightly with metallic paint to provide a sparkly accent. Allow to dry before using on project.
-
Step 6
Use the die cut embellishment to complete a card or other project.

Video!
Your Turn
You've seen the tutorial, now you try it! We've got a section of the gallery set aside for Die Cutting Napkins. Try this technique, then upload your artwork to the gallery. Show us your creations!
***Please note - Internet Explorer/Edge is not a supported browser, and will not allow you to see the videos. Please use Chrome, Firefox or Safari to view our tutorial videos.

Questions and Comments
We'd love to get your feedback or questions. Leave your comment below.
instead of painting? Thanks.
I can’t wait to try it!
Thank you for this excellent tutorial.
Page 1 of 2 pages 1 2 >