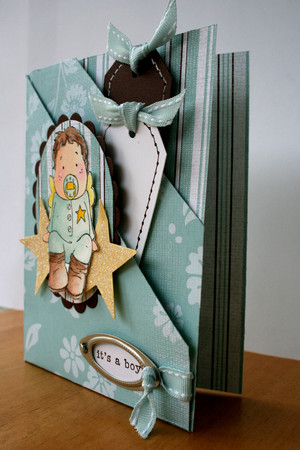
Diagonal Double Pocket Card
by Claudia Rosa
Create a double pocket card out of one sheet of patterned paper.
Supplies
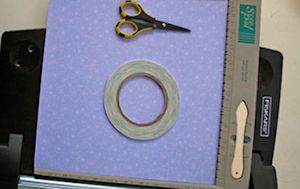
- Patterned paper (8 1/2" x 11")
- Scoring tool
- Scissors
- Adhesive
- Ruler
- Other supplies as needed to complete the card (embellishments, tags or gift cards for inserts, etc)
Step-by-Step
-
Step 1
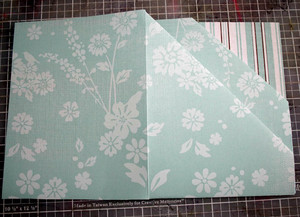
Score from the short side of the patterned paper at 4 1/4". Crease along the fold line.
NOTE:
For this version of the card, the side of the patterned paper that is up will be the most visible in the finished project. Fold with this pattern to the outside.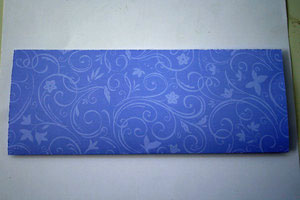
-
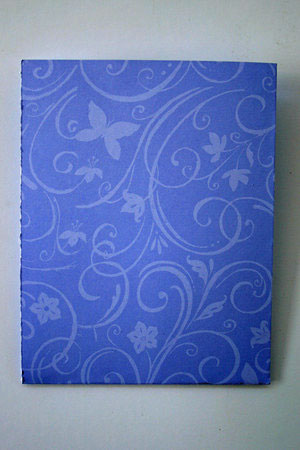
Step 2
Turn paper 90 degrees. Score down the center of the paper at 5 1/2". Fold and crease with a bone folder.
-
Step 3
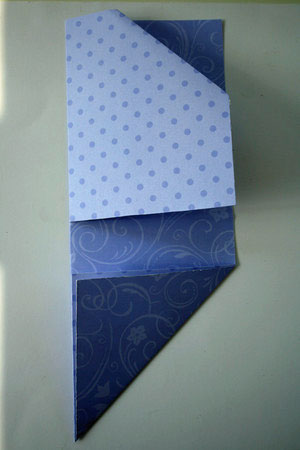
Unfold the paper. Cut along the horizontal fold from the left edge of the paper to the vertical score line.
NOTE:
Again, the side of the patterned paper that is facing up in this step will be the most visible in the finished project.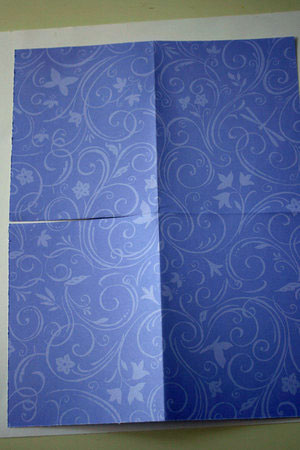
-
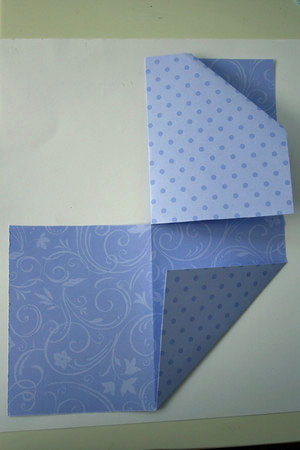
Step 4
Fold up the bottom right corner so that the bottom edge meets the edge of the center score.
TIP:
Make a pencil mark 4 1/4" from the bottom right corner; align the pencil mark with the bottom of the vertical score line, and score to connect the points.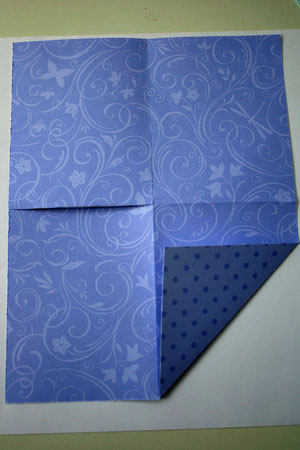
-
Step 5
Fold down the top left corner. Leave 1" - 1 1/2" room from the edge of the folded down corner to the vertical fold.
TIP:
Make a mark at 3" from the corner, along the top of the paper and down the side. Align the two marks on a scoring line and score to connect the points.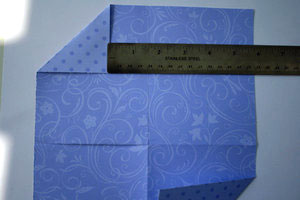
-
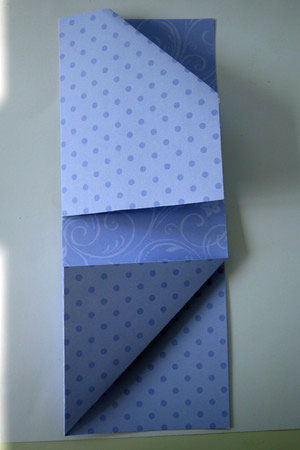
Step 6
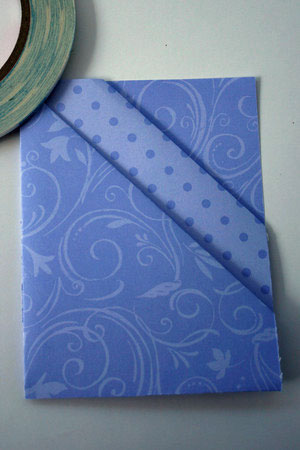
Fold the top left panel over to the right hand side.
-
Step 7
Fold the bottom left panel behind the folded panel on the right.
-
Step 8
Fold the bottom corner up over the other folded up corner, aligning the folds.
-
Step 9
Add adhesive on the sides of the bottom half and fold it up.
-
Step 10
Decorate the card front as desired, and create inserts for the pockets.
The tags in the sample measure 2 1/2" x 5" and 1 3/4" x 5".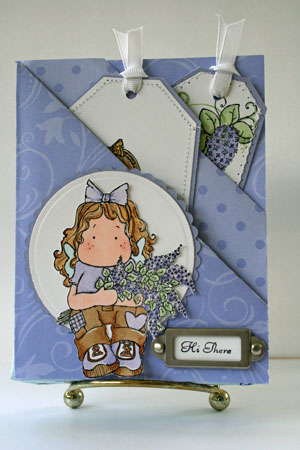
Video!
Variations
-
After step six, instead of folding the right side under, fold both lower flaps up.
-
Fold the left panel around to the card back. Use adhesive to attach loose ends. Now your card will be able to open.
Your Turn
You've seen the tutorial, now you try it! We've got a section of the gallery set aside for Diagonal Double Pocket Card. Try this technique, then upload your artwork to the gallery. Show us your creations!
***Please note - Internet Explorer/Edge is not a supported browser, and will not allow you to see the videos. Please use Chrome, Firefox or Safari to view our tutorial videos.

 *
*
Questions and Comments
We'd love to get your feedback or questions. Leave your comment below.
Where did you get the adorable children stamps?
Do you know anywhere in the U.S. to purchase the Magnolia Tilda Stamps?
Nice card, will try it myself.
BIG hugs,
Betsy
Thanks for sharing.
Page 1 of 7 pages 1 2 3 > Last »