Corner Rounder - Making Scalloped borders
by Beate Johns
Use your corner rounder to add scallops to your cardstock.
Supplies

- Corner Rounder
- Cardstock
- Scissors
Step-by-Step
-
Step 1
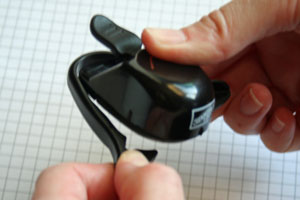
Carefully pull the corner guide off the corner rounder.
-

-
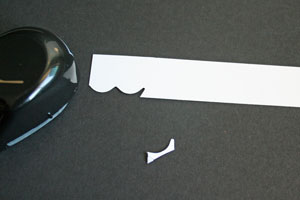
Step 2 Straight Border
Turn your corner rounder upside down so you can see the bottom of it. Line the edge of your cardstock up with the edge of the punch.

-
Punch your cardstock to create your first scallop.

-
Step 3
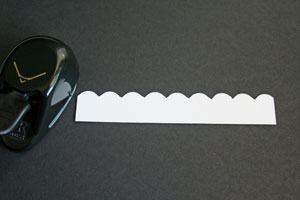
Line the left end of the corner rounder up with the right end of your first scallop.

-
Punch again to create your second scallop.
-
Step 4
Continue to line your corner rounder up with the last scallop and punch out more scallops until your entire edge of the cardstock is done.
-
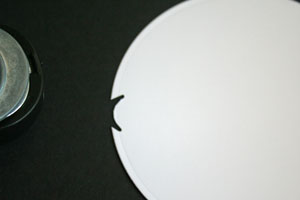
Step 5 - Scallops on Circles
Turn your corner rounder upside down. Line the cardstock up straight with the edge of your corner rounder bottom.

-
Punch your first scallop.
-
Step 6
Line up the edge of the corner rounder with the end of your first scallop.

-
Punch your second scallop.

-
Step 7
Continue to add scallops until you can't fit anymore on your circle.
Sometimes it doesn't just add up right.
-
Step 8
Use scissors to cut of the leftover piece.
If that creates a noticable gap, place some ribbon or hardware stragetically over it when finishing your project.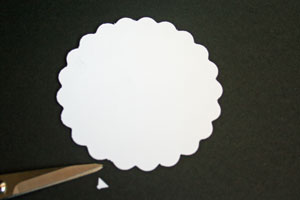
Questions and Comments
We'd love to get your feedback or questions. Leave your comment below.
The corner rounder shown is from Stampin' Up!. EK Success is the manufacturer.
So it's great to be shown otherwise.
Hadn't bought this punch yet, but will now be on my next order, thankyou for sharing.
angelm
can you help me? thanks a lot
conny
so one more time
i´m overwhelmed how to use this punch. what size of corner punch did you use. mine doesn´t fit, it seems to be too large. thank you for your tutorials
conny
Thanks so much for this and all your tutorials! You're awesome and I learn so much!! Question on this circle scallop technique: To end up with an even number of scallops, what size circle do you need to use?
Thanks so much for this tip - so easy when you know how!!!!
Just about to put it to the test - thank you so much Beate.
Page 2 of 4 pages < 1 2 3 4 >