Chalkboard
by Amy Rohl
Create a chalkboard look.
Supplies
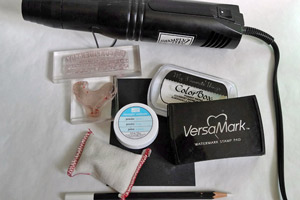
- Embossing buddy
- Black card stock
- Versamark ink or other watermark ink
- Heat gun
- Stamps, My Favorite Things Life's Directions used here
- White embossing powder
- White pigment ink (optional)
- White colored pencils (optional)
Step-by-Step
-
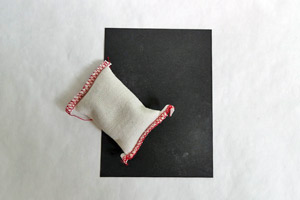
Step 1
Swipe the embossing buddy across your black cardstock to prevent stray embossing powder from sticking to unstamped areas.
-
Step 2
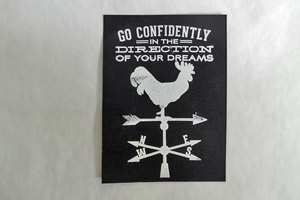
Arrange your stamps in a desired pattern and stamp each in Versamark ink.
-
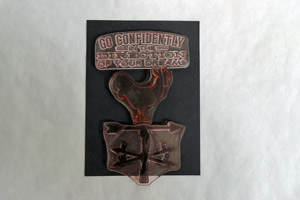
Step 3
Sprinkle white embossing powder over stamped areas and shake off excess.
-
Step 4
Heat embossing powder with a heat gun to set the powder.
-
Step 5
Add details (such as a border or other doodles) with colored pencils.

-
Step 6
Use a paper towel or sponge to blend white pigment ink in the corners and around sentiments to resemble chalk dust.
Tip:
Practice this step on a scrap of black card stock first to get your desired depth of color.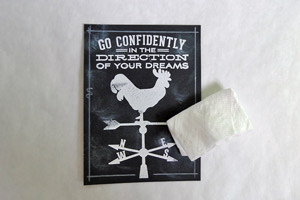
-
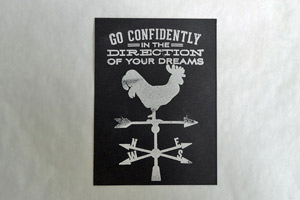
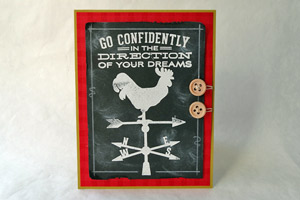
Step 7
Finish your card using your chalkboard layer.
Video!
Your Turn
You've seen the tutorial, now you try it! We've got a section of the gallery set aside for Chalkboard. Try this technique, then upload your artwork to the gallery. Show us your creations!
***Please note - Internet Explorer/Edge is not a supported browser, and will not allow you to see the videos. Please use Chrome, Firefox or Safari to view our tutorial videos.

Questions and Comments
We'd love to get your feedback or questions. Leave your comment below.
Thanks, Amber
Amy
Amy
Page 1 of 1 pages