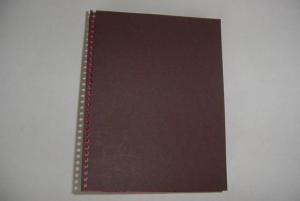
Card Organizer
by Beate Johns
Make this organizer for someone special to keep track of their birthdays and store their birthday cards.
Supplies
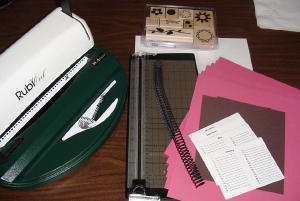
- Binding system (I used Rubicoil™)
- 6 sheets of 12" x 12" cardstock
- 2 pieces of 6" x 7 3/4" cardstock
- Calendar printouts (PDF, 36KB)
- Paper cutter with scoring blade
Step-by-Step
-
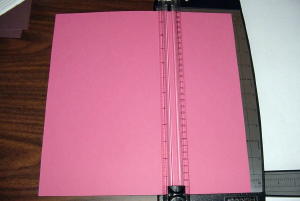
Step 1
Take a piece of your 12" x 12" cardstock and score it at 4 1/4". Repeat with all of the 12" x 12" cardstock pieces.
-
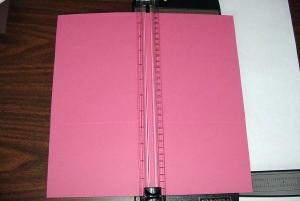
Step 2
Turn your cardstock piece one quarter and score at 6". If you are using Stampin' Up! cardstock score at 5 15/16", because it's not quite a 12" square.
-
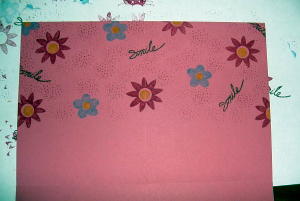
Step 3
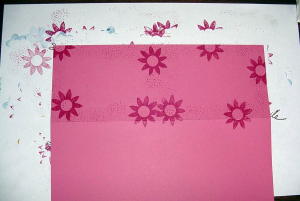
Stamp the upper 4" of your cardstock.
-
Step 4
Turn the cardstock over and stamp the lower 4" all the way up to the score line.
-
Step 5
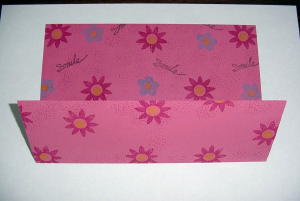
Turn cardstock back over so you will see the upper part stamped. Now fold the lower part up.
-
Step 6
Now fold the cardstock in half. This will create two pages with pockets.

-
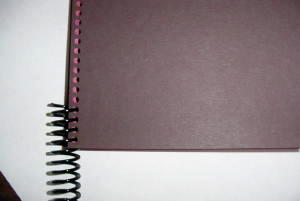
Step 7
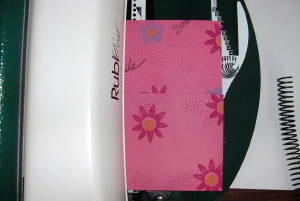
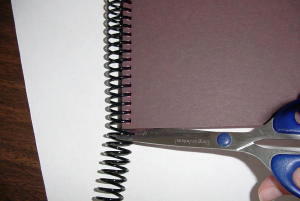
Push your folded cardstock with the open ends all the way into your binding machine and punch holes. Make sure your cardstock is all the way in before punching. Repeat with all pieces of cardstock including your covers.
-
-
Step 8
Stack your cover, pages and cover on top of each other.
-
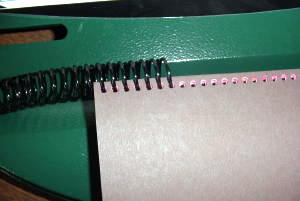
Step 9
Start inserting your coil into the holes manually. Continue to do so until you have the coil into four to five holes.
-
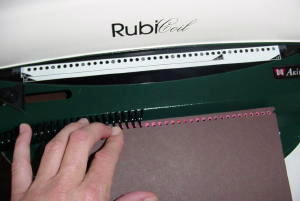
Step 10
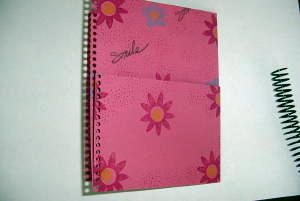
Lay card organizer onto the Rubicoil so the coil is in the indentation.
-
Now roll your fingers over the coil towards you until the coil is all the way to the end of the page.
-
Step 11
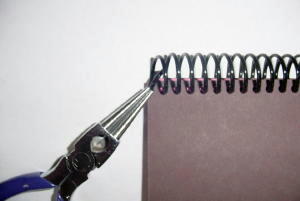
Cut extra coil off.

-
-
Step 12
Bend wire in to keep from unraveling.
-
Step 13
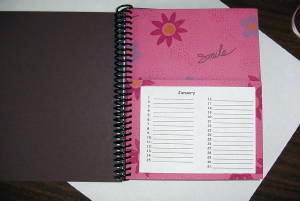
Take your printout calendar pages, center them and tape them onto each pocket.
-
Step 14
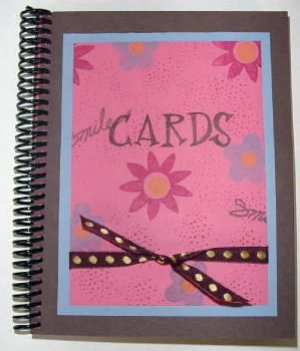
Decorate the front of your organizer.
Your Turn
You've seen the tutorial, now you try it! We've got a section of the gallery set aside for Card Organizer. Try this technique, then upload your artwork to the gallery. Show us your creations!
***Please note - Internet Explorer/Edge is not a supported browser, and will not allow you to see the videos. Please use Chrome, Firefox or Safari to view our tutorial videos.
Questions and Comments
We'd love to get your feedback or questions. Leave your comment below.
Awesome way to keep your cards seperated. Really cute.
Would you have advice for binding if you don't have one of the machines.
Thanks so much for your wonderful creativity.
Sue
How about adding binding holes with a crop-a-dile or other hole punch and tying the pages together with ribbon?
Thanks again for your time and suggestion.
Sue
Thank you for your wounderful idea!
God Bless
You could also use a comb binding machine. Lots of offices have them.
Thanks for sharing.
Thanks to Lisa S for her suggestion about comb binding - yes, our office has of those! I can see making a bunch of these!
Wonderful idea, can't wait to try this one. I'll be sure to share too ;o}
I'm not quiet sure what you mean by turning your cardstock 1/4 before scoring at 6".
This is fantastic!! I need to purchase a binder then I am going to have to make a bunch of these for gifts!!
Page 1 of 2 pages 1 2 >