Cadbury Egg Caddy
by Betty Traciak
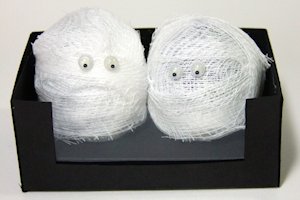
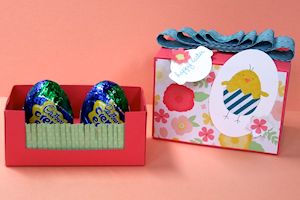
Create an adorable gift box for a pair of Cadbury eggs.
Supplies
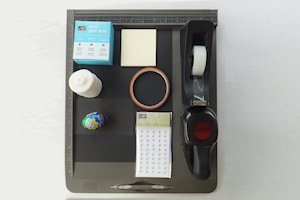
- Cardstock
- Scoring board
- Paper trimmer
- 1 1/4" circle punch
- Adhesives (Sticky Strip, Mini Glue Dots, and transparent tape used here)
- Post-it Notes
- Acetate or plastic packaging
- 1.2 oz. Cadbury Eggs (2) - these are marketed for Halloween as Cadbury Screme Eggs
- Roll of gauze
- Googlie eyes
- Other supplies as needed to complete the project (Stampin’ Up! products used here: Tangerine Tango cardstock, Holiday Home and Mingle All the Way stamp sets, Memento Tuxedo Black and Tangerine Tango ink, Blendabilities Markers, 3/4 Calypso Coral Chevron Ribbon, Candy Dots Brad Bases, Subtles Designer Buttons)
Step-by-Step
-
Step 1
To create the box base:
Cut a 5" x 6 1/2" piece of cardstock. Score at 1 1/2" on all sides.
On the side that will be the box front, measure 1/2" from the score lines and cut that section away.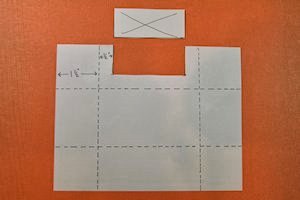
-
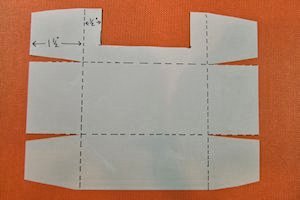
Step 2
Cut in on the horizontal score lines to where the score lines cross. Trim as shown to form tabs.
-
Step 3
Assemble the box using double-sided adhesive.
Cut a 1-1/2" x 3-1/2" piece of acetate or clear plastic packaging. Adhere to inside of box front (Mini Glue Dots used for sample).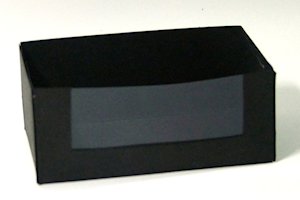
-
Step 4
To create the box insert:
Cut a piece of cardstock slightly smaller than 3" x 4 1/2". Score at 1/2" on all sides.
Using a 1 1/4" circle punch or die, punch two circles from a Post-it Note so there is a bit of the sticky on the back. Position these circles in the center section as a template for punching.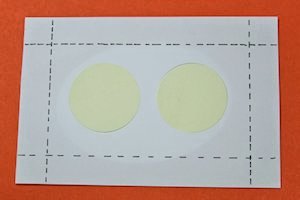
-
Step 5
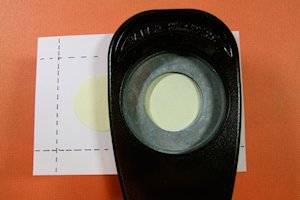
Flip the 1 1/4" circle punch over, center the opening over the Post-it Note guides, and punch.
-
Step 6
Cut on score lines to form tabs, as done above. Assemble the insert with double-sided adhesive.
Place the insert into the bottom of the box.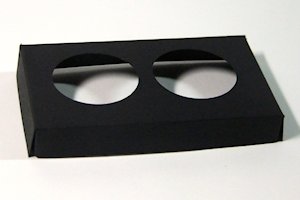
-
Step 7
To create the box top:
Cut a piece of cardstock 7 1/8" x 8 5/8". Score at 2 1/2" on all sides. Cut on score lines to form tabs. Assemble box top with double sided adhesive.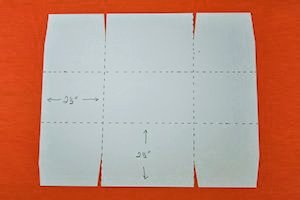
-
Step 8 (Optional)
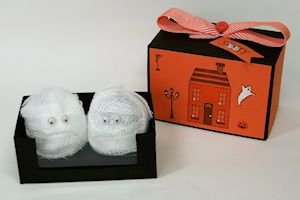
To decorate the Cadbury eggs for a fun Halloween treat:
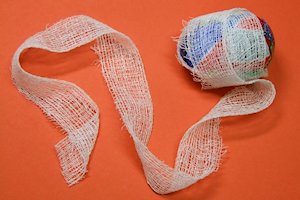
Unroll gauze. Cut in half lengthwise to make strips approximately one inch wide. Fray the cut edge slightly.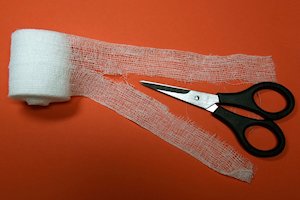
-
Step 9
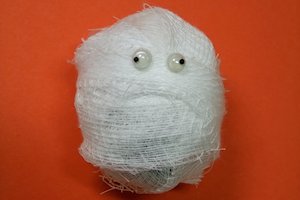
Attach one end of gauze to candy egg with a small piece of transparent tape. Wrap egg in gauze using small pieces of tape as needed to hold the gauze in place.
-
Step 10
Adhere two googlie eyes to the wrapped egg.
-
Step 11
Insert decorated candy eggs into the completed base.
-
Step 12
Decorate the box as desired.
-
Decorate with a spring theme for Easter eggs.
Video!
Your Turn
You've seen the tutorial, now you try it! We've got a section of the gallery set aside for Cadbury Egg Caddy. Try this technique, then upload your artwork to the gallery. Show us your creations!
***Please note - Internet Explorer/Edge is not a supported browser, and will not allow you to see the videos. Please use Chrome, Firefox or Safari to view our tutorial videos.

Questions and Comments
We'd love to get your feedback or questions. Leave your comment below.
Page 1 of 1 pages