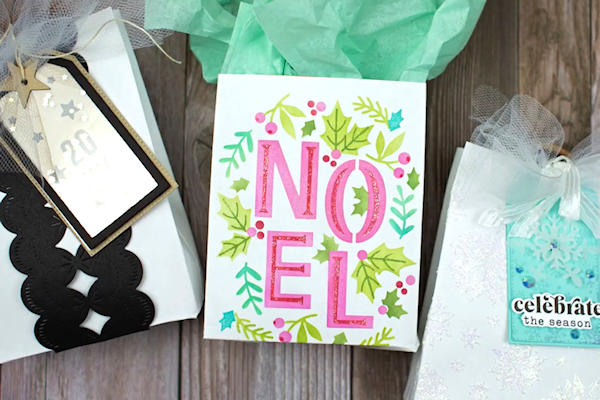
Bag-A-Lope
by Lori Craig
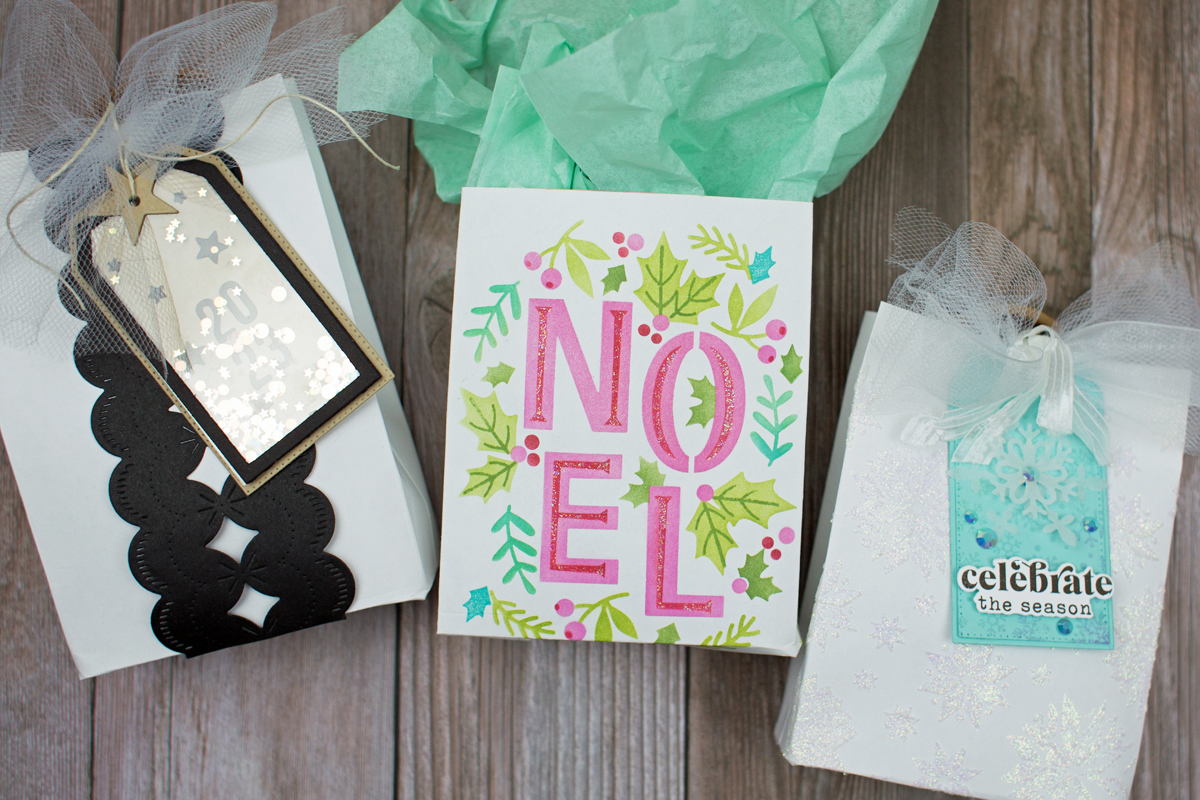
Just in time for the gift giving season, make your own gift bags in a flash.
Supplies
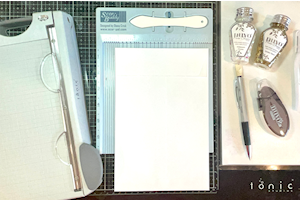
- White Envelope, any size
- Paper Trimmer
- Scor-Buddy or scoring tool with a bone folder
- Extra-Strength Adhesive
- Stamps, Dies & Embellishments to decorate
Step-by-Step
-
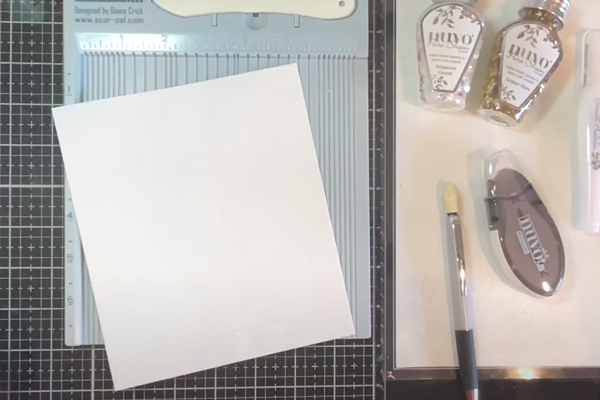
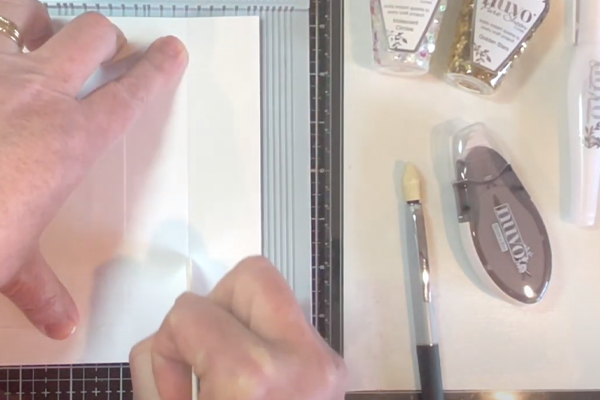
Step 1
Trim the flap and any excess height from envelope off of the open end. Your final bag height will be the length of the envelope, less the size of your margin for scoring.
-
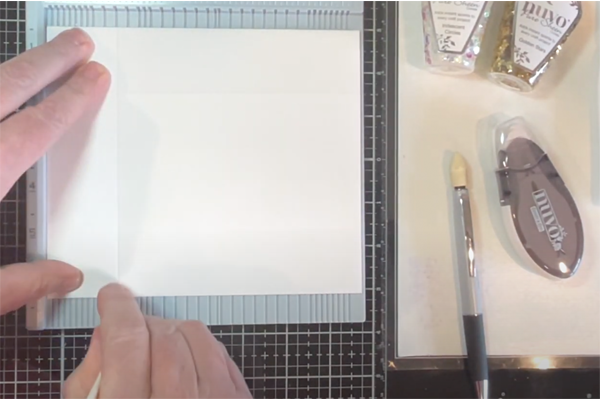
Step 2
In this example, I've trimmed the enveliope to a 6" x 6" square.
-
Step 3
Place the cut envelope in the bed of your Scor-Buddy with the open edge to the top.
-
Step 4
Score the same margin on both the right and left closed sides of the envelope. In this example using the 6" x 6" square envelope, we've used a 1.5" margin for scoring.
Any size envelope will work for this tutorial, the most important parts are that the three sealed sides are used for the scoring and that your scoring margins are consistent for all three sides. Experiment with envelope and margin sizes to create a variety of different size bag-a-lopes. Our PDF template will help you understand the score line placements, regardless of the size envelope you are working with. -
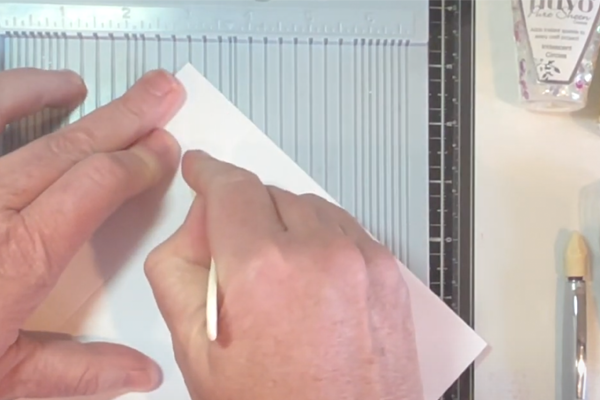
Step 5
Score from the bottom edge with the same margin that is used on the right and left sides. In this example, the margin is 1.5".
-
Step 6
After scoring the right, left and bottom edges of the envelope with an equal margin, score the short diagonal in each of the lower right and lower squares created by the perpendicular score lines. Score from the innermost corner created by score lines to the outside corner edge of the envelope.
-
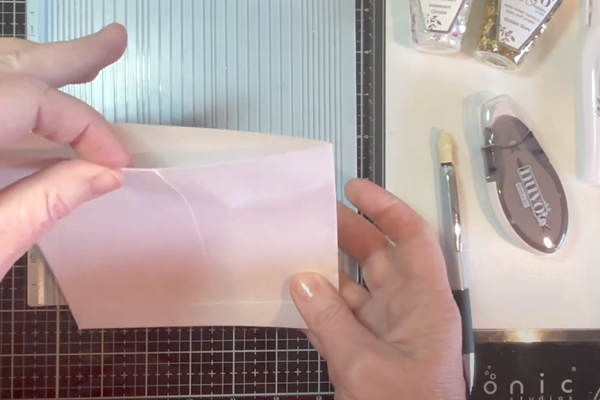
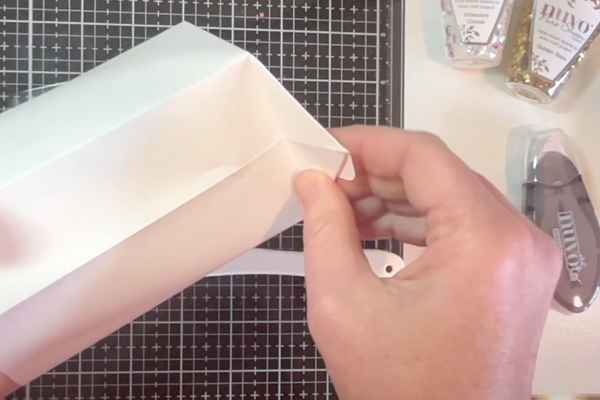
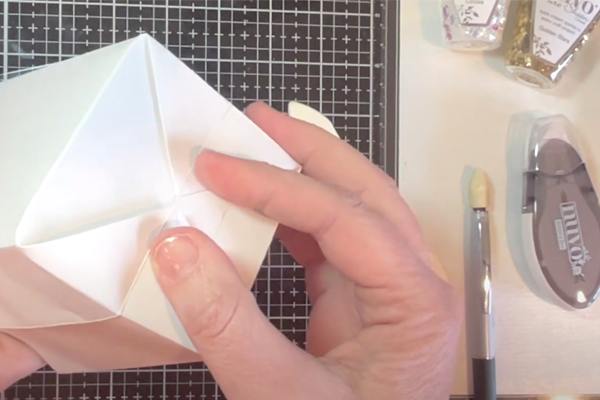
Step 7
Crease the score lines at the bottom and pop the envelope into a bag, carefully bringing the bottom corner squares into a point on each side.
TIP: Use bone folder across the score-lines to make your creases extra sharp. -
Step 8
Fold the triangle flaps to the bottom of the bag.
-
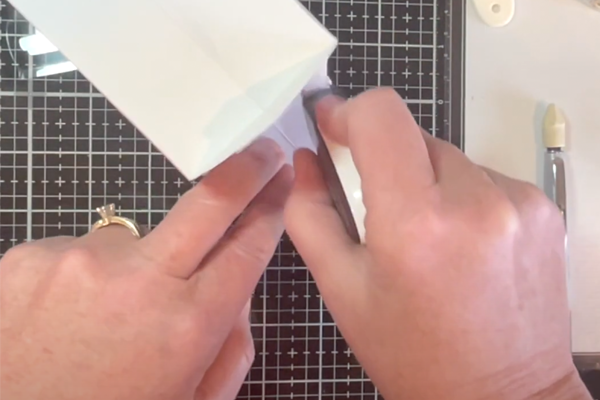
Step 9
Apply extra-strength adhesive to flaps that will fold in to the bottom of the bag.
-
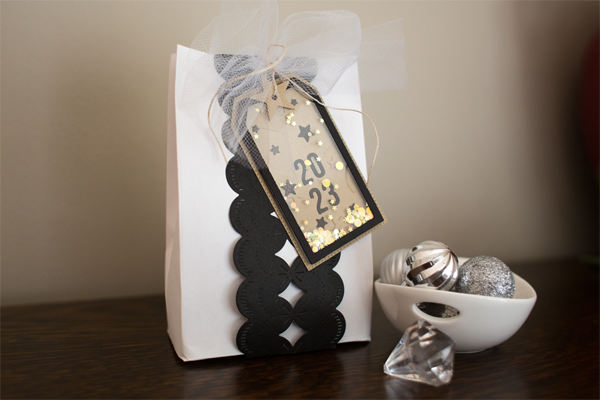
Step 10
Embellish bag, as desired.
-
Step 11
Stamping and stencil work should be completed before scoring and/or folding to create the bag. Tags and die-cut embellishments can be added after the bag is created.

Video!
Your Turn
You've seen the tutorial, now you try it! We've got a section of the gallery set aside for Bag-A-Lope. Try this technique, then upload your artwork to the gallery. Show us your creations!
***Please note - Internet Explorer/Edge is not a supported browser, and will not allow you to see the videos. Please use Chrome, Firefox or Safari to view our tutorial videos.

Questions and Comments
We'd love to get your feedback or questions. Leave your comment below.
enchnuha.
enkhnuha1,
enchnuha.
K
Thank you so much.
Martha.
and what measurements do u use for smaller or bigger bags?
could u do a tutorial for an a4 sized bag and i assume this is a medium sized one and then a tutorila( or atleast measurements for a smaller one
pleasssseeeeeeee
Can someone please explain more of creating this bag.
I know i might be asking daft questions but i really want to make these so i need help and to get help i have to ask,lol
nina
any envelope will work. the one the tutorial is based on is 9x12. She cut off the top, scored the sides and bottom, and opened it up. then she flattened what became the bottom of the bag and folded in the points and glued them down. A standard envelope will be licked and sealed shut. then turn it sideways. cut off the top (which is actually one side of the sealed envelope). Next score 1.5" at both sides and the bottom. Mountain and valley fold all three score lines. Gently stick your hand inside the envelope and open it up like a lunch sack, gently flattening the bottom. tuck the two triangles at the bottom in. Ta-da! Now, flatten it back out and decorate it. Then turn it back into a bag, and this time when you fold the two little end triangles in, glue them. I hope this helps.
Thank you for that extra imformation. I was having the same questions as Nina and you done a wonderful job at clearing that up for me. I will soon post my Holiday bags I'm making for the kids at church. Thanks A Bunch!!!
God Bless, JoAnn
Thanks.
Page 1 of 2 pages 1 2 >