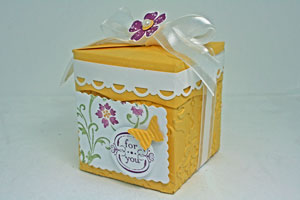
All-in-One-Box
by Wendy Weixler
Create a darling gift box out of one sheet of cardstock.
Supplies
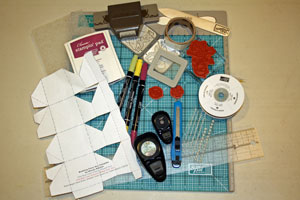
- Scor-Pal™, or other scoring tool
- Bone folder
- Hobby knife
- Ruler
- Temporary adhesive
- Scor-Tape™, or other strong adhesive
- One 8 1/2" x 11" piece of cardstock
- Big Shot, or other die cutting machine
- Embossing folder, Stampin' Up!'s Vintage Wallpaper Impression folder used here
- Stamps
- Ink
- Additional cardstock and embellishments, to decorate your box
Step-by-Step
-
Step 1
Print out template.
All in One Box Template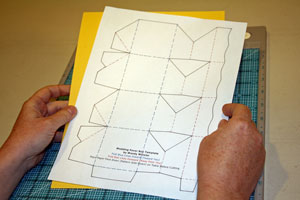
-
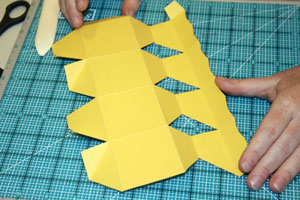
Using a temporary adhesive, adhere template to cardstock and cut with hobby knife and ruler.
Note:
If you are using double-sided patterned paper, place the paper face up on the table with the side you would like to be the bottom of the box facing you. The face-down side will make the top of the box.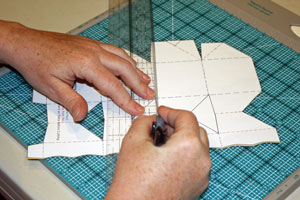
-
Step 2
Score along the dotted lines.
-
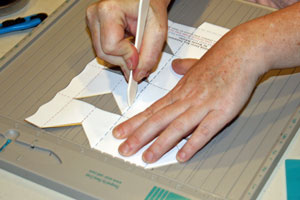
Step 3
Remove the template from cardstock. Use a bone folder to burnish the score lines – fold all blue dotted lines as mountain folds and all red dotted lines as valley folds.
-
Step 4 (Optional)
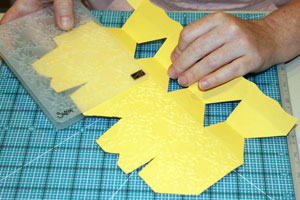
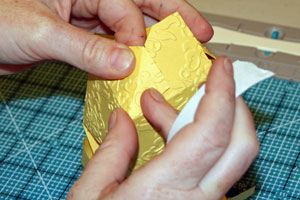
Emboss the bottom half of the box by running it through the die cutting machine twice (once from each end to cover the length of the entire piece of cardstock). Line the embossing folder up so that the edge of the folder comes to the top edge of the lower half of the box.
-
Step 5
Place adhesive on the tab on the bottom half of the box. Adhere to underside of opposite edge of box, as pictured.
-
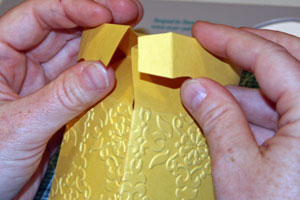
Step 6
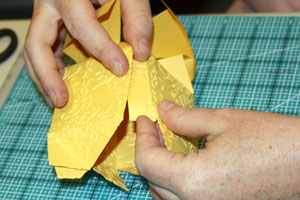
On the bottom of the box there are four flaps – alternating tall and short ones. Place adhesive on the underside of the triangular portion of the tabs on the taller flaps. Line up the score lines on the tall tab with corresponding score lines on the short tab immediately to its right. This creates two bottom flaps.
-
-
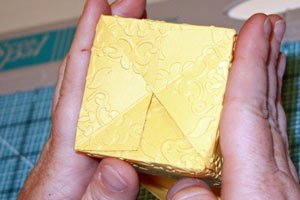
Step 7
Tuck the flaps over and under one another to close the box.
-
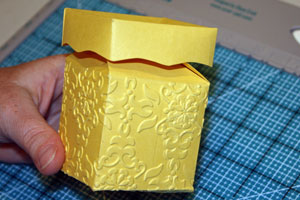
Step 8
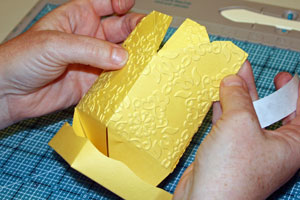
Place adhesive on the top side of the flap on the top of the box. Adhere to underside of opposite edge of box top.
-
Step 9
The all-in-one box is now assembled.
-
Step 10
Embellish as desired.
Video!
Your Turn
You've seen the tutorial, now you try it! We've got a section of the gallery set aside for All-in-One-Box. Try this technique, then upload your artwork to the gallery. Show us your creations!
***Please note - Internet Explorer/Edge is not a supported browser, and will not allow you to see the videos. Please use Chrome, Firefox or Safari to view our tutorial videos.

 *
*
Questions and Comments
We'd love to get your feedback or questions. Leave your comment below.
Are you able to send the template to me via email. I really want to make this for some xmas gifts. thanks
See if you need to update your Adobe Reader. That might be your problem. I can see the pattern just fine.
Just got to say that my grandson thinks this box is very cool! He watched me make it last week and is planning on making one to give to his teacher at the end of the year. He's fascinated by how it opens and closes!
Amanda
I just have one question:
About what are the dimensions of the box? I have something in mind that I want to put in it, but I'm not sure if it would fit (the gift's dimensions are: H:1.6" L 4.0"). Thank you so much!
Page 4 of 4 pages « First < 2 3 4