Acetate Card
by Linda Nicholson
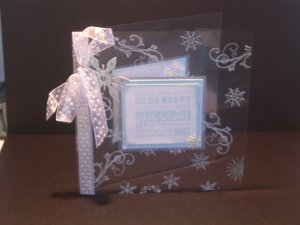
Clear cards with suspended elements are certainly eye-catching, and it's easy to wonder where you'd sign them!
Supplies
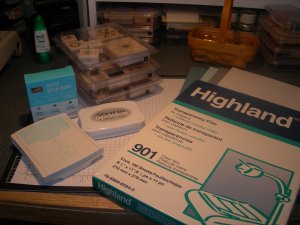
- Acetate sheet
- Cardstock for images and matting (Here 2" x 2 ¼" and 2 ½" x 2 ¾" Shimmery White, 2 ¼" x 2 ½" Soft Sky, 2 ½" x 2 ¾" Brushed Silver, 2 ¾" x 3" Blue Bayou)
- StazOn® or Palette™ Hybrid Ink for stamping on acetate (here Cotton White Staz-On)
- Ink in color of choice to stamp on cardstock (here Soft Sky)
- Glue Dots
- Stamps
- Soft cloth to wipe away fingerprints/smudges from acetate. (Optional)
Step-by-Step
-
Step 1
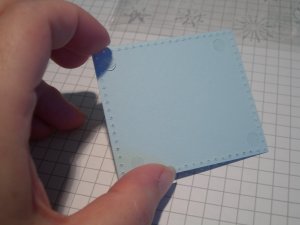
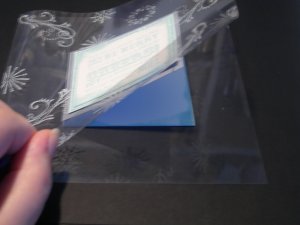
Cut and score acetate sheet to desired card base size. Here acetate was cut to 5 ¼" x 11” to create a 5¼" square card.
Wipe away any fingerprints with a soft cloth.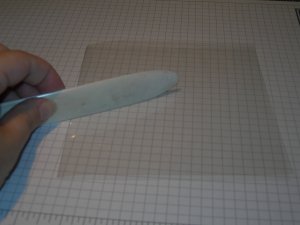
-
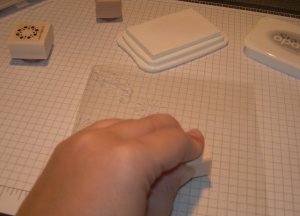
Step 2
Stamp stamp images with StazOn™ or Palette™ Hybrid ink on front of the acetate card base. Be careful not to smear images as acetate tends to be a little slippery. Set card base aside.
-
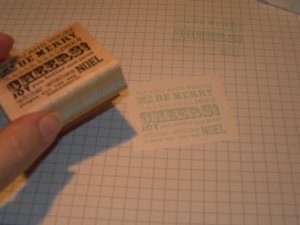
Step 3
Take 2" x 2 ¼" cardstock and stamp desired image with classic dye ink. Mat with 2 ¼" x 2 ½" Soft Sky cardstock.
-
Step 4
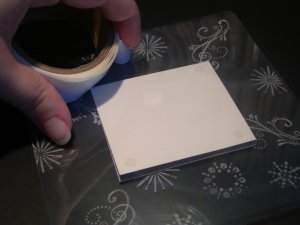
Apply glue dots to all four corners on the back of stamped image. Center on acetate card base front and attach.
-
Step 5
Open card and apply glue dots directly behind the stamped image panel on the inside front of the acetate card.
By placing the glue dots directly behind the stamped image, no adhesive will show the next layer is attached. Be careful not to let the glue dots touch the inside back of card.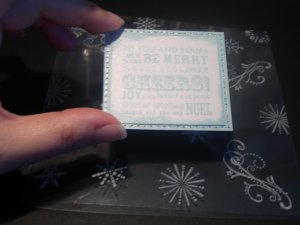
-
Step 6
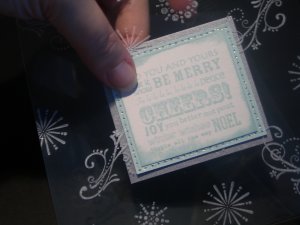
Take 2 ½" x 2 ¾" Brushed Silver cardstock and attach directly behind stamped image. This will be the third mat layer so take care to mat evenly.
-
Step 7
Take 2 ½" X 2 ¾" Shimmery White cardstock and attach glue dots on all 4 corners. This is where a greeting can be written and will be attached on the inside back of the card base.
-
Step 8
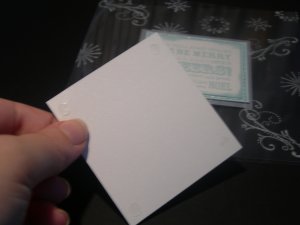
Carefully line up 2 ½" x 2 ¾" Shimmery White cardstock and align it so that it is directly behind Brushed Silver layer on the card front. When lined up correctly, this piece will be invisible when the card is closed.
-
Step 9
Flip card over (so back of card base is facing you) and apply glue dots to acetate card base directly behind the Shimmery White cardstock layer.
-
Step 10
Take 2 ¾" x 3" Blue Bayou cardstock and attach to acetate, being careful once more to mat evenly (the matting will appear behind the Brushed Silver layer as the Shimmery White layer is hidden).

-
Step 11
Embellish as desired.
Your Turn
You've seen the tutorial, now you try it! We've got a section of the gallery set aside for Acetate Card. Try this technique, then upload your artwork to the gallery. Show us your creations!
***Please note - Internet Explorer/Edge is not a supported browser, and will not allow you to see the videos. Please use Chrome, Firefox or Safari to view our tutorial videos.

Questions and Comments
We'd love to get your feedback or questions. Leave your comment below.
are you saying put another piece of paper directly behind it on the inside that doesn't seem right
please explain to me again
Aloha,
Charlene
Thanks.
Please let me know what weight of Acetate to use please.
Thx
Judy
Page 2 of 3 pages < 1 2 3 >