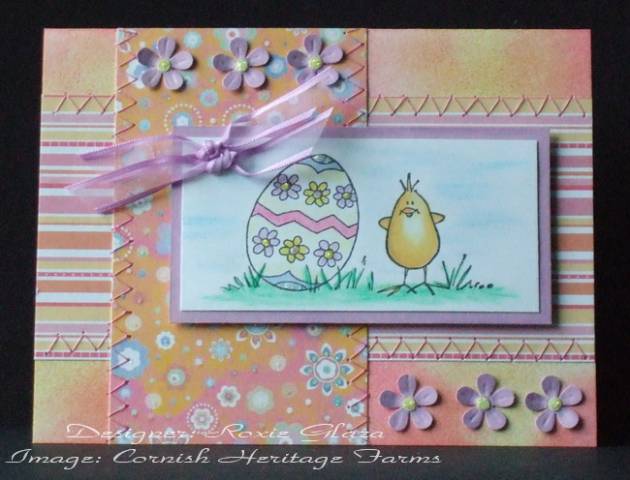
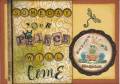
Measurements: Image panel before 1/8” border - 1 ¾” x 3 ½”, flowered paper – 2 ½” strip paper - 2 ¾”
-All my pieces were cut first so IÂ’d know how much to sponge.
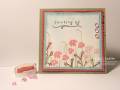
-Color was sponged onto white cardstock at each corner where the designer paper doesnÂ’t cover. I just blend until I like it.
-Machine zigzag stitch was done on designer paper edge. I pulled the thread the back and tied off then cut off the excess close to the knot.
-flowers are punched, shaded on the edges with pencils, centers - sponged yellow on white paper and 1/8” punched and glued to the flower. Paper sculpting was done to give it shape – small ball tip to straight line away from the center on each petal. Largest ball tip was used to circle around the center to cause a curl while on a folded paper towel. They are tacky glued to the card.
-Prismacolor pencils were used to color the image.
-Stickles were applied to the flower centers (both punched and on the egg) and also on the egg ends.
-The image panel is mounted on foam squares.
-Ribbon (double slot) punch is used on a diagonal then the two ribbons are threaded through the slots and tied.
Paper: White cardstock, Designer paper – flowers – Provo Craft glitter prints, Strip – Making Memories, Stamp Up – Pale Plum for flowers and image border
Registered: December 16, 2005 Location: Naples, FL Posts: 2299
Tue, Mar 04, 2008 @ 9:03 PM
Wow, so much going on here... but it's altogether adorable! Love the chick, the double ribbon (now why didn't I think of that?!?), the DP, the flowers...