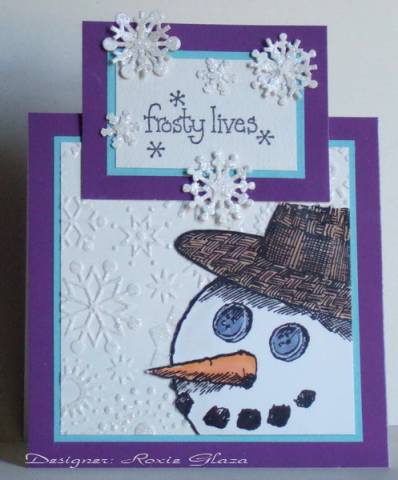
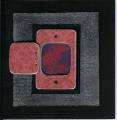
The square measures 4 1/4” square, the topper is 3” X 2 3/16” on the purple. My snowflake is 1/8” over the top panel and from the tip of the snowflake to the bottom of the card is the normal 5 ½”.
This is Michelle Wooderson design which I used for SC134.
I could not wait until Christmas time to use my new Cuttlebug folder and die cut.
*I cut my snowflake panel to size and ran it through the bug then rubbed VersaMark over it being careful not to rub below the snowflake surface. Heat embossed with Heat and Stick and added Dazzling Diamonds.
*For the snowflakes, I ran paper and die cut through the bug then rubbed with VersaMark, did the Heat Stick and glitter again. I did have some difficulty with a couple flakes not punching out without tearing so I may change that procedure to die cut last.
*The snowman is colored with re inkers, pad ink and artist brush. I used a tiny bit of white gel pen for the white on the button eyes. To keep it from being real white I touch my finger to it right after was applied and it blends it in and also leaves white spots on the finger so be careful to wipe them before touching your project. Who says you need expensive tools!!!
*The over the top and under the bottom snowflakes are built up with ¼” punched circles of both the white and turquoise so it lies even with the panel.
The larger snowflakes are two die cuts glued together and a star on two. The smaller are from a punch and die cut star or punched circles added for depth.
Date: Tuesday, July 24, 2007 GMT Views: 3144
Favorited:19
Stamps: Anita – snowman, That’s all She Stamped – sentiment
Paper: Purple glossy, turquoise, white textured cardstock
Ink: StazOn – Jet Black, VersaMark, Stampin Up classic – Creamy Caramel, Night of Navy, Going Gray, Only Orange, Pumpkin Pie
Accessories: Cuttlebug folder and die cut, snowflake punch, artist brush, white gel pen, Dazzling Diamond glitter, Heat and Stick embossing powder, tacky glue, double sided tape